Protect Excel Sheets and Workbooks (Passwords and Locking)
Lock cells, protect sheets and encrypt a workbook.
- Stop the damage
- Unlock the input cells
- Protect the sheet
- Protect the workbook
- The order trap
- Recap
Step by step
1. Stop the damage
You send a report, and someone types over your formula. The total is gone. Protecting the sheet stops that, and keeps the input cells open.
Two steps: unlock the cells people may type in, then protect the sheet. And one trap if you do them in the wrong order.
2. Unlock the input cells
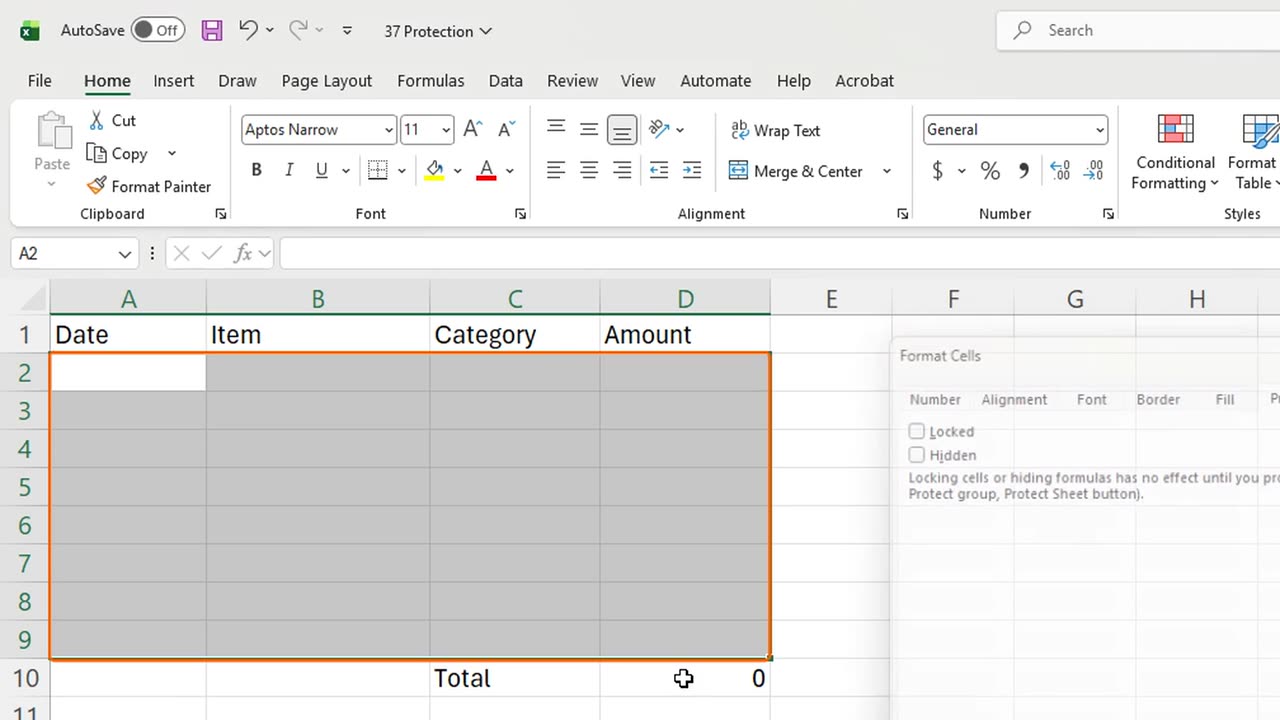
Every cell starts locked, but locking does nothing until the sheet is protected. So first, select the input area, A2 to D9.
Press Control and 1, go to the Protection tab, untick Locked with Alt and L, and press Enter.
3. Protect the sheet
Now protect the sheet: Review, Protect Sheet, or Alt, R, P, S.
Type a password, demo, press Enter, and type it again to confirm.
Try to type over the total in D10. Excel refuses: the cell is on a protected sheet.
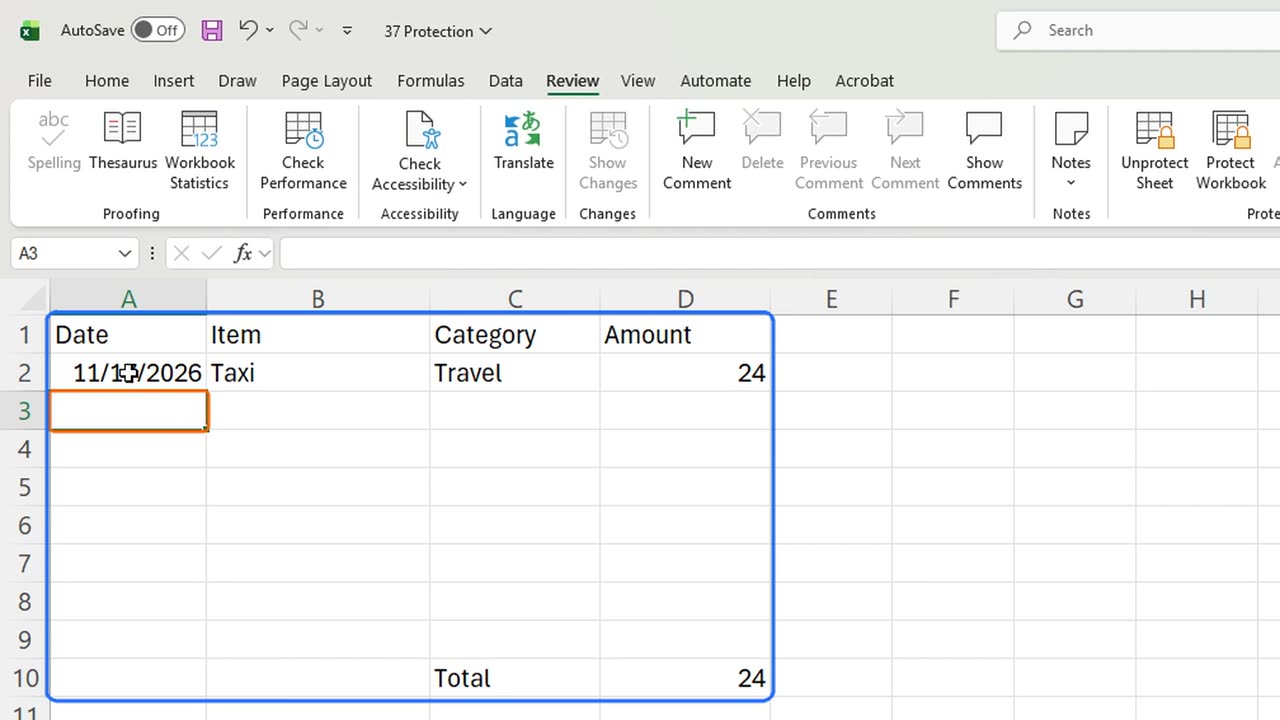
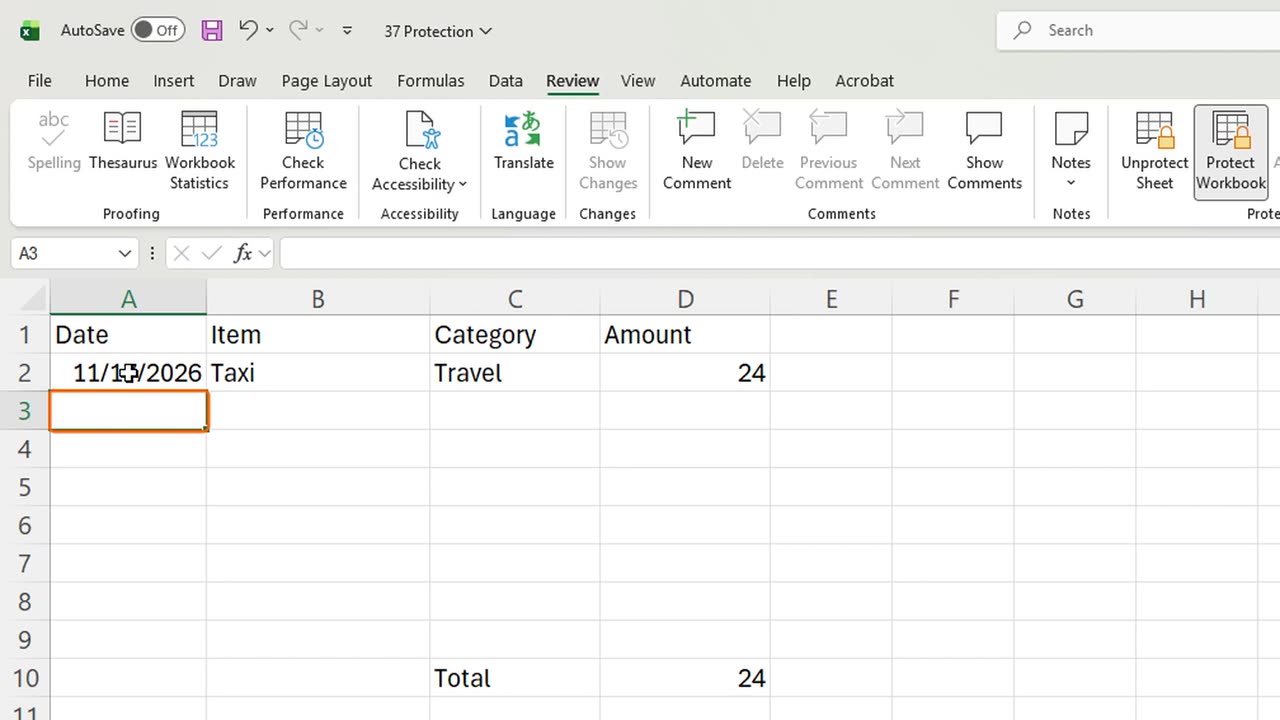
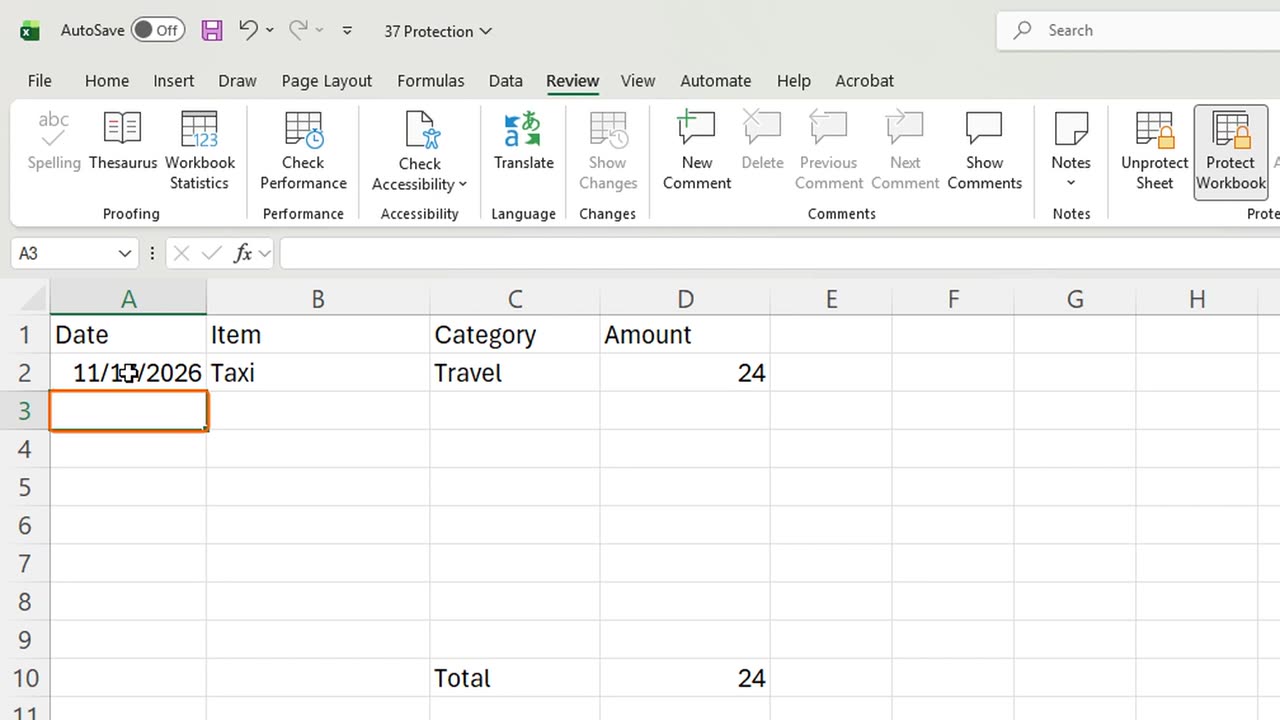
But the input cells still work. In A2 type a date, in B2 Taxi, in C2 Travel, in D2 twenty-four.
The total updates to twenty-four, and the formula behind it stays safe.
Quick pause: if this saved one of your reports, a like really helps the channel. Next, the whole file.
4. Protect the workbook
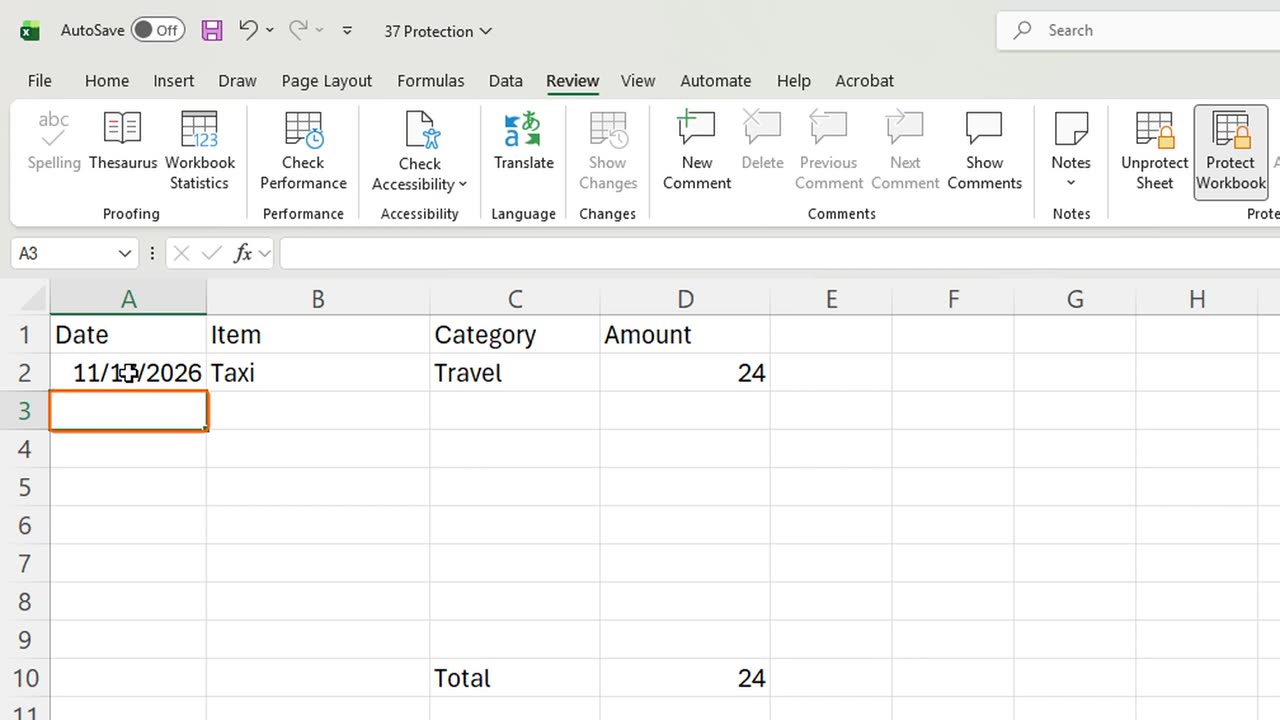
Protect Workbook, Alt, R, P, W, locks the structure: nobody can add, delete, rename or move sheets. Press Enter to apply it.
To stop people from even opening the file, use a password under File, Info, Protect Workbook, Encrypt. Keep that password safe, it cannot be recovered.
5. The order trap
Now the trap. If you protect the sheet before unlocking the input area, every cell is locked, and nobody can type anything at all.
So always unlock first, then protect. And remember: sheet protection prevents accidents, it is not real security.
6. Recap
Recap: Control 1 to unlock the input cells, Alt R P S to protect the sheet, Alt R P W to protect the structure, and encrypt in File, Info.
In the next lesson, you will share a workbook and work together with comments and notes.
Has anyone ever broken a formula in one of your files? Tell me in the comments.
← Previous tutorial: Excel Templates: Find, Use and Create Your Own
Next tutorial: Excel Collaboration: Share, Comments and Notes →