Excel Flash Fill (Ctrl + E): Auto-Format Data
Let Excel learn your pattern and fill the rest.
- Intro
- First names
- Change the format
- A new order
- Phone numbers
- Good to know
- Recap
Step by step
1. Intro
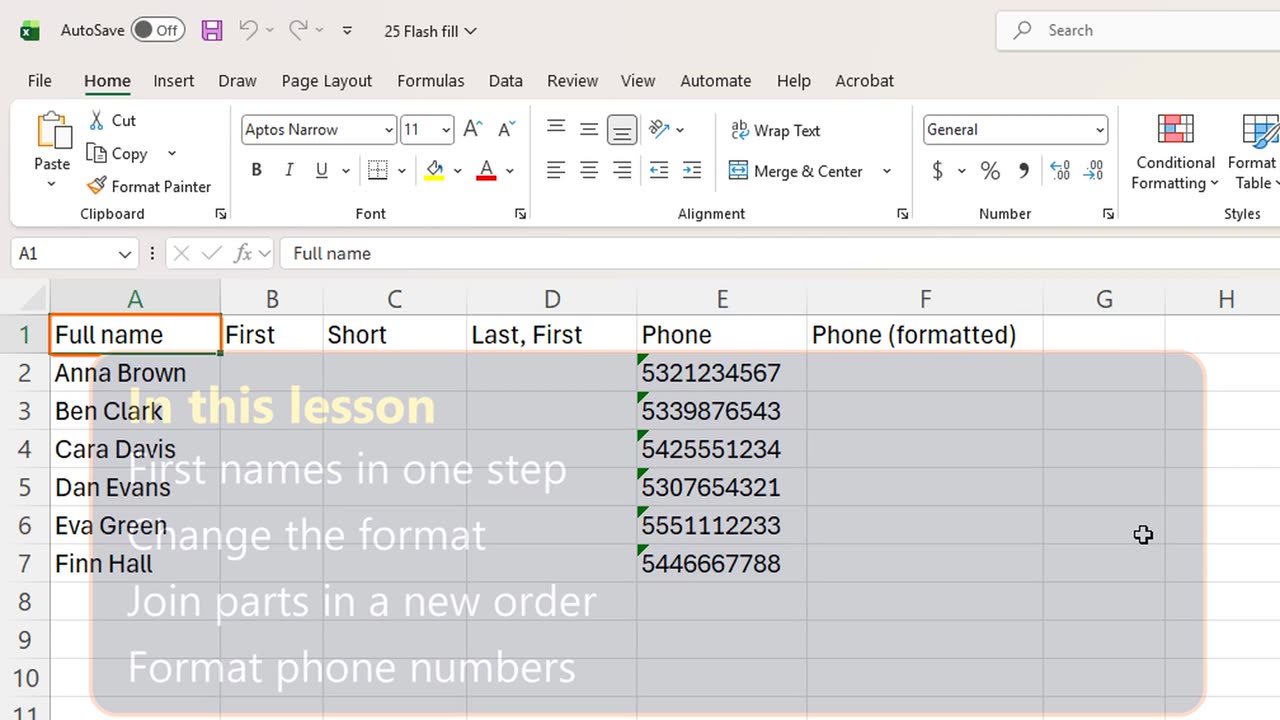
Welcome back. In the last lesson, you split names with a wizard. In this lesson, you will do the same, and more, just by typing one example. This is Flash Fill.
Flash Fill watches what you type, finds the pattern, and fills the rest of the column for you. The shortcut is Control E.
2. First names
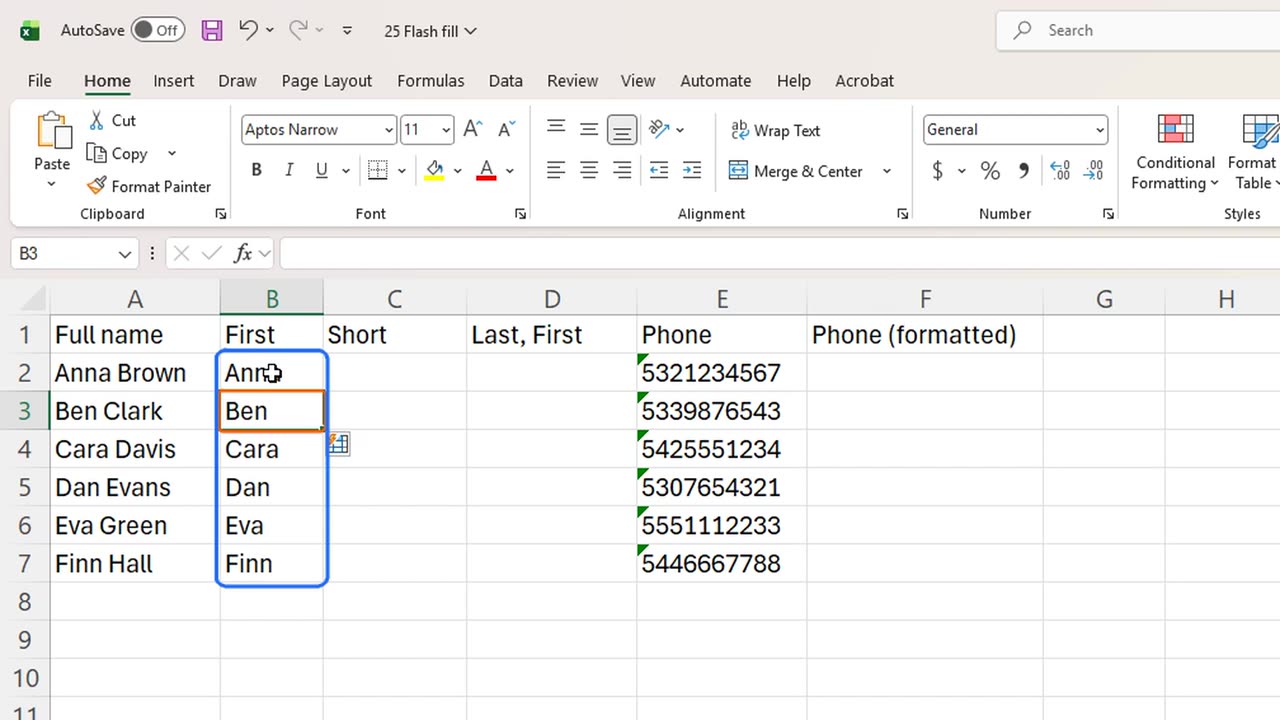
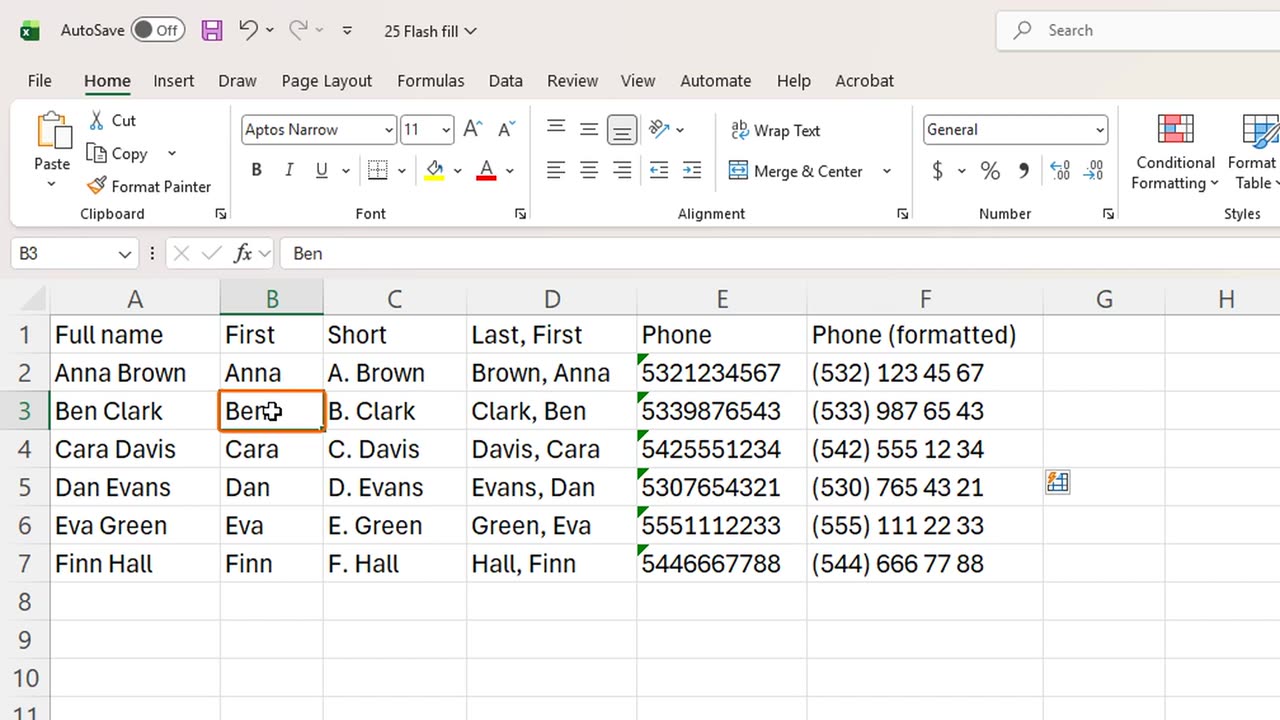
Column A has full names. In B2, type the first name, Anna, and press Enter.
Now press Control E. Excel fills every first name in one go.
3. Change the format
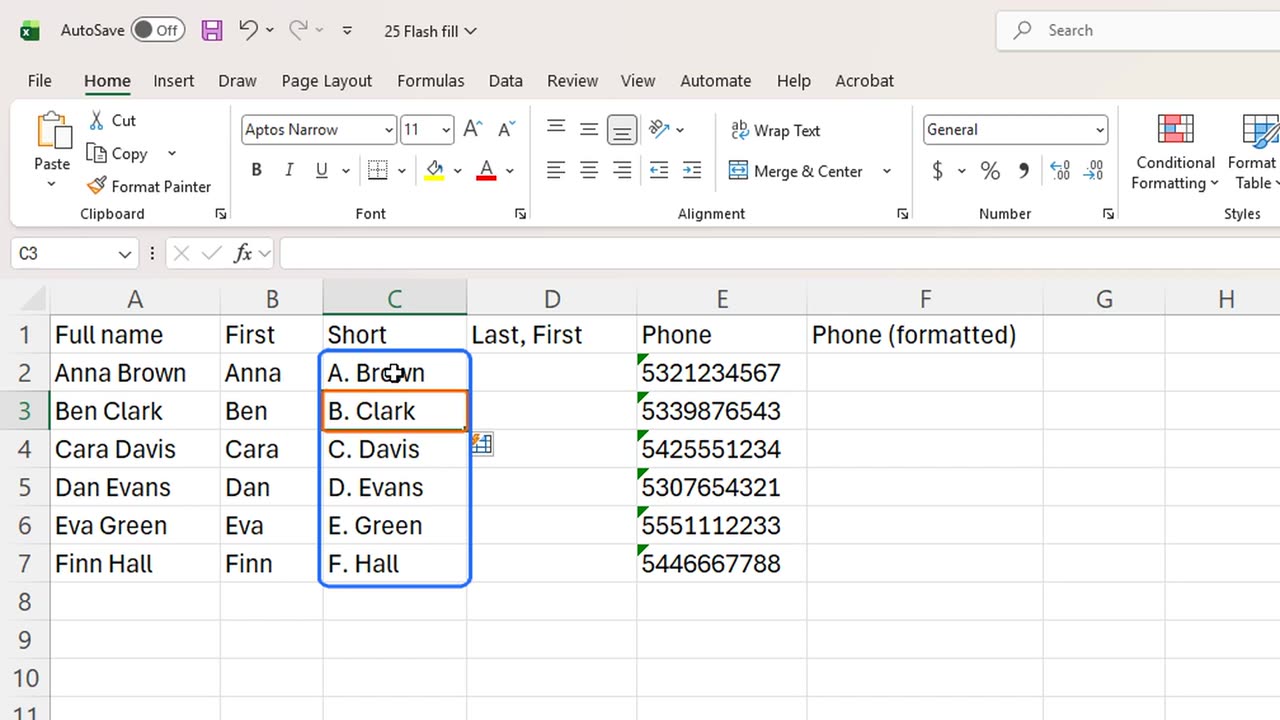
Flash Fill can also change the format. In C2, type A, dot, space, Brown. That is the first letter of the first name, and the last name.
Press Control E. Every row follows the same pattern.
4. A new order
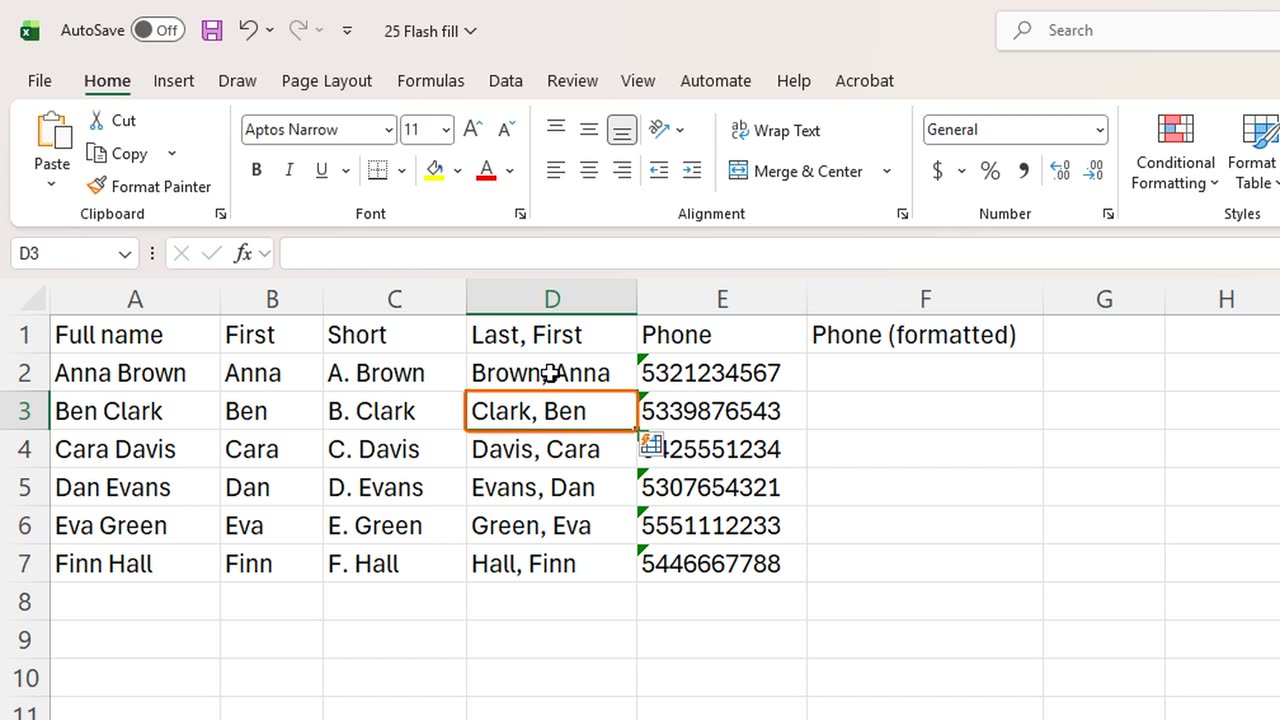
It can even put the parts in a new order. In D2, type the last name, a comma, and the first name: Brown, comma, Anna. Press Enter, then Control E.
Last name first, for the whole list. Writing a formula for this would take much longer.
5. Phone numbers
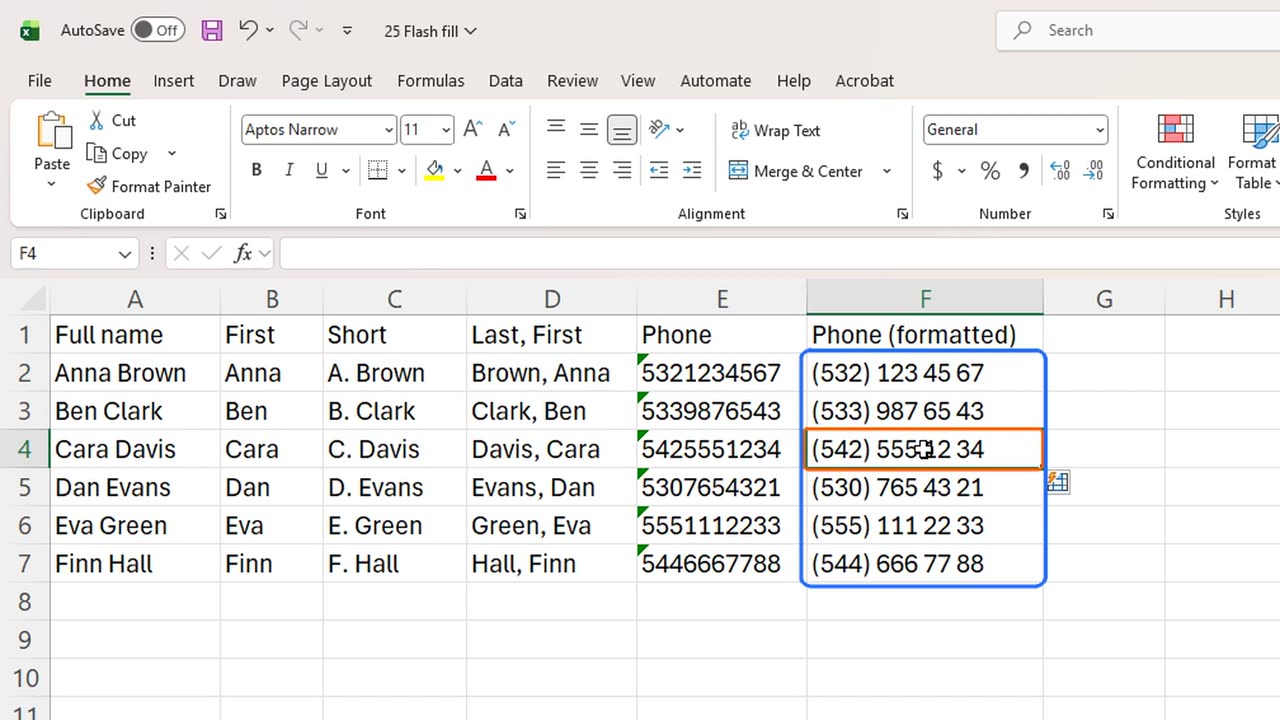
Flash Fill also works with numbers. Column E has phone numbers typed without spaces. In F2 and F3, type the first two with brackets and spaces, then press Control E. Two examples make the pattern clear.
Every phone number is now easy to read.
6. Good to know
Two things to know. First, the results are plain values, not formulas, so if a name in column A changes later, the result does not update. Second, always check a few rows, because Flash Fill guesses the pattern.
If a guess is wrong, fix one more example by hand, and press Control E again. Excel learns from the extra example.
7. Recap
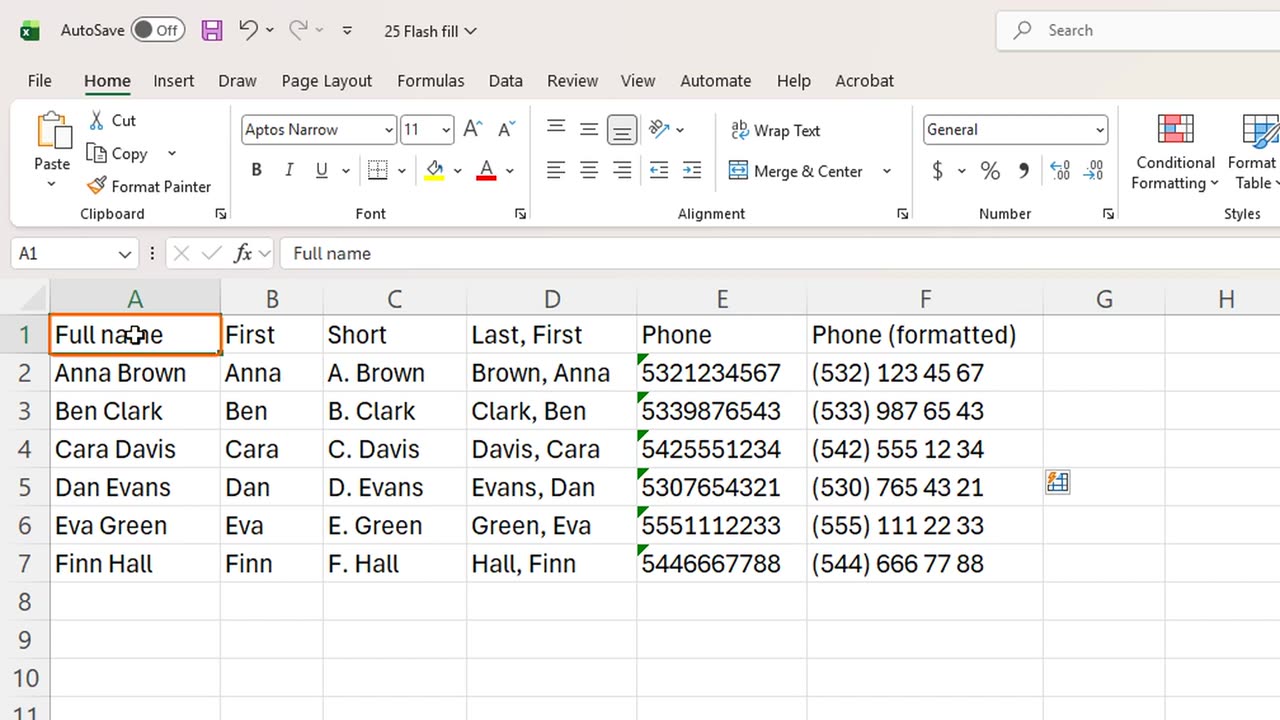
Let's recap. Type one example, press Control E, and Flash Fill completes the column. It can split, change and join text, and format numbers. Just remember the results do not update by themselves.
In the next lesson, you will keep your headers visible while scrolling through big sheets, with Freeze Panes.
If there is something you want to learn next, write it in the comments. Your requests decide what we teach in the next tutorials. Thanks for watching, and see you in the next one.
← Previous tutorial: Excel Text to Columns: Split Data into Columns
Next tutorial: Freeze Panes in Excel (Keep Headers Visible) →