Customize the Excel Quick Access Toolbar and Ribbon
Add your favorite commands to the Quick Access Toolbar and customize the ribbon to work faster.
- Intro
- The Quick Access Toolbar
- Add commands
- Keyboard access
- Speed tricks
- Add from the ribbon
- Collapse the ribbon
- Remove commands
- Recap
Step by step
1. Intro
Welcome back. In this lesson, you will set up Excel to work faster, by customizing the Quick Access Toolbar and learning the ribbon tricks that save clicks.
2. The Quick Access Toolbar
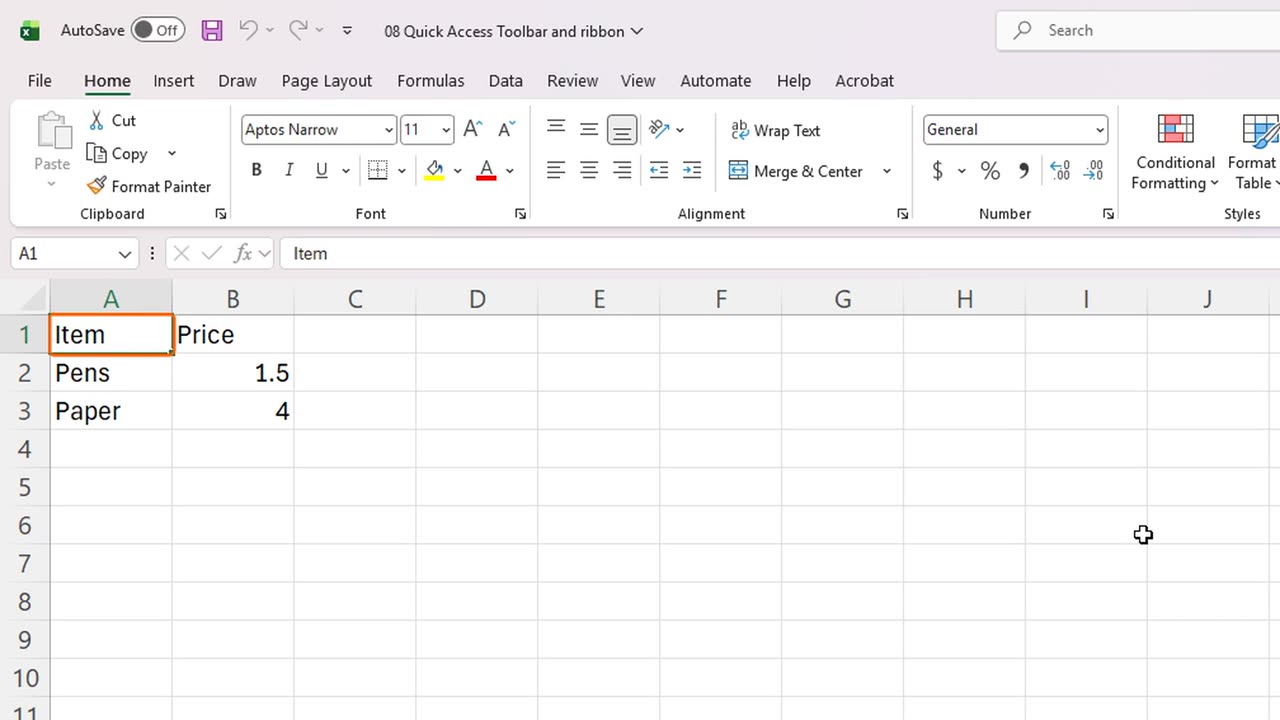
The Quick Access Toolbar sits in the top-left corner, above the ribbon. It is always visible, whichever ribbon tab you are using.
By default it holds AutoSave, Save, Undo and Redo. But the real power is that you can put any command you use often right here.
3. Add commands
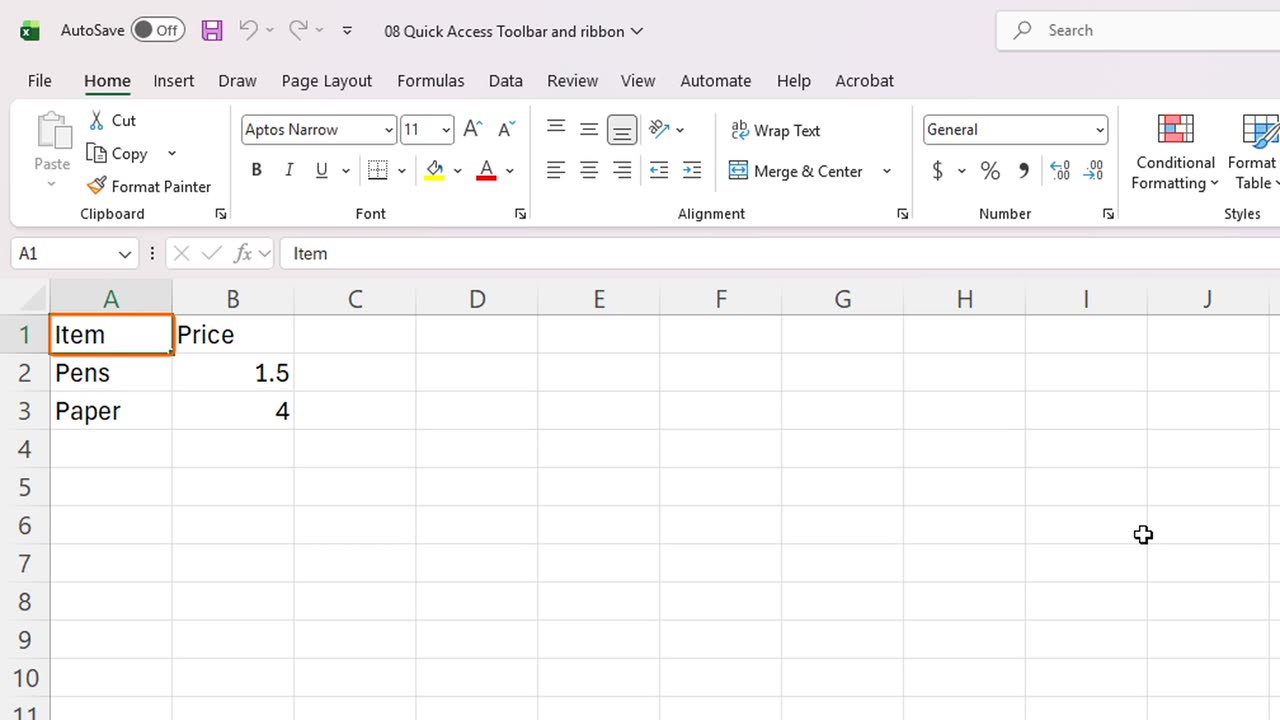
Click the small arrow at the end of the toolbar. This is the Customize menu.
It lists popular commands. A tick means the command is already on the toolbar. Click Print Preview and Print to add it.
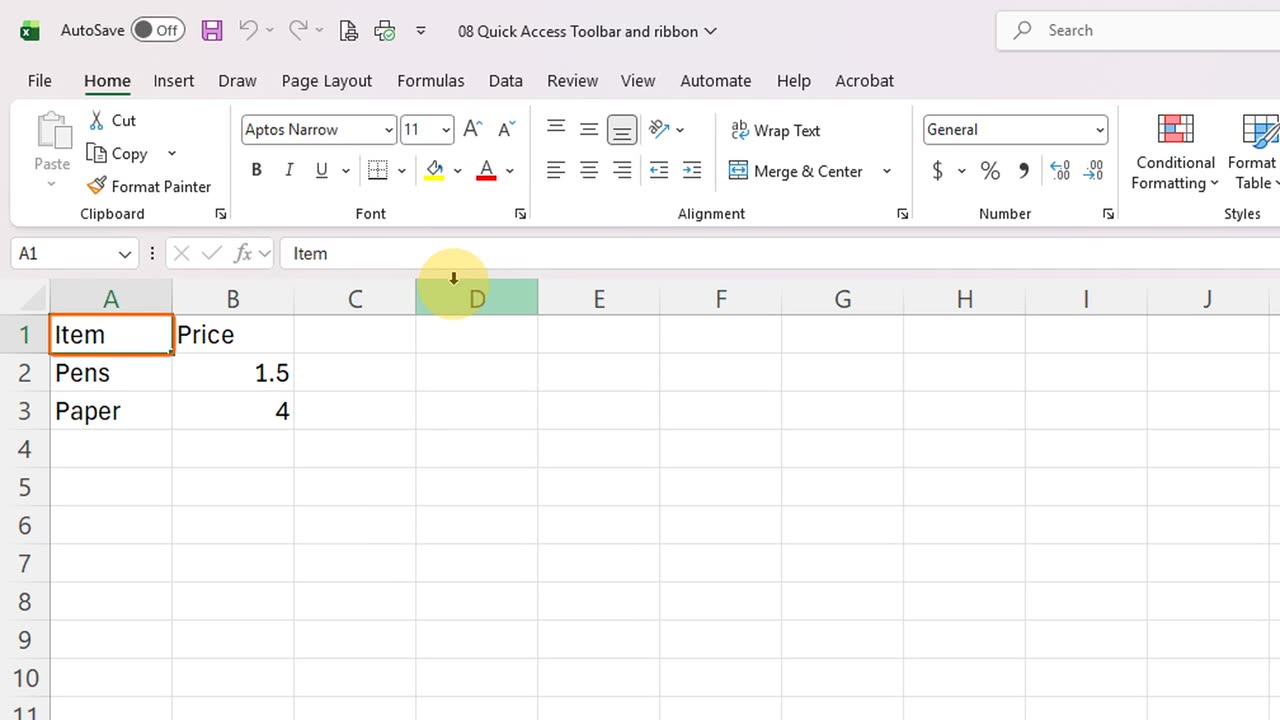
A new icon appeared on the toolbar. It works from any tab, so you never have to hunt for it.
Notice that the arrow moved to the right. Let's open the menu again and add Quick Print as well.
4. Keyboard access
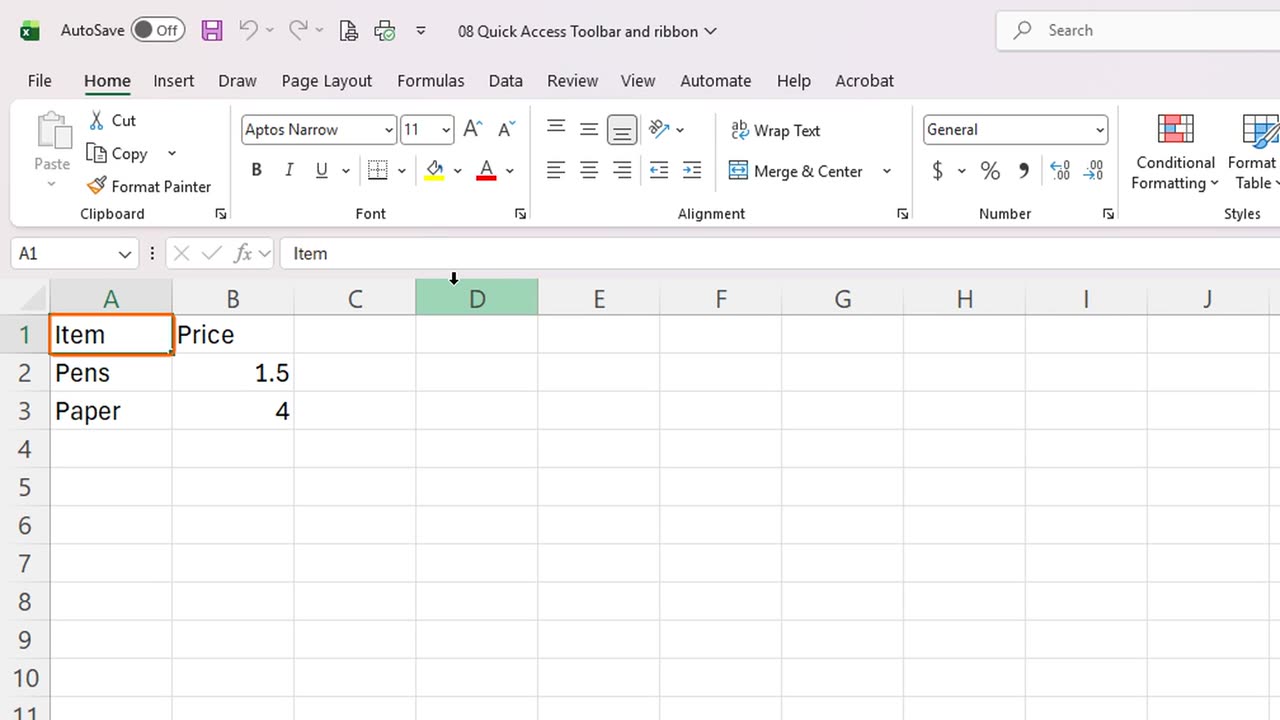
Every command on this toolbar also has a keyboard shortcut. Tap the Alt key, and little numbers appear over the toolbar.
Press Alt and that number to run the command without the mouse. Press Escape to leave this mode.
5. Speed tricks
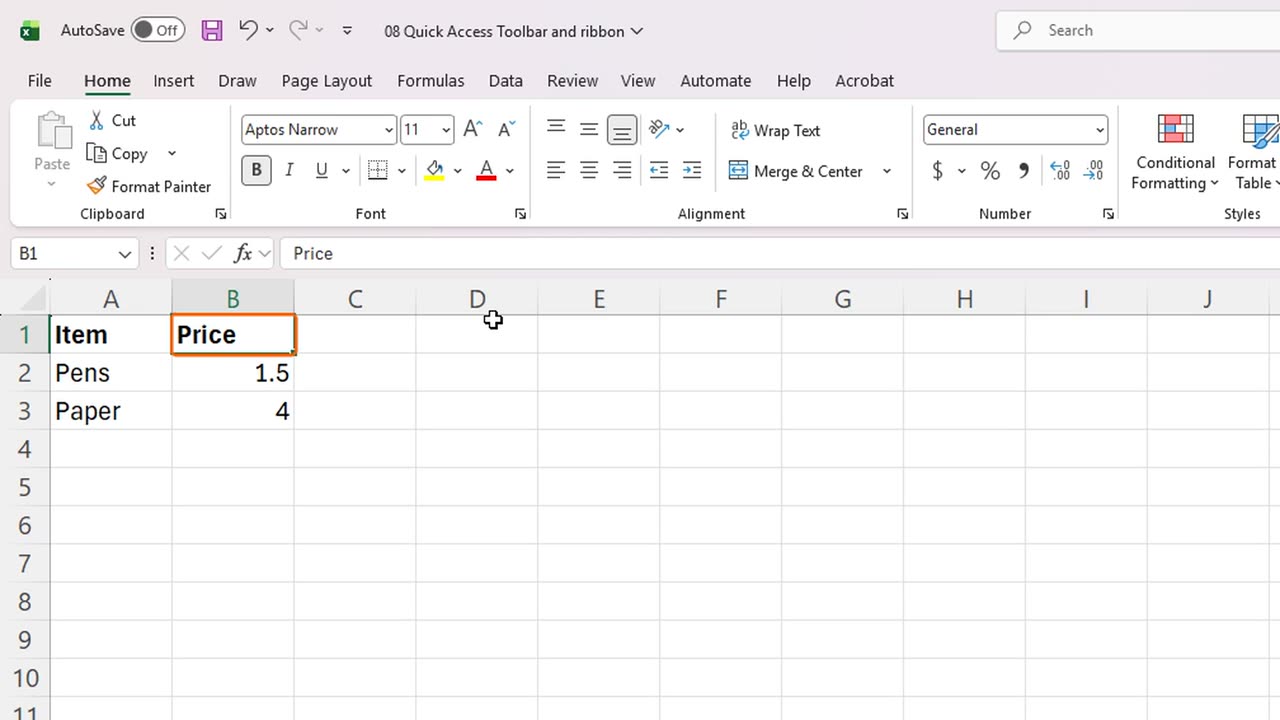
A bonus time saver is F4, which repeats your last action. Select A1 and press Control and B to make it bold.
Now click B1 and press F4. The same action repeats, so B1 becomes bold too. This works for almost any command.
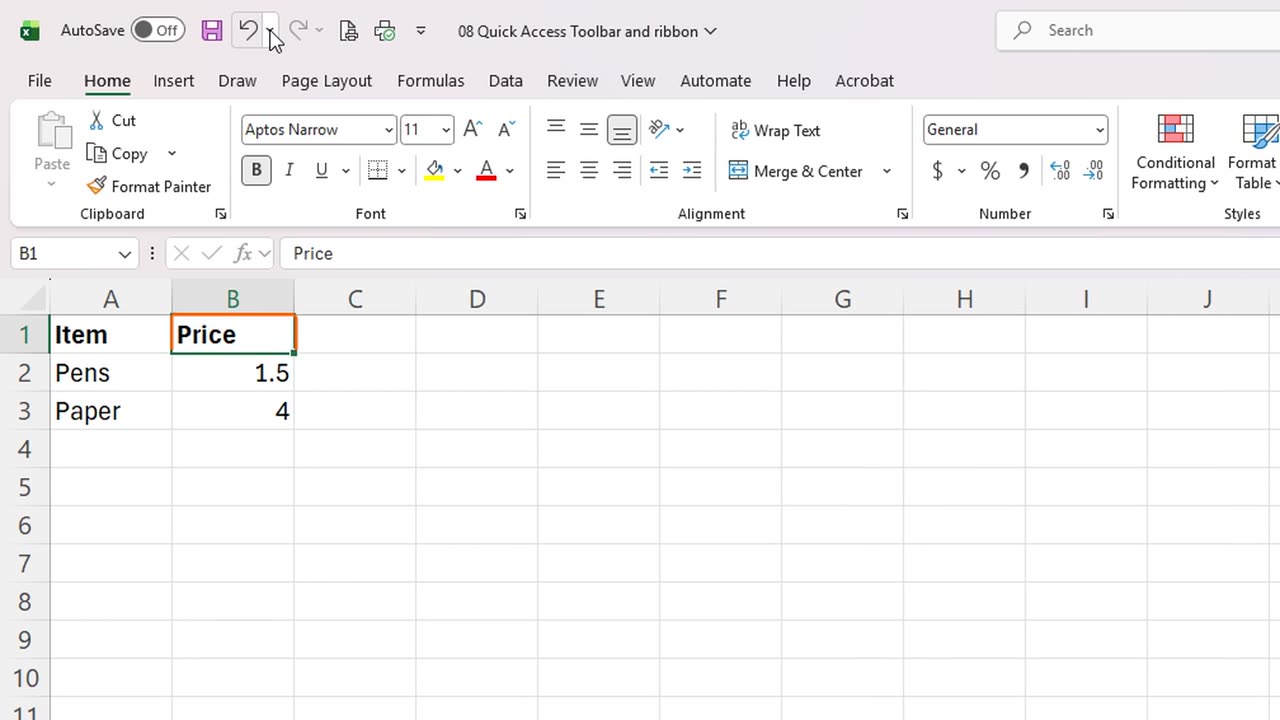
Undo has a drop-down too. Click the small arrow next to Undo, and you see your latest actions.
Pick one of them, and Excel undoes everything back to that point. We will just close the list with Escape.
Alt also shows shortcut letters for the ribbon. Tap Alt, then press H, and look at the letters above the Home tab commands.
Every ribbon command can be reached with letters like these. You already used some: Alt, H, O, R renames a sheet, and Alt, H, B, A adds borders.
The ribbon has one more control at its far right: Ribbon Display Options. It lets you choose how much of the ribbon is visible.
What should you add? A good starting set is Print Preview, Sort A to Z, Paste Values, and Format Painter.
Shortcut: F4
6. Add from the ribbon
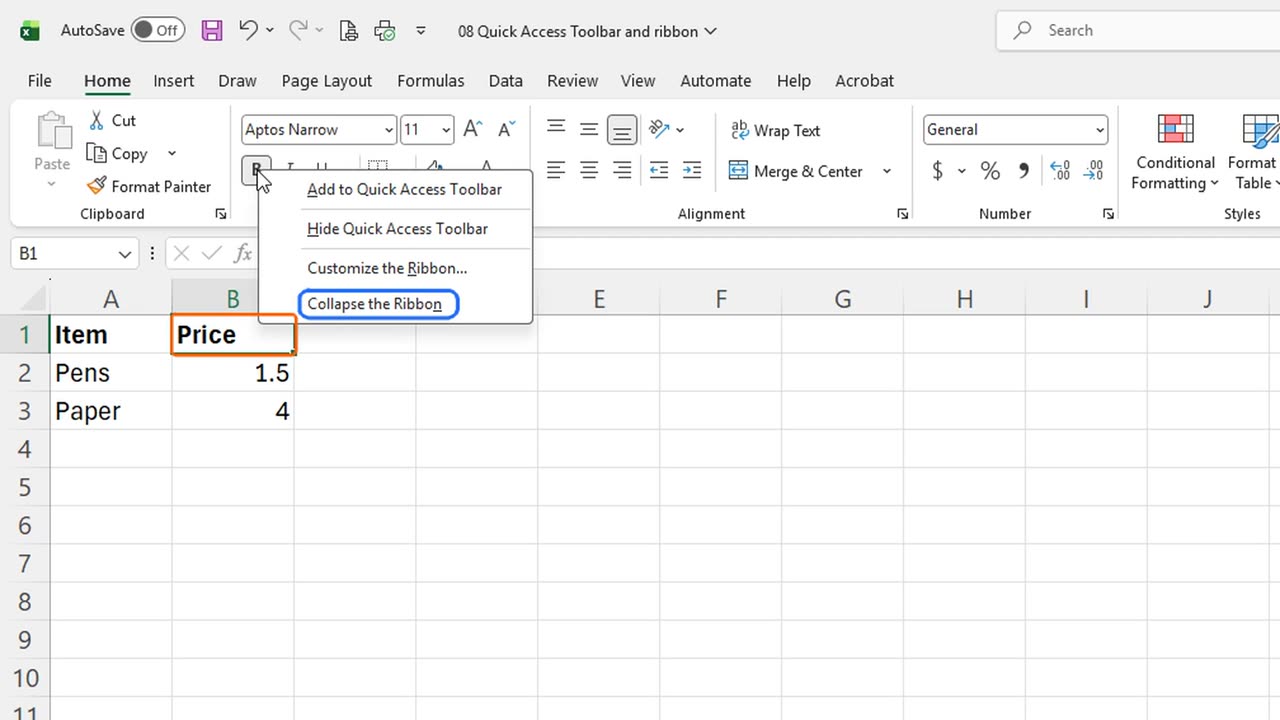
You can add any command from the ribbon. Right-click a button, for example Bold.
Choose Add to Quick Access Toolbar, and the button is copied there. We will just look at the menu for now.
The same menu has Customize the Ribbon, where you can build your own tab, and Collapse the Ribbon.
7. Collapse the ribbon
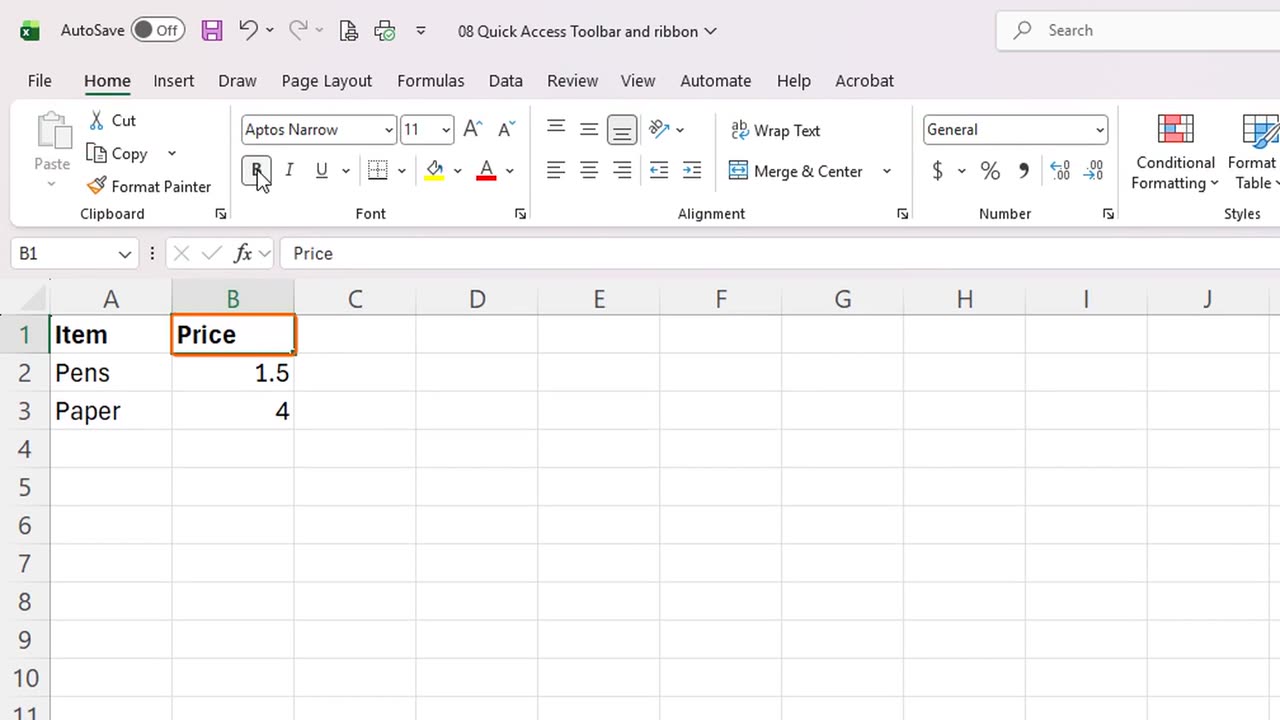
Press Escape to close the menu. Now let's try collapsing the ribbon with Control and F1.
Only the tab names remain, so you get more room for your data. Click a tab, and the ribbon appears temporarily.
Press Control and F1 again to bring the ribbon back permanently.
8. Remove commands
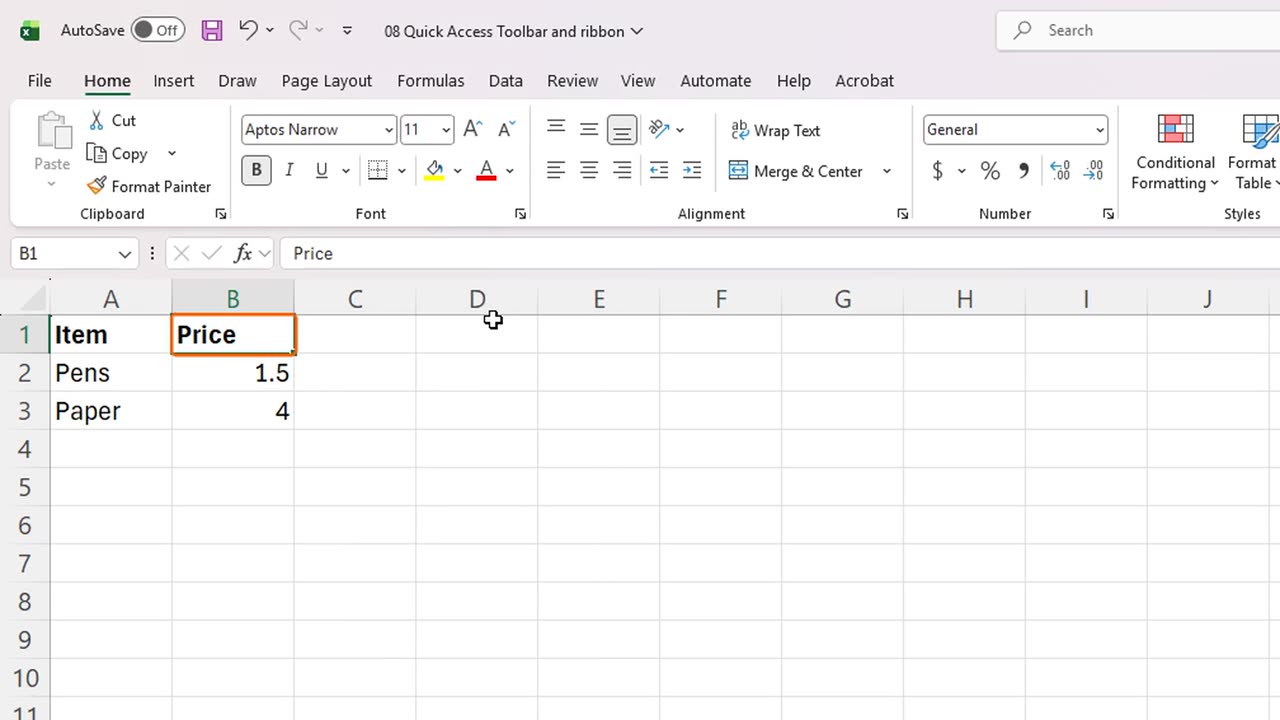
Finally, tidy up. To remove a command, open the menu and click the ticked command again. We will remove Quick Print.
And the same for Print Preview and Print. Our toolbar is back to normal.
9. Recap
Let's recap. The Quick Access Toolbar keeps your favorite commands one click away, on every tab.
Add commands from the Customize menu or by right-clicking a button, use Alt with a number to run them from the keyboard, and Control F1 to collapse the ribbon.
Next time, you will learn how to save, print and share your workbooks.
Thanks for watching, and see you in the next lesson.
← Previous tutorial: Rows, Columns and Borders in Excel (Resize, Insert, Delete)
Next tutorial: Save, Print and Share Excel Files (Beginner Tutorial) →