Select, Copy, Move and AutoFill in Excel (Fast Way)
Select cells, rows and columns, copy and paste, move data, and fill series with the fill handle.
- Intro
- Select cells
- More ways to select
- Copy and paste
- Move data
- AutoFill
- Fill shortcuts
- Recap
Step by step
1. Intro
Welcome back. In this lesson, you will learn how to select cells quickly, copy and move data, and fill series automatically.
These four skills will save you hours. We already have a small table here, so let's get started.
2. Select cells
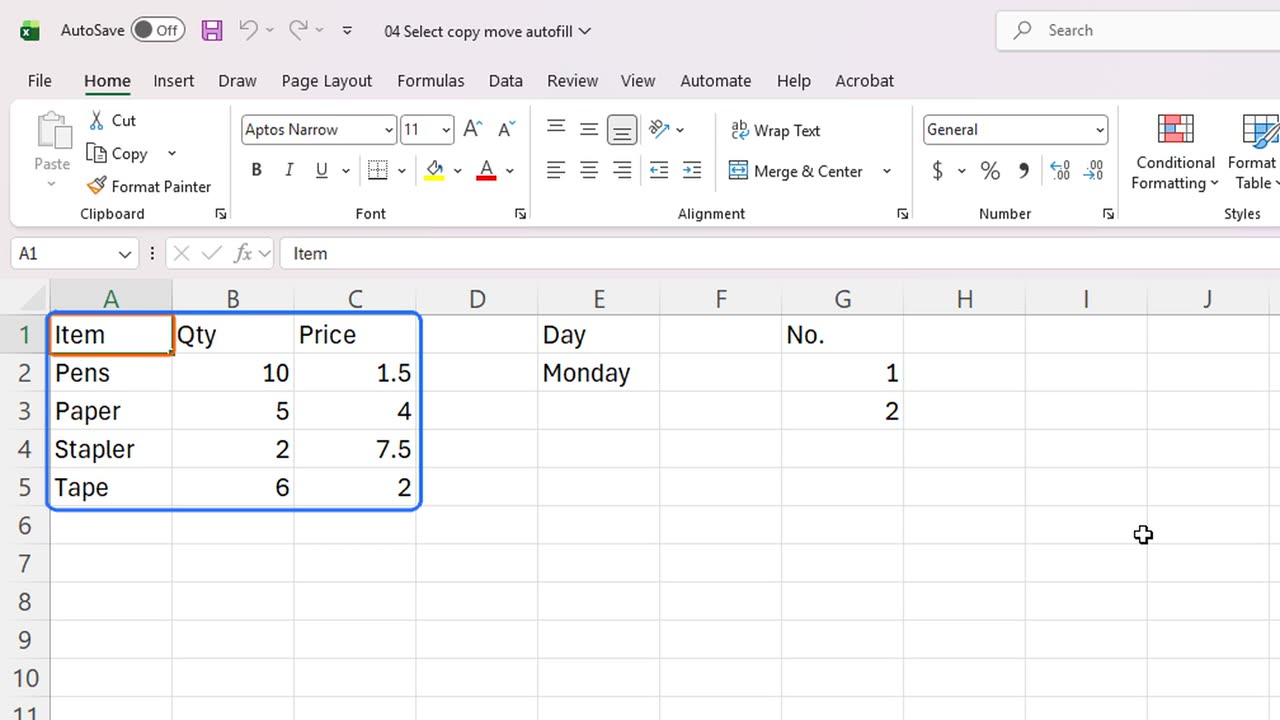
To select a range, click the first cell and drag to the last one. Let's select the whole table, from A1 to C5.
Click a row number to select the whole row. Here is row three.
Click a column letter to select the whole column. Here is column B.
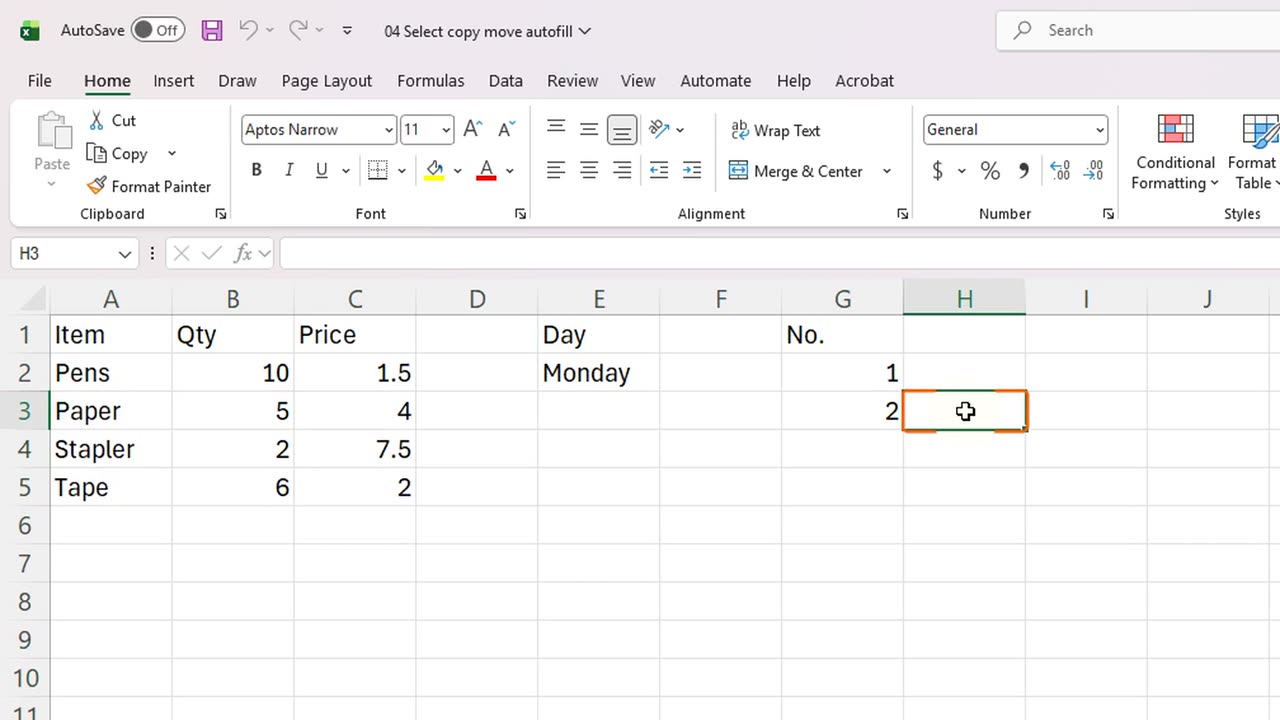
Press Control and A to select every cell. Then click any cell to deselect.
3. More ways to select
There are more ways to select. Click A1, then hold Shift and click C5, and the whole range is selected without dragging.
Hold Control to select cells that are not next to each other. Click A2, then Control click A4, and Control click C5.
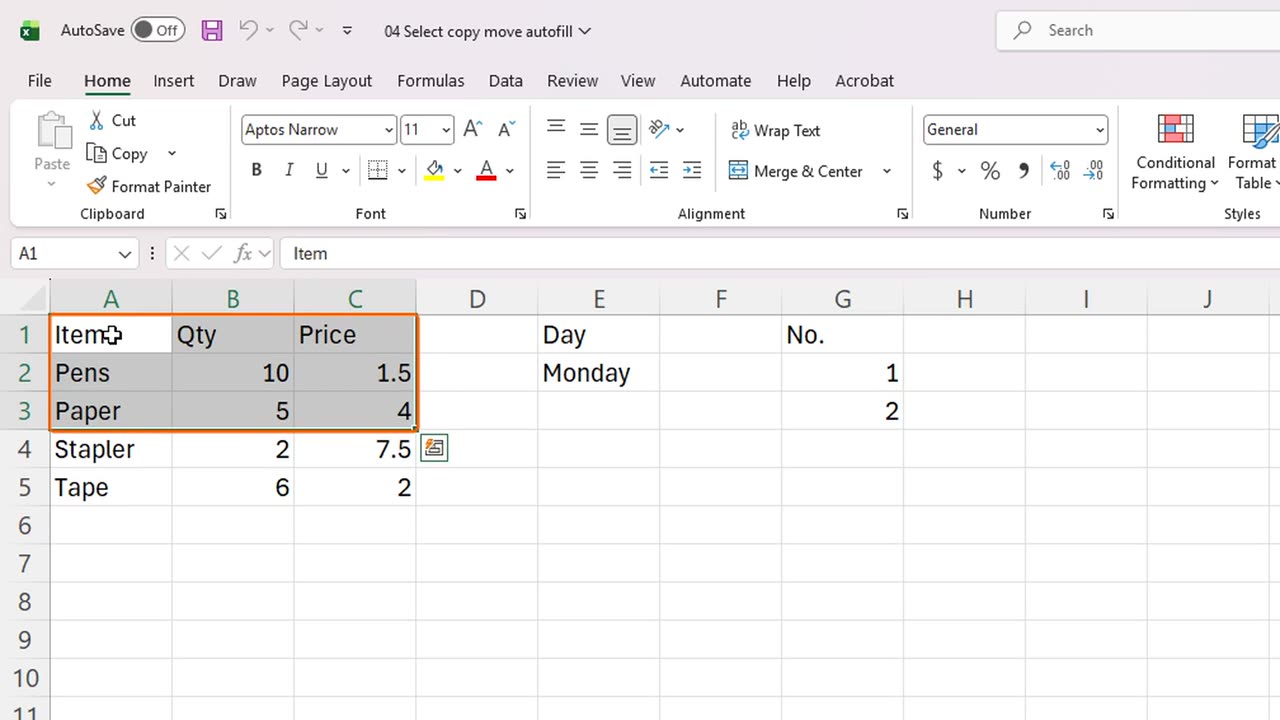
With the keyboard, hold Shift and tap the arrow keys to grow the selection. Click A1, and press Shift Right twice, and Shift Down twice.
4. Copy and paste
Now let's copy. Select row two, the pens, by dragging from A2 to C2.
Press Control and C. The dashed border, nicknamed marching ants, shows what is on the clipboard.
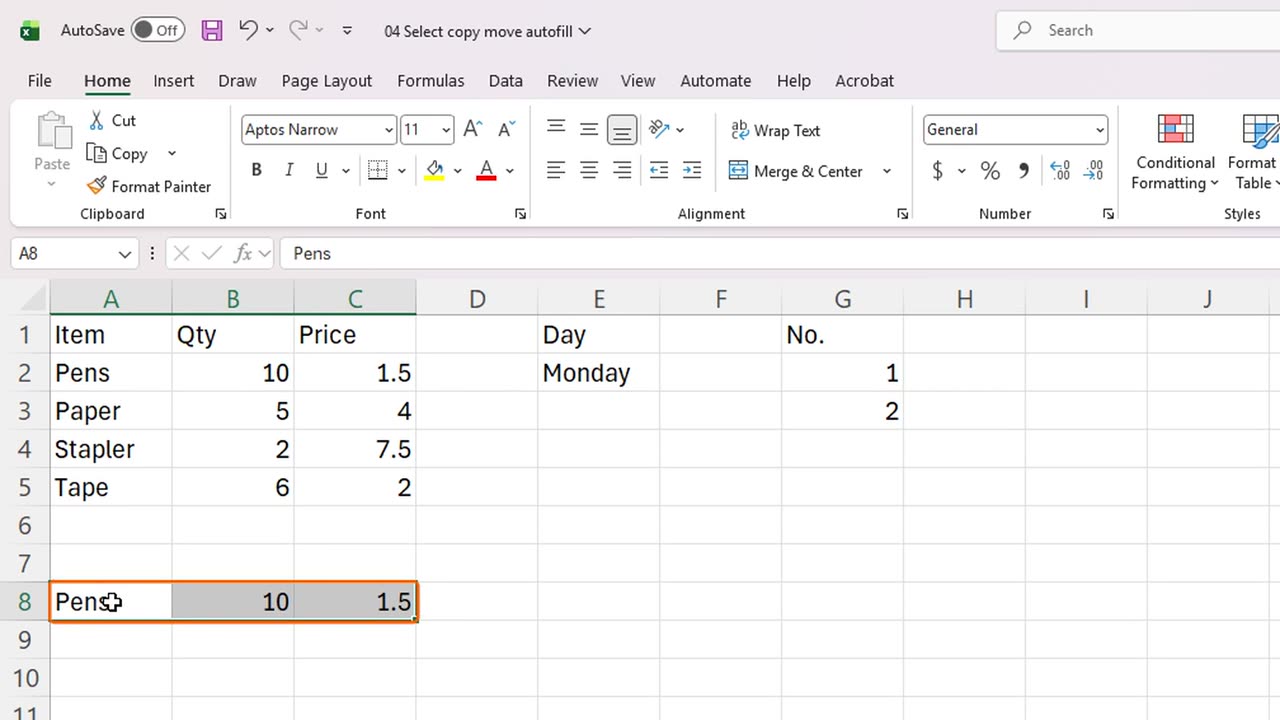
Click the destination cell, A8, and press Control and V to paste.
The data is pasted. Press Escape to remove the marching ants.
Shortcut: Ctrl + C Ctrl + V
5. Move data
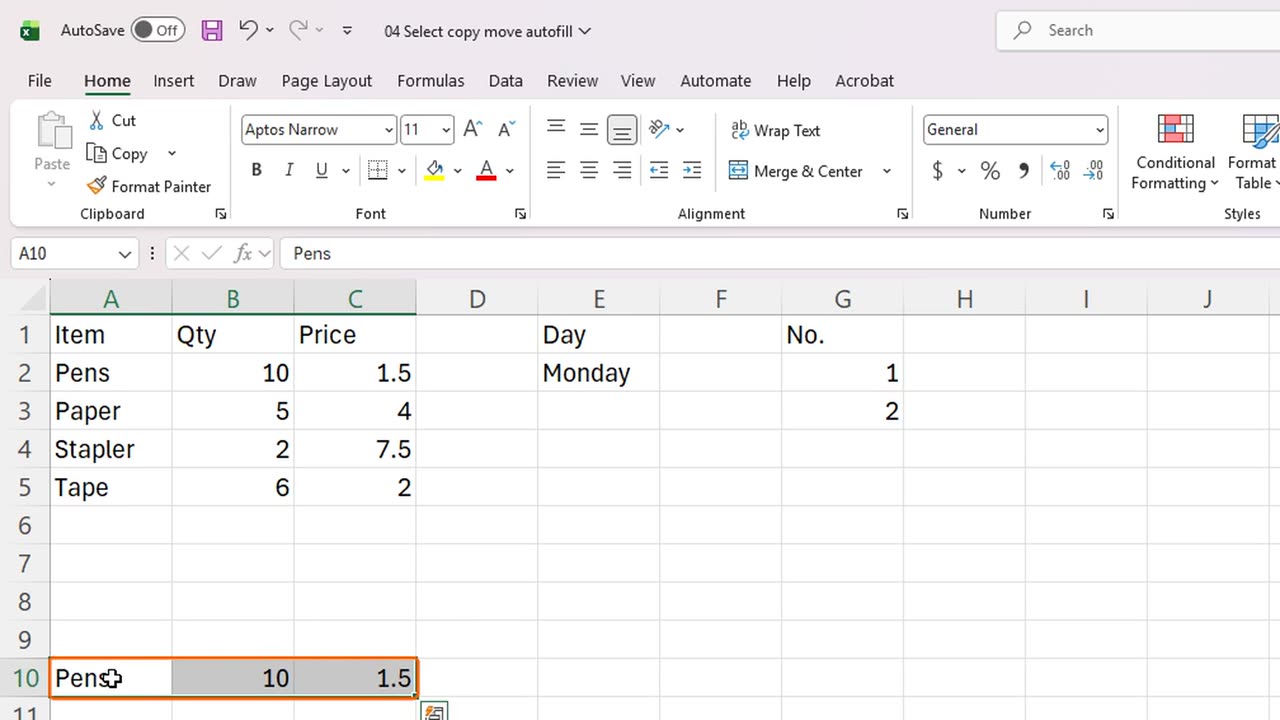
To move data instead of copying it, use Cut. Select the pasted row, then press Control and X.
Click A10 and paste with Control and V. The row moved, and the old place is empty again.
Shortcut: Ctrl + V
6. AutoFill
Now the most fun part: AutoFill. Here we have the word Monday in E2.
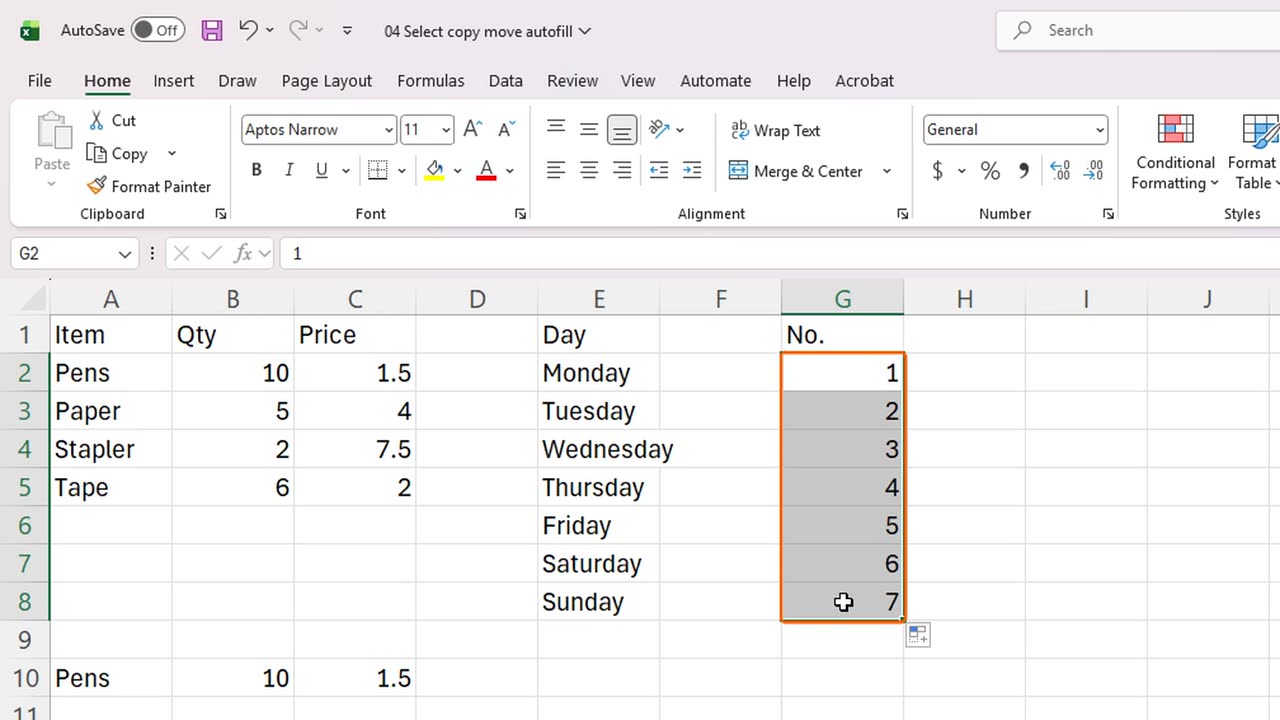
Look at the small square in the bottom-right corner of the selected cell. It is the fill handle. Drag it down to E8.
Excel recognized the pattern and filled in the days of the week.
It works with numbers too. We have one and two in column G. Select both cells.
Drag the fill handle down to G8, and Excel continues the series: three, four, five, and so on.
If you select just one number and drag, Excel copies it. If you select two, it finds the step and continues the pattern.
7. Fill shortcuts
There are shortcuts for filling too. Click I2, type Done, press Enter, then select I2 to I5.
Press Control and D, and the entry fills down. Control and R does the same to the right.
Another trick: double-clicking the fill handle fills as far as the neighboring data goes. In D1 type Total, and in D2 type equals B2 star C2.
Now select D2, and double-click its fill handle. The formula fills down in one move, as far as the neighboring columns have data.
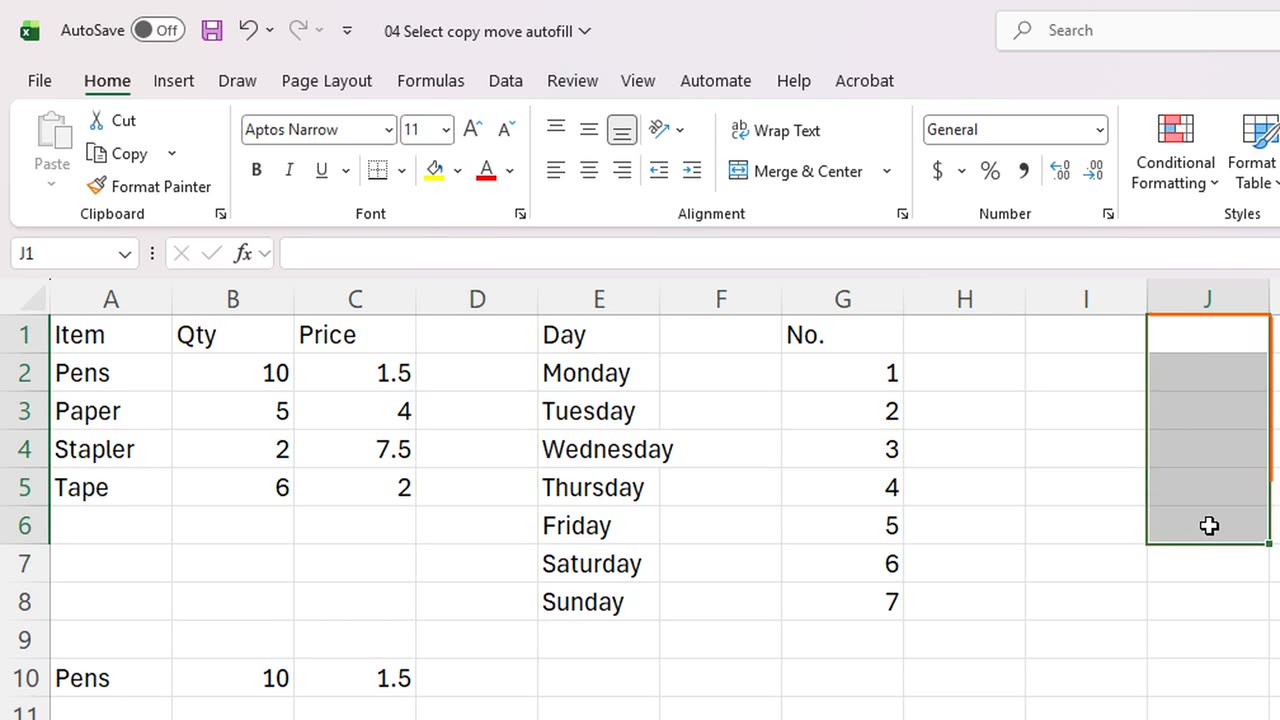
AutoFill knows months too. Type Jan in J1, then drag its fill handle down to J6.
Let's tidy up: we clear the practice cells in columns D, I and J, and keep the rest.
=B2*C2Shortcut: Ctrl + D
8. Recap
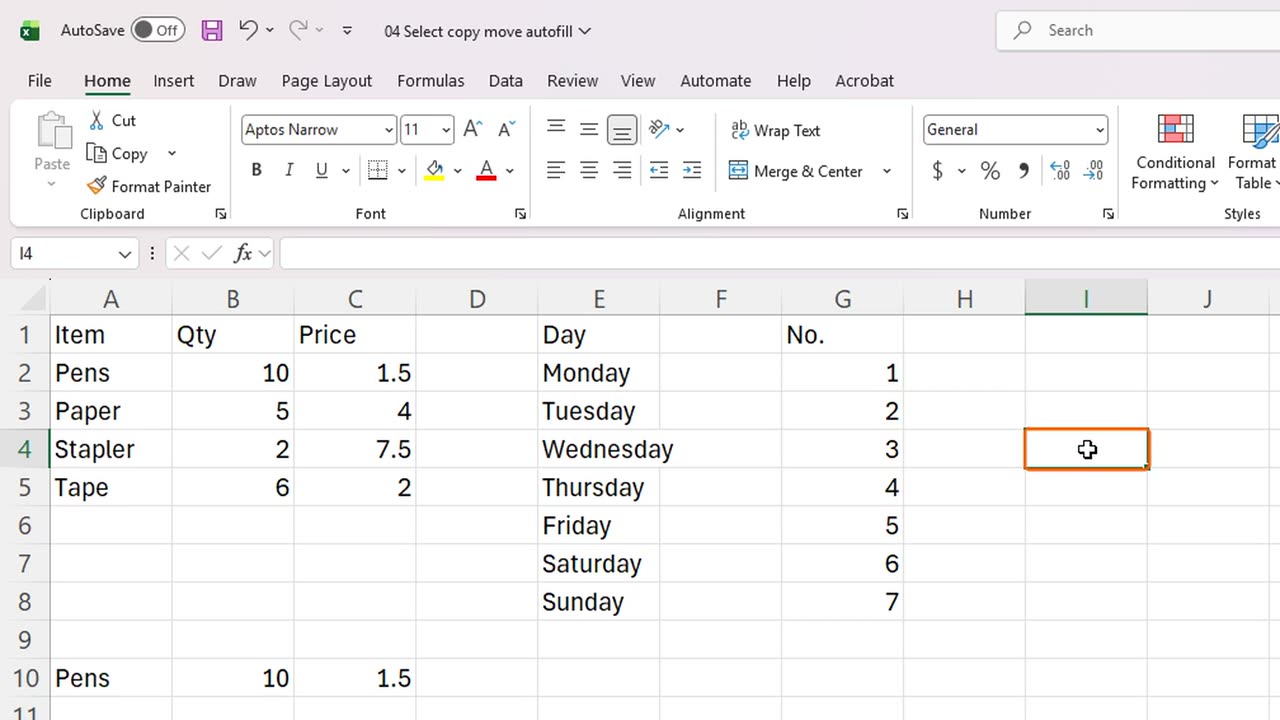
Click any cell to finish. Let's recap.
Drag to select a range, click a row number or a column letter, and press Control and A for everything.
Copy with Control and C, cut with Control and X, and paste with Control and V.
And drag the fill handle to complete days, months, numbers and many other series automatically.
Next time, we will write your first formulas.
Thanks for watching, and see you in the next lesson.
← Previous tutorial: How to Enter and Edit Data in Excel (Beginner Tutorial)
Next tutorial: Your First Excel Formulas (Beginner Tutorial) →