Excel Workbooks, Worksheets and Cells Explained
What a workbook, a worksheet and a cell are, how cell addresses work, and how to add, rename and switch sheets.
- Intro
- What is a workbook
- Worksheets
- Cells and addresses
- Ranges
- Moving around data
- Recap
Step by step
1. Intro
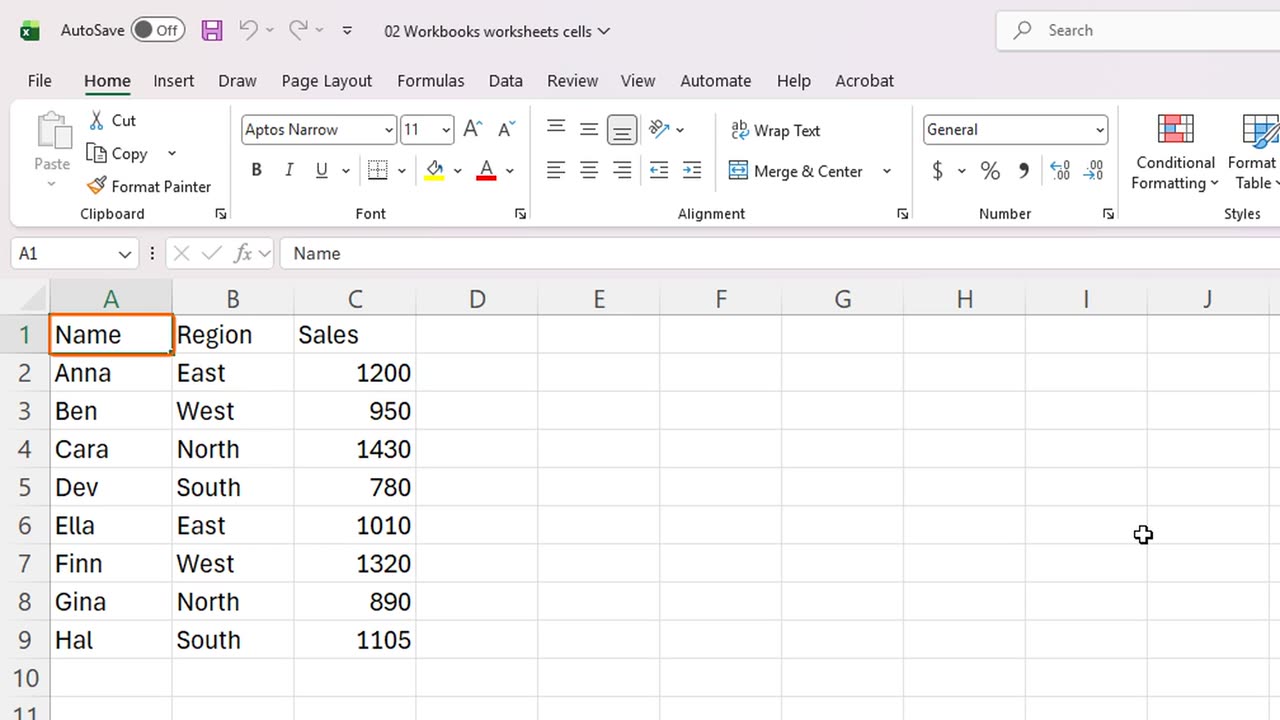
Welcome back. In this lesson, you will learn three words that Excel uses everywhere: workbook, worksheet and cell.
You will also learn how to add, rename and switch between sheets, and how to jump to any cell in a second.
2. What is a workbook
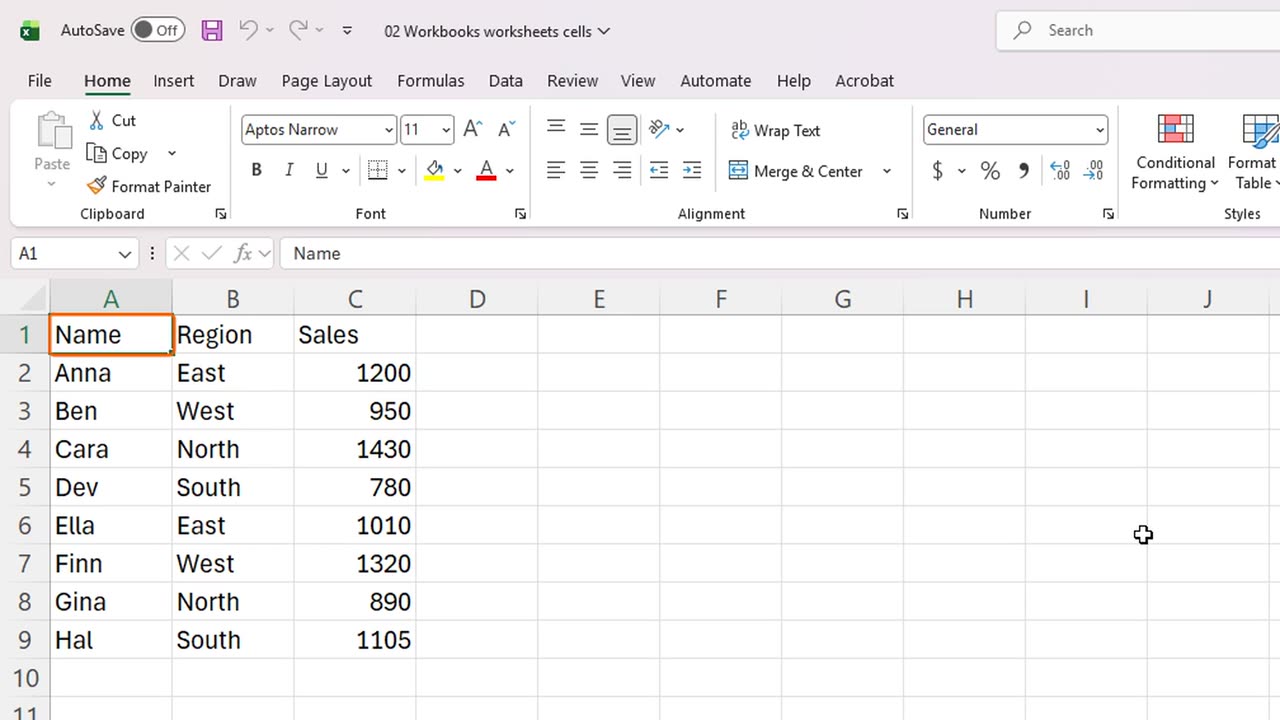
A workbook is the whole Excel file. When you save your work, you save a workbook, and its name appears in the title bar.
Think of a workbook as a binder. It can hold many pages, and each page is called a worksheet.
3. Worksheets
The worksheets of the workbook are listed as tabs at the bottom of the window. Right now we have just one, called Sheet1.
To add a new worksheet, click the plus button. You can also press Shift and F11, which does the same thing.
Now we have two sheets, and the new one is active. To rename it, press Alt, then H, O and R.
Type the new name, Budget, and press Enter. Double-clicking the tab works too.
To switch sheets, click a tab, or press Control and Page Up and Page Down. Let's go back to the first sheet.
Rename this one as well. Alt, H, O, R, then type Sales and press Enter.
Good worksheet names make a big workbook much easier to understand.
4. Cells and addresses
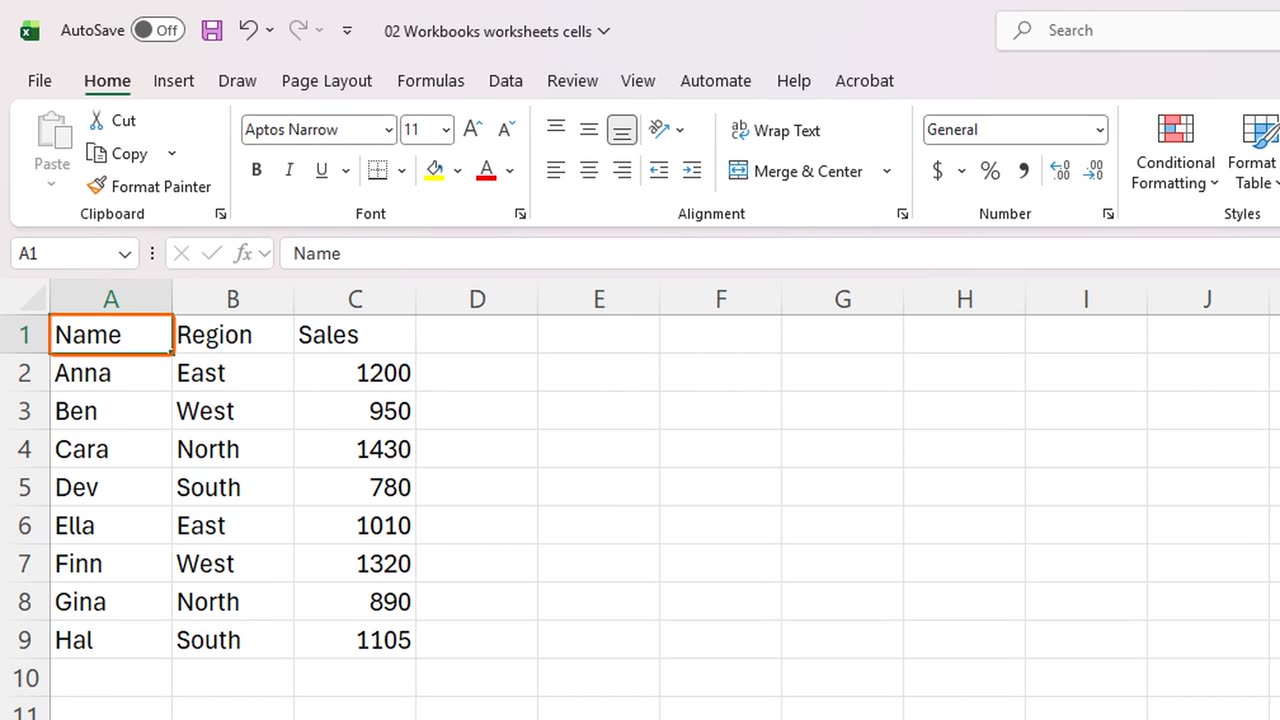
Now let's look inside a worksheet. It is a huge grid of cells, and every cell has an address made of its column letter and row number.
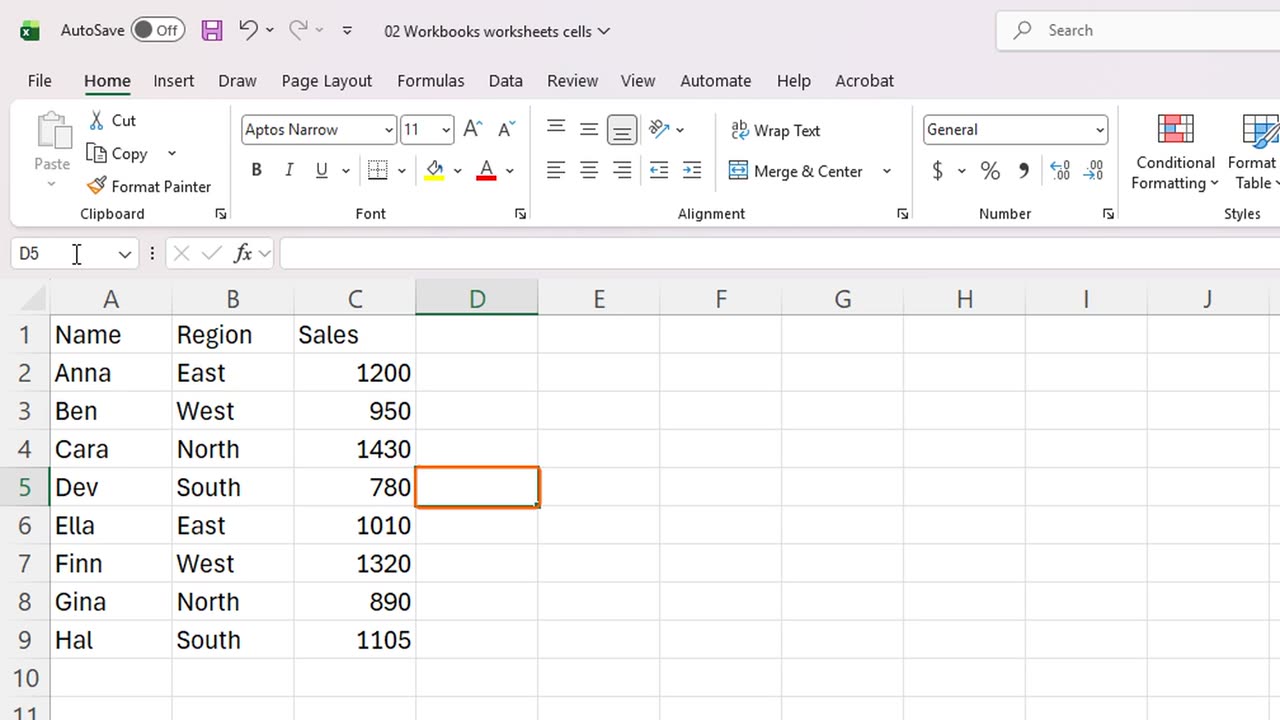
Click this cell. Its address, D5, appears in the Name Box.
The Name Box also works as a teleport. Click it, type an address such as H20, and press Enter.
Excel jumped straight to H20. This is the fastest way to reach a faraway cell.
How big is a worksheet? Press Control and the right arrow key to find out.
Excel has sixteen thousand, three hundred and eighty-four columns. The last one is called X F D.
Now Control and the down arrow. Excel has more than one million rows.
Press Control and Home to return to the top-left corner at any time.
5. Ranges
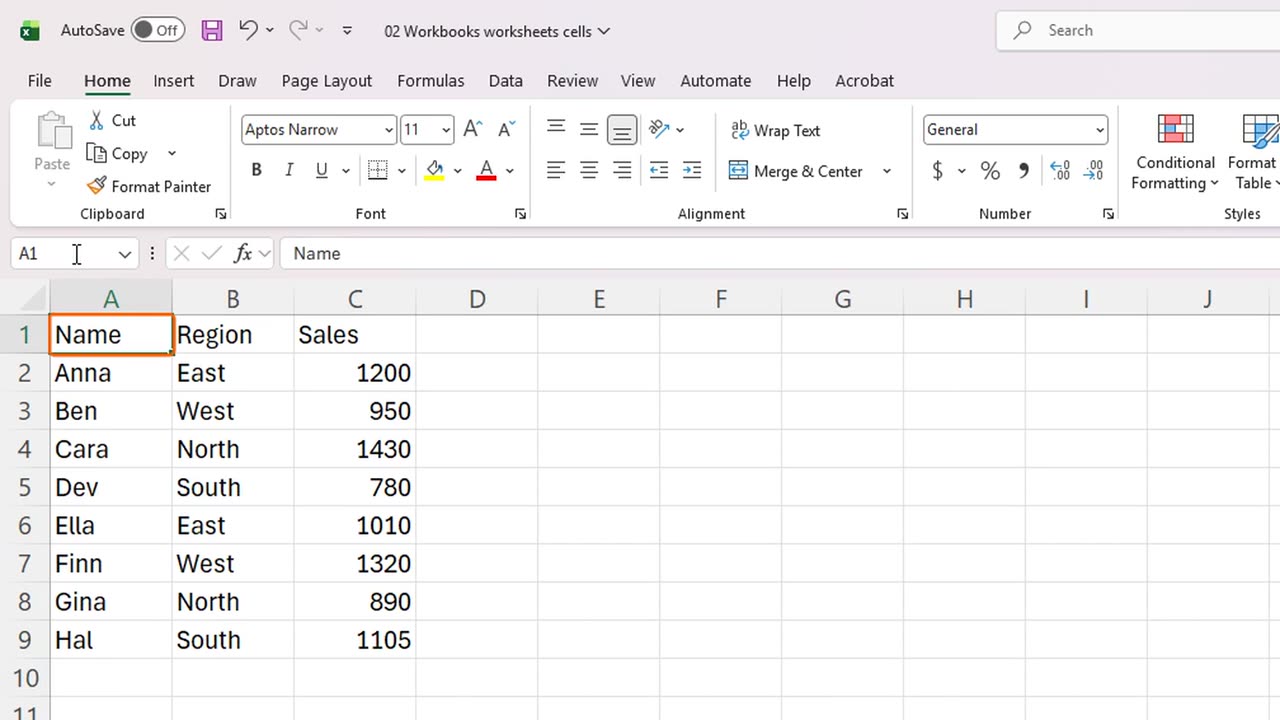
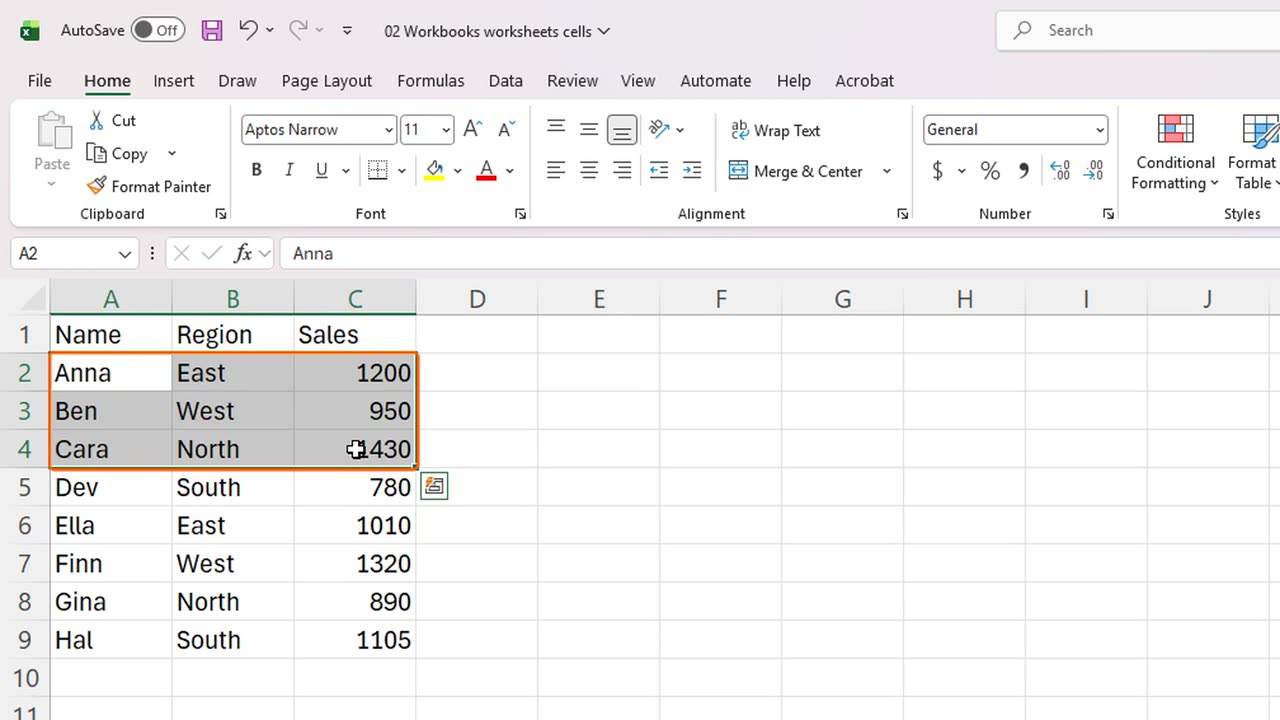
A group of cells is called a range. Drag from A2 to C4, and the range is selected.
Its address is written with a colon: A2, colon, C4. You will see ranges again and again in formulas.
6. Moving around data
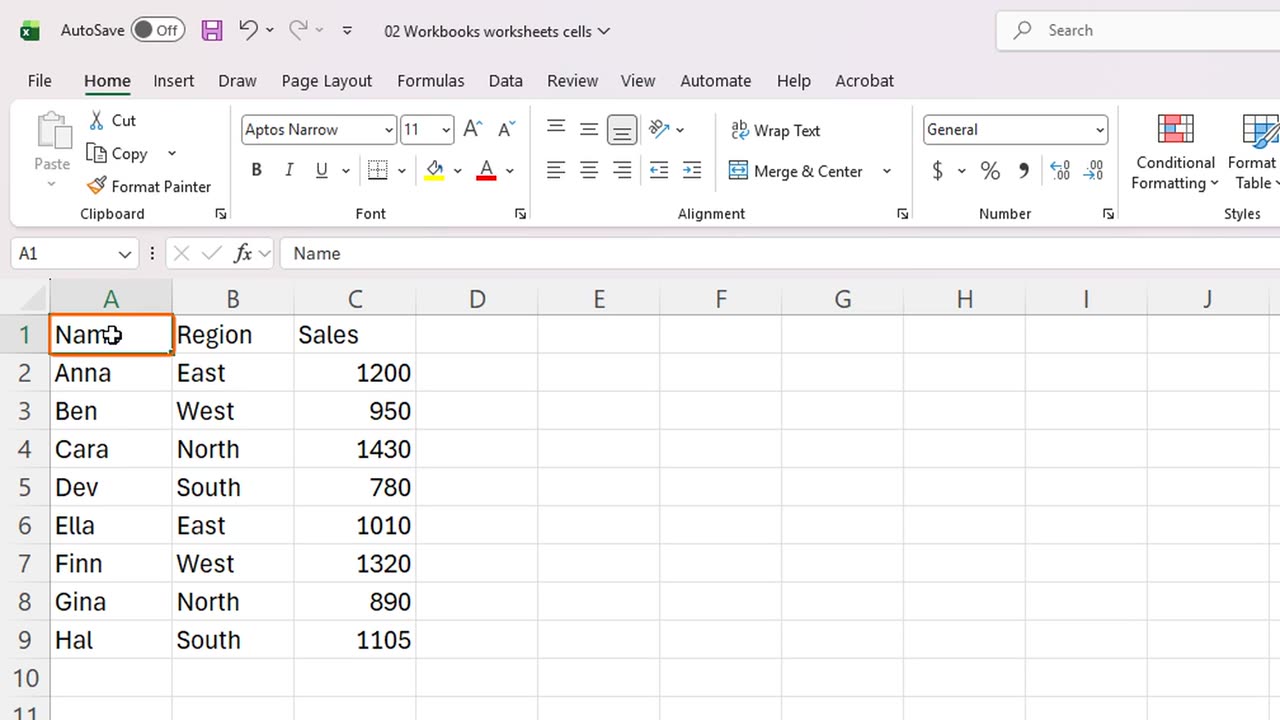
Real worksheets hold data, so let's practice moving around a table of sales. Click A1, the first cell.
Press Control and the down arrow. Excel jumps to the last row of the data, instead of the bottom of the sheet.
Click A1 again and press Control and the right arrow. Now you jump to the last column of the data.
Add Shift, and you select while you jump. Control, Shift and the down arrow selects the column down to the last entry.
Control, Shift and the left arrow extends the selection across all the columns of the table.
A shortcut for the whole table: click any cell inside it, and press Control and A.
The Home key jumps to the start of the row, and Page Down moves one screen down. Control and Home takes you back to A1.
Addresses are not case-sensitive. Click the Name Box, type a lowercase d five, and press Enter.
Every cell can hold three kinds of content: text, numbers, and formulas. We will meet all three in the next lessons.
How many sheets should a workbook have? As many as you need. A good habit is one sheet per topic, such as one per month or one per department.
7. Recap
Click once to deselect. Let's recap what we learned.
A workbook is the Excel file. A worksheet is one page inside it. A cell is one box on a worksheet, and a range is a group of cells.
Add a sheet with the plus button, switch with Control Page Up and Page Down, and rename with Alt, H, O, R.
Use the Name Box to jump to any address, and Control with the arrow keys to move across the data.
Next time, you will learn how to type and edit data in cells.
Thanks for watching, and see you in the next lesson.
← Previous tutorial: Excel Screen Tour for Beginners (Ribbon, Cells, Formula Bar)
Next tutorial: How to Enter and Edit Data in Excel (Beginner Tutorial) →