Excel Screen Tour for Beginners (Ribbon, Cells, Formula Bar)
A guided tour of every part of the Excel window: ribbon, Name Box, formula bar, grid, sheet tabs, status bar and zoom.
- Intro
- Title bar and Quick Access Toolbar
- The ribbon
- Name Box and formula bar
- Columns, rows and cells
- Sheet tabs
- Status bar and zoom
- Recap
Step by step
1. Intro
Welcome to Microsoft 365 Training. In this first lesson, we take a guided tour of the Excel screen.
By the end, you will know the name and the job of every part of the window, so you will never feel lost in Excel again.
2. Title bar and Quick Access Toolbar
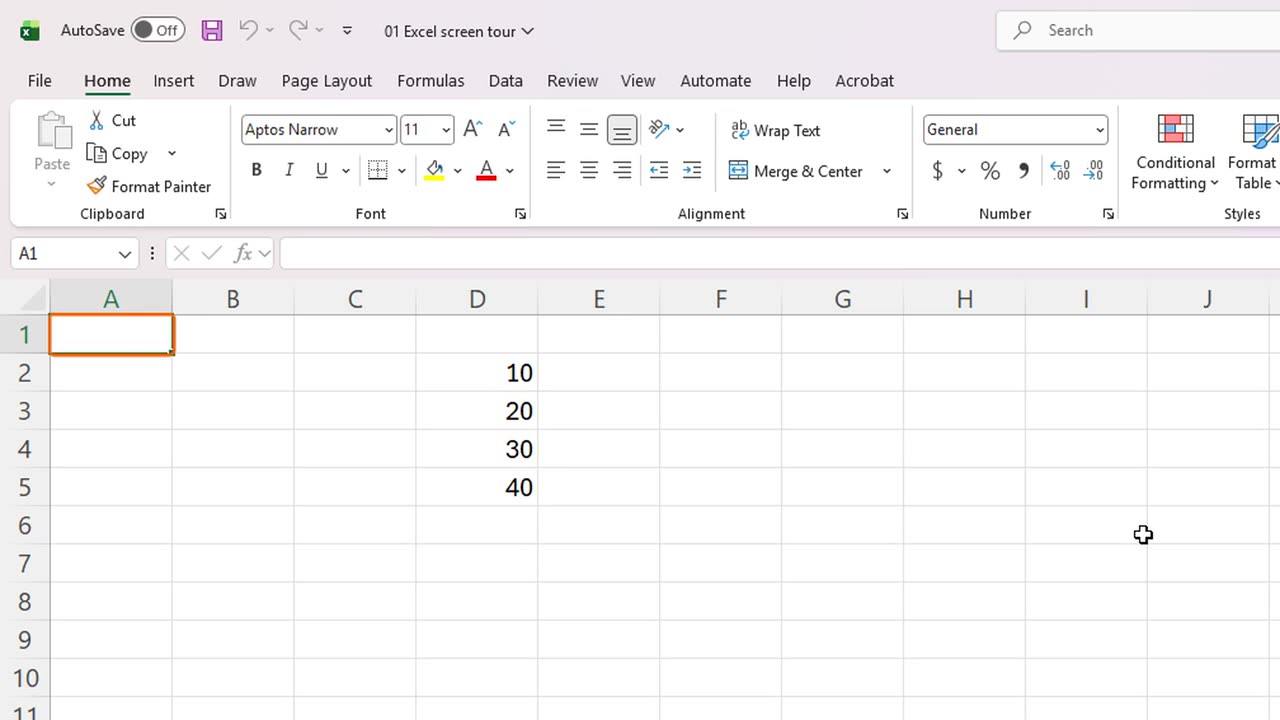
At the very top is the title bar. It shows the name of your workbook, which is the Excel file you are working in.
On the left is the Quick Access Toolbar. It keeps shortcuts such as Save, Undo and Redo always within reach.
In lesson eight, you will customize this toolbar, so your favorite commands are always one click away.
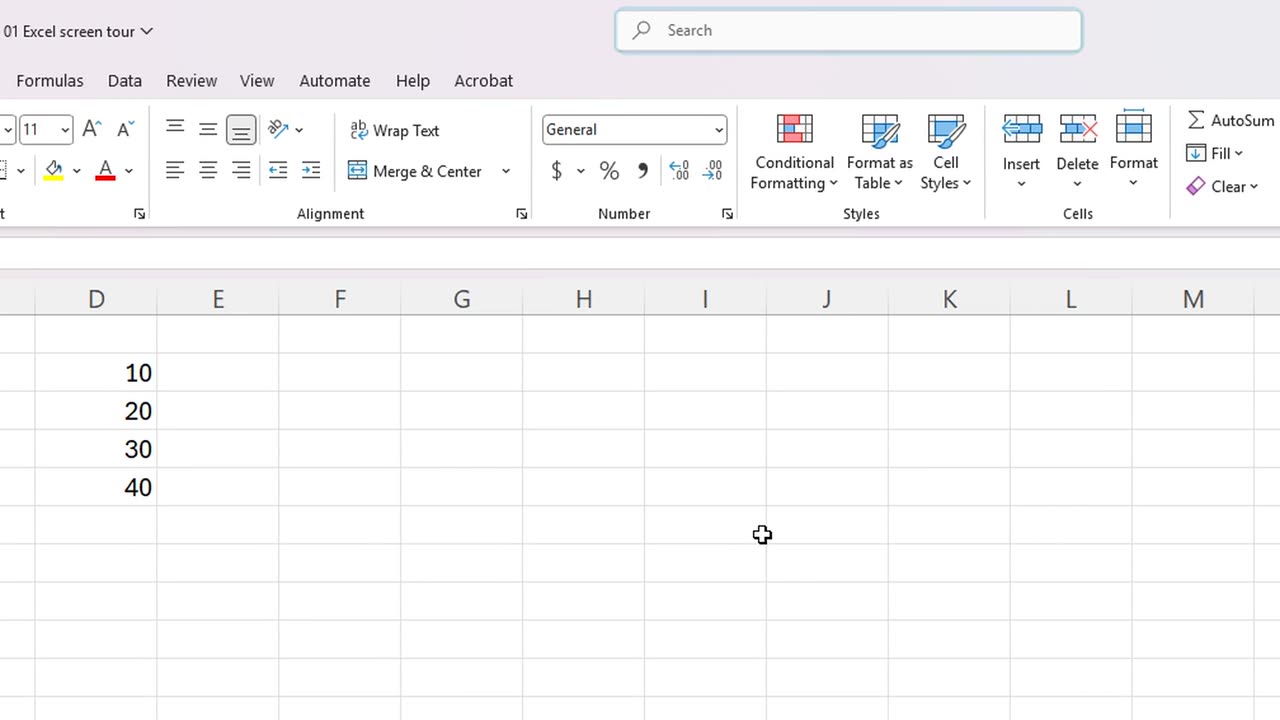
Next to it is the Search box. Type what you want to do, and Excel will find the command for you.
3. The ribbon
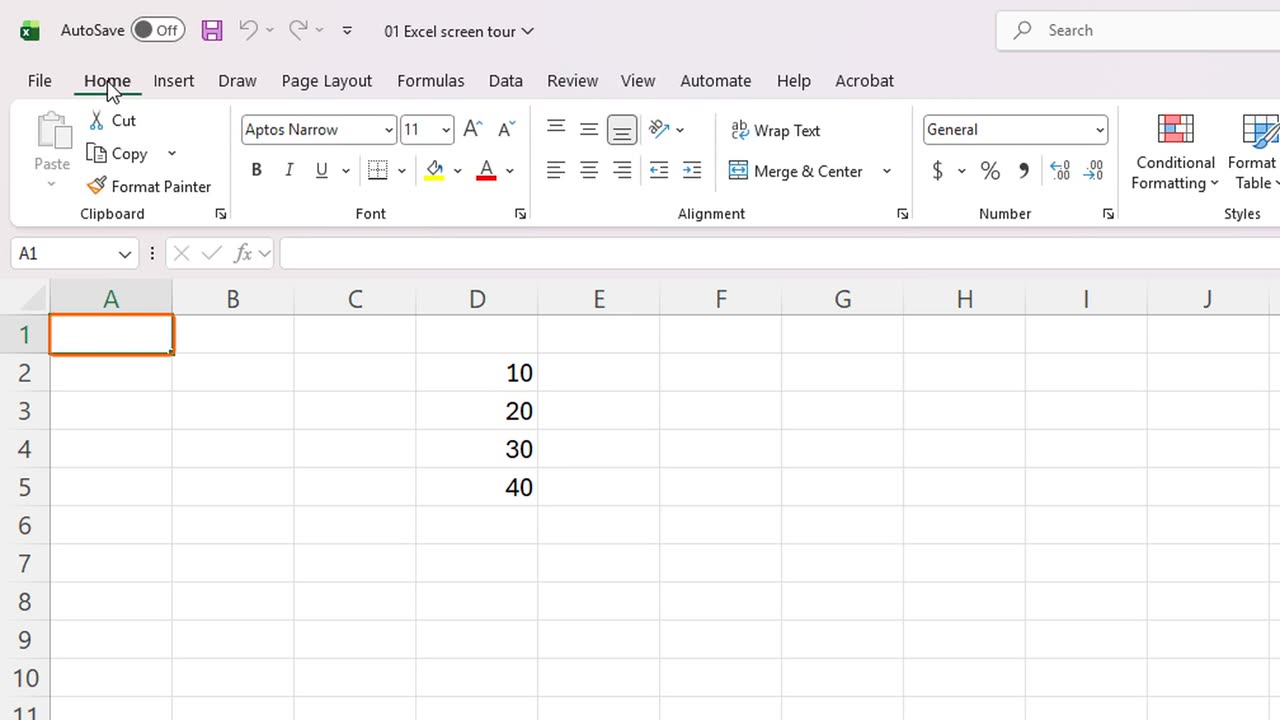
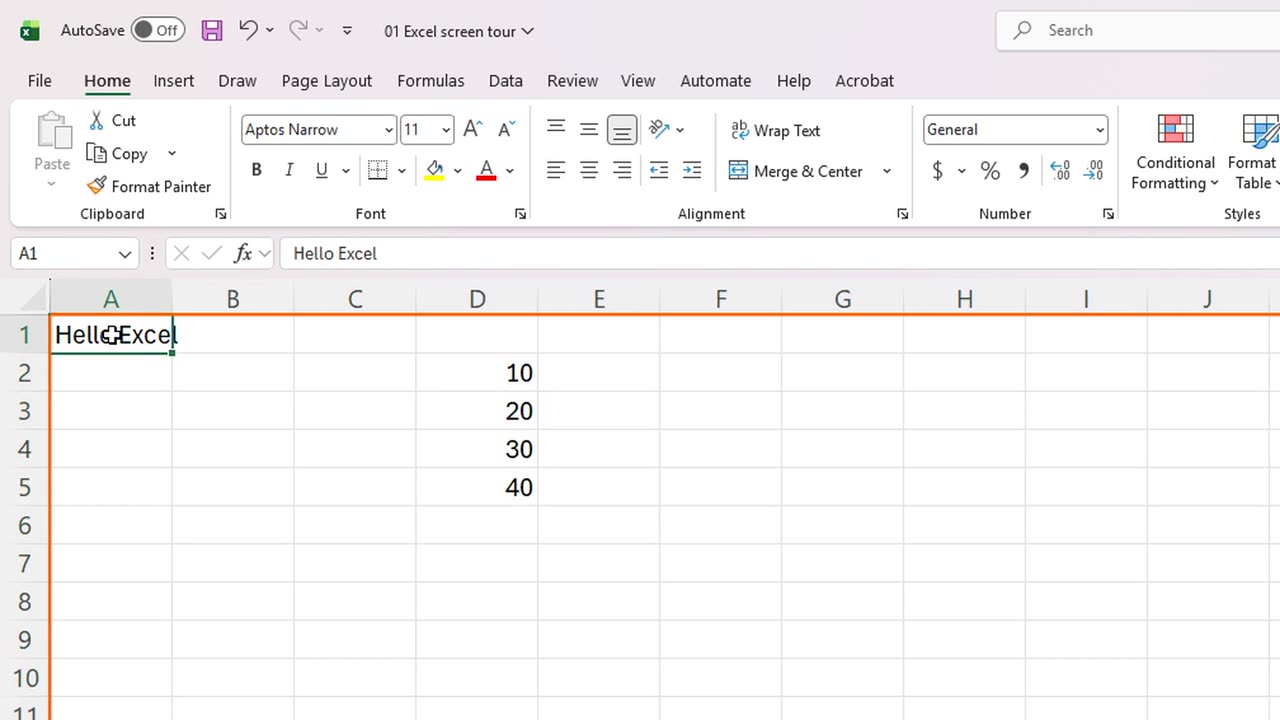
Below the title bar is the ribbon. It is organized into tabs: Home, Insert, Page Layout, Formulas, Data, Review and View.
The File tab on the far left is different. It opens the Backstage view, where you save, print and share your work.
The Home tab is where you will spend most of your time. Its commands are divided into groups of related tools.
The Clipboard group has Cut, Copy and Paste. The Font group controls the typeface, the size, bold, italic and colors.
Alignment decides where text sits inside a cell, and Number controls how numbers look, for example as currency or as a percent.
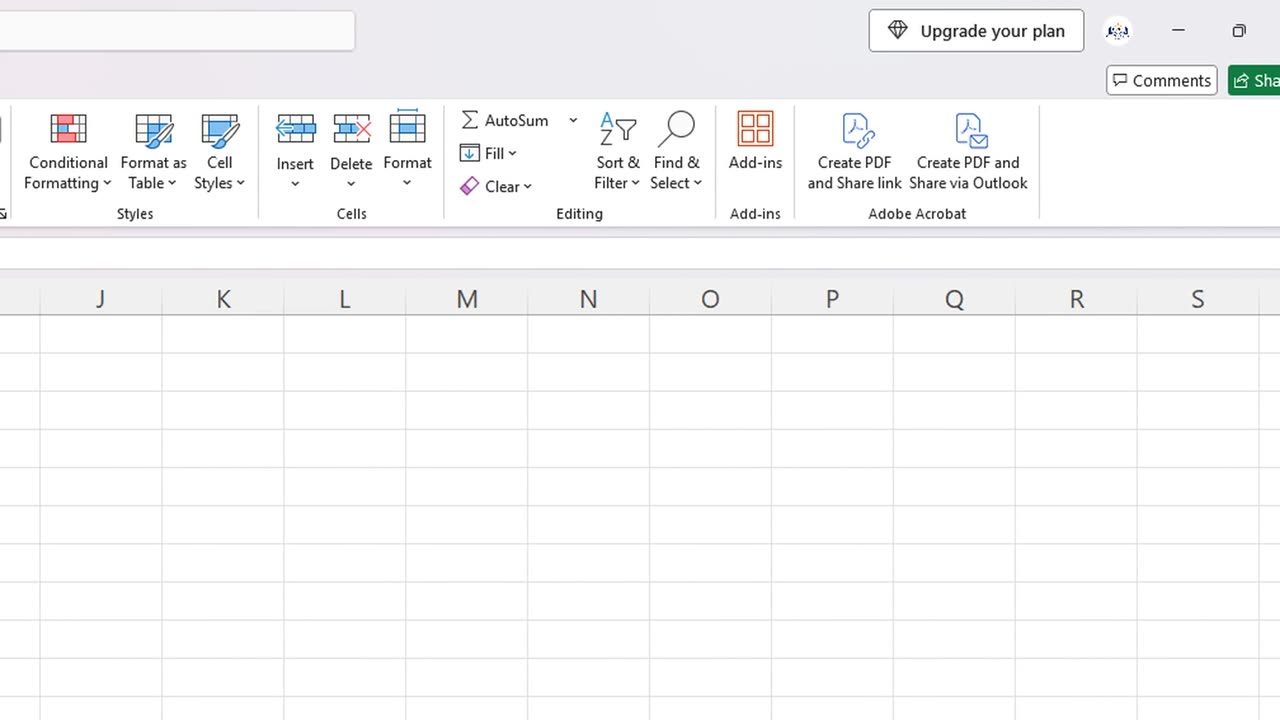
Further to the right are Styles, Cells and Editing. Editing holds AutoSum, Sort and Filter, and Find and Select.
Click any tab to change the ribbon. For example, the Insert tab has tables, charts and pictures.
Click Home to come back. You can also double-click a tab to hide or show the ribbon.
Let's visit a few more tabs. The Formulas tab holds the function library, and the tools for checking your formulas.
The Data tab is for sorting, filtering, and importing data from other sources.
The Review tab has spell check, comments, and the tools to protect a sheet.
And the View tab controls how you see the workbook, with options like gridlines, zoom, and freezing rows.
Each of these tabs will get its own lessons in this course. For now, go back to Home, where you will spend most of your time.
4. Name Box and formula bar
Under the ribbon is the Name Box. It shows the address of the selected cell, right now A1.
Next to it is the formula bar. When you type in a cell, or select one, its content appears here too.
The small f x button opens the Insert Function dialog. We will use it in the lesson about formulas.
At the far right end of the formula bar, a small arrow expands it. This helps when a formula or a text is very long.
5. Columns, rows and cells
The big area below is the grid. It is made of columns, which have letters, and rows, which have numbers.
Where a column meets a row, you get a cell. Each cell has an address, made of its column letter and its row number. This one is C4.
The cell you select is called the active cell. Whatever you type goes into the active cell.
The small triangle in the top-left corner selects every cell in the worksheet at once.
6. Sheet tabs
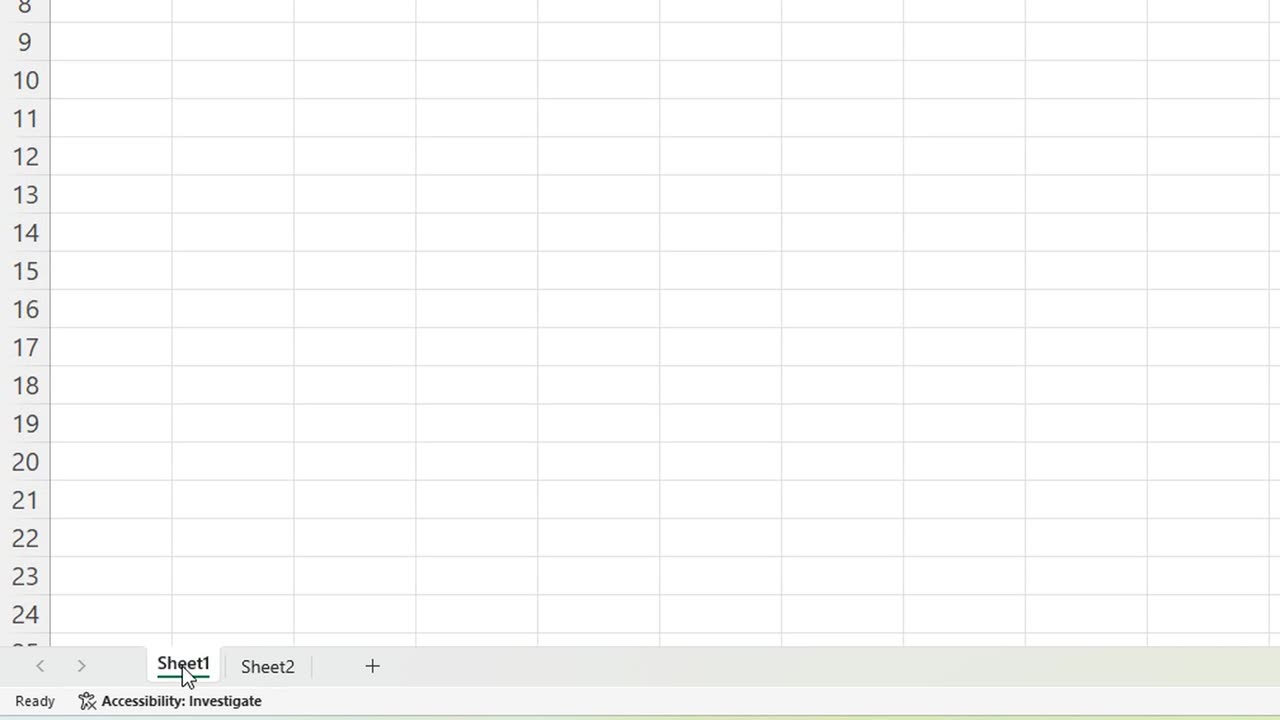
Now look at the bottom. The sheet tabs show the worksheets in your workbook. A new workbook starts with one sheet.
The plus button adds a new sheet. Click it, and Sheet2 appears.
Click a tab to switch sheets. Here we go back to Sheet1.
7. Status bar and zoom
Above the tabs, at the bottom left, is the status bar. It says Ready when Excel is waiting for you.
Now let's select some numbers. Drag across these four cells.
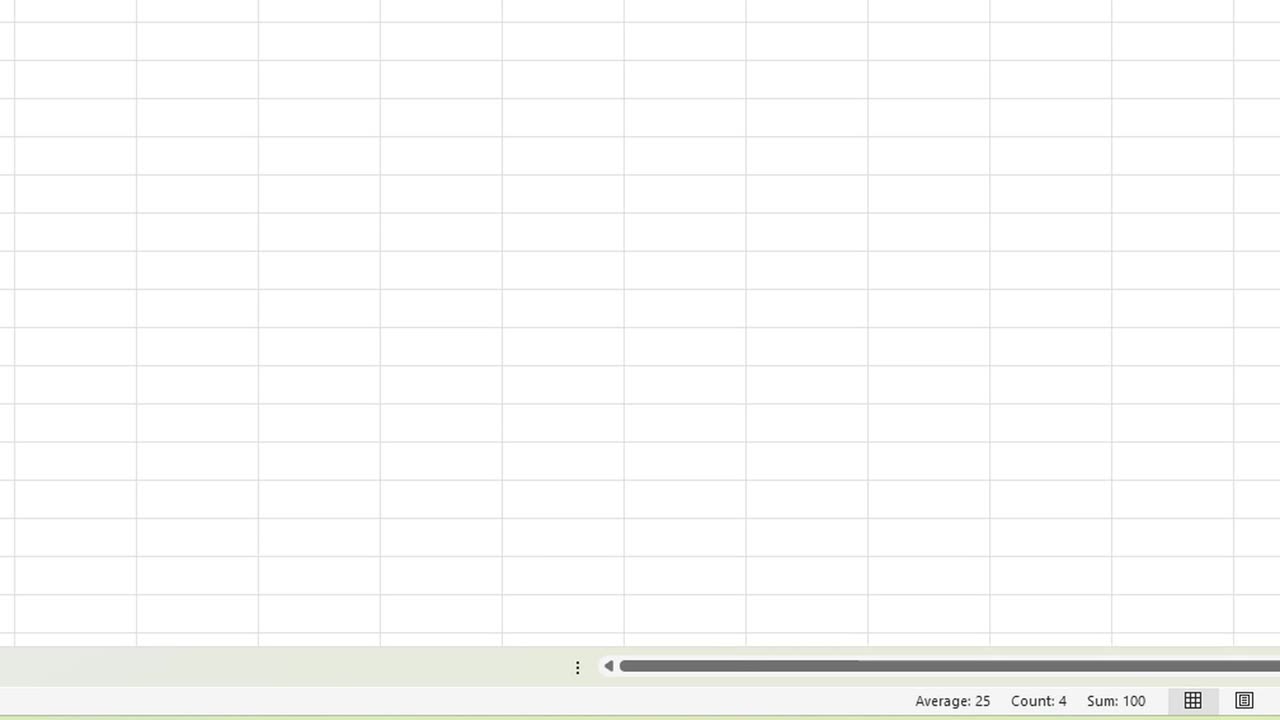
Look at the status bar. Excel instantly shows the average, the count and the sum of the selected cells.
That is a quick way to check totals without writing a single formula.
If you right-click the status bar, you can choose which calculations it shows, such as minimum, maximum, and numerical count.
At the right are the view buttons: Normal, Page Layout and Page Break Preview. Next to them is the zoom slider.
Drag the slider, or use the plus and minus buttons, to make everything on the screen bigger or smaller.
8. Recap
Let's recap. At the top are the title bar, the Quick Access Toolbar and the ribbon with its tabs and groups.
Below them are the Name Box and the formula bar, then the grid of columns, rows and cells.
At the bottom are the sheet tabs, the status bar and the zoom slider.
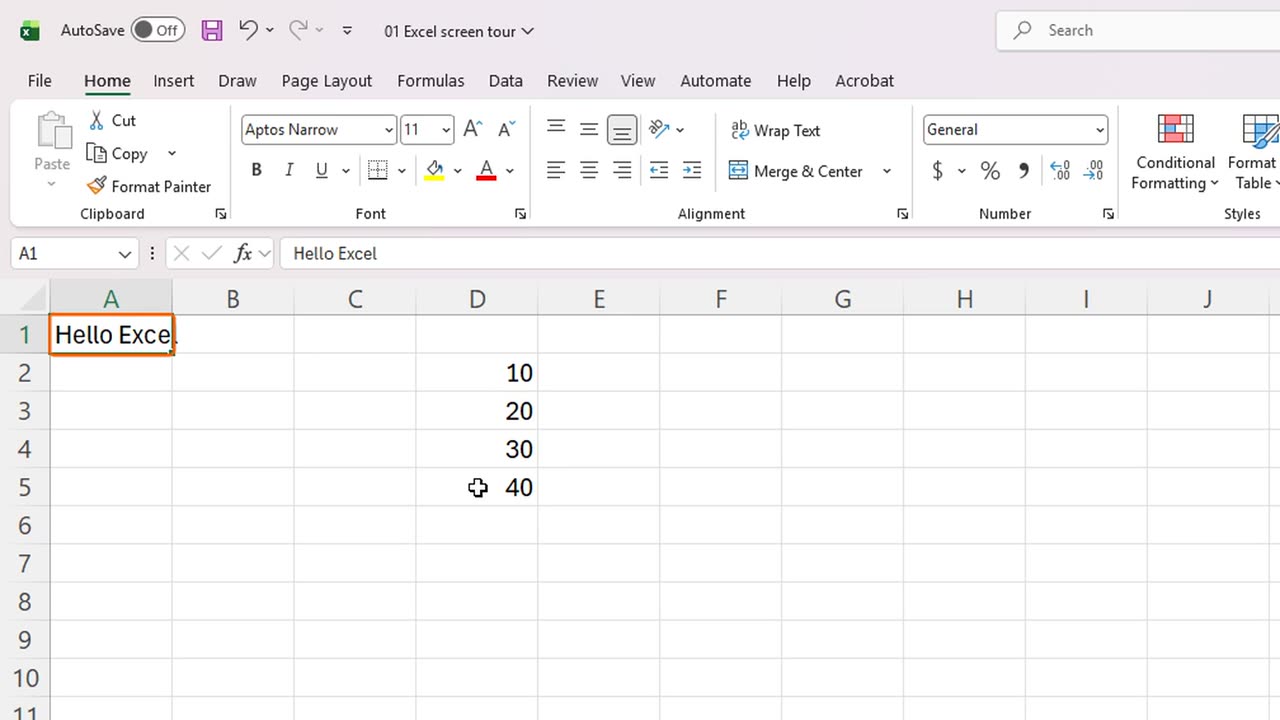
One last tip. If you ever feel lost on a big worksheet, press Control and Home to return to cell A1, and use the Search box to find any command.
In the next lesson, you will learn about workbooks, worksheets and cells in more detail.
Thanks for watching, and see you in the next lesson.
Next tutorial: Excel Workbooks, Worksheets and Cells Explained →