Excel IF Function for Beginners (with Examples)
Make Excel decide: IF with text and numbers, comparison operators and a nested IF.
- Intro
- The idea
- Your first IF
- Comparison operators
- Numbers as answers
- Nested IF
- Rules in a cell
- Common mistakes
- Recap
Step by step
1. Intro
Welcome back. In this lesson, you will teach Excel to make decisions. The IF function is one of the most powerful tools in Excel, and it is easier than it looks.
You will learn the three parts of IF, the comparison operators, how to return text or numbers, how to combine several decisions with a nested IF, and how to keep your rules in a cell.
2. The idea
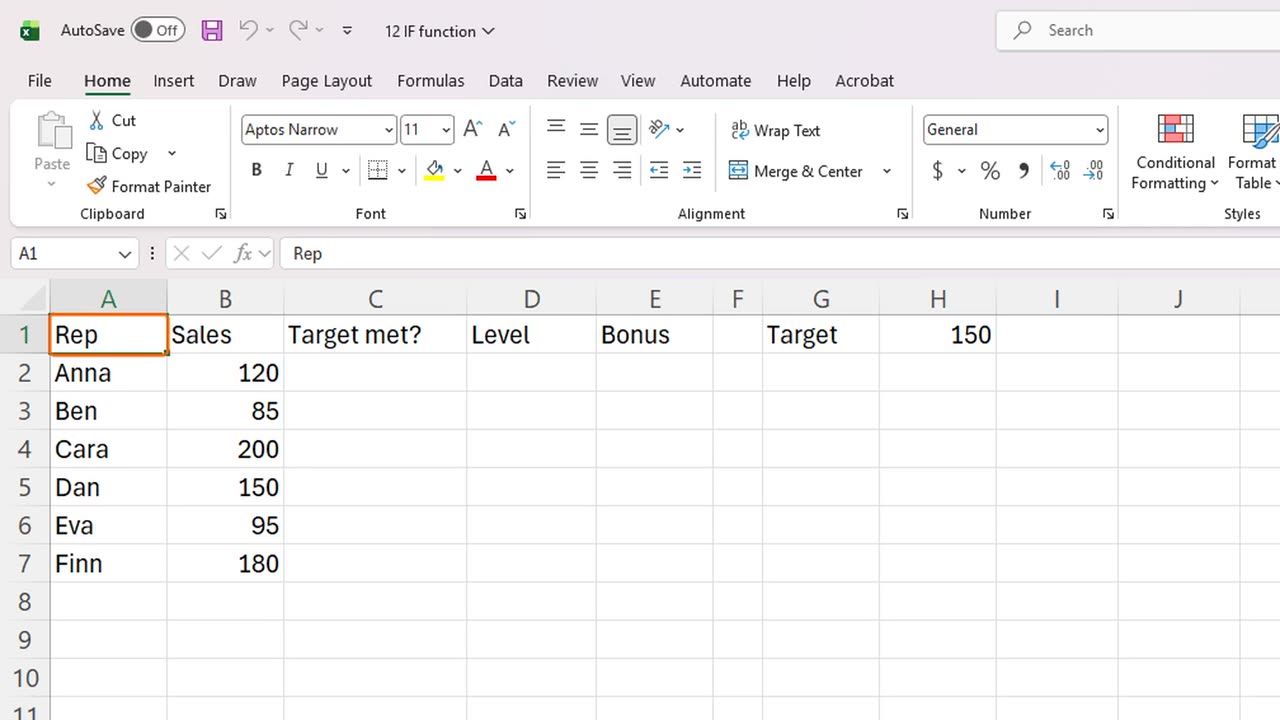
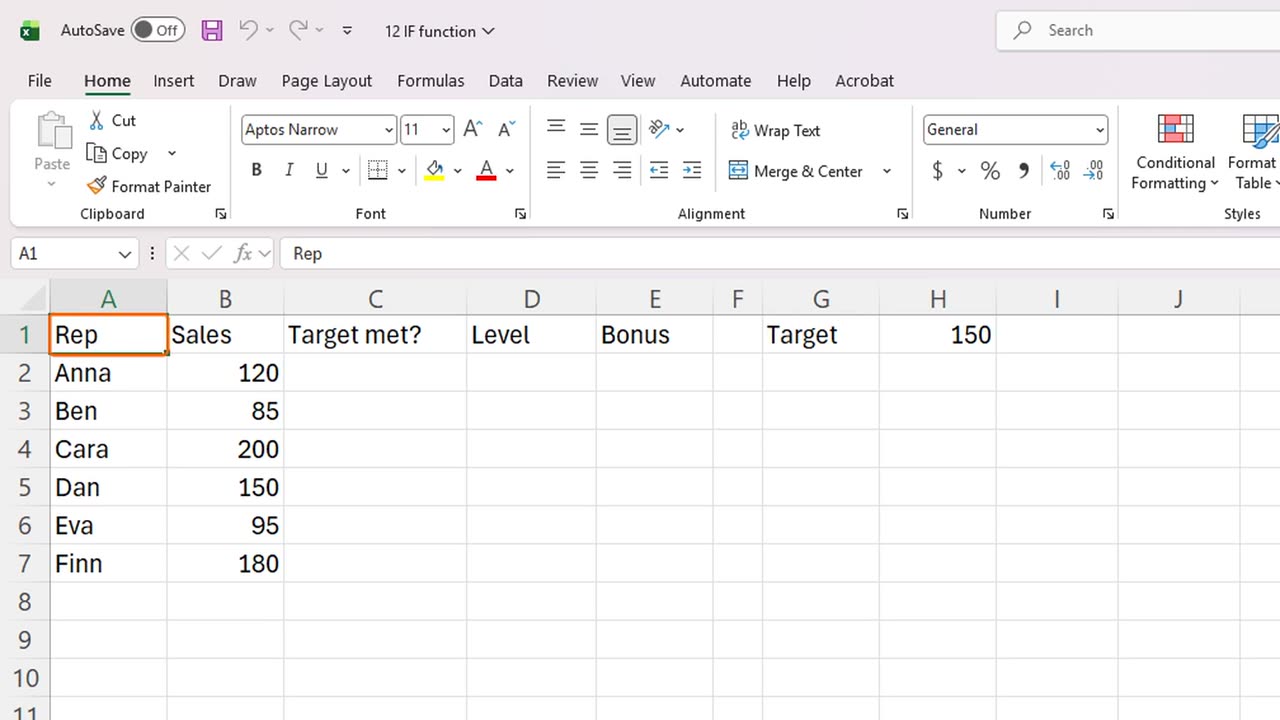
Here are six sales people and their monthly sales. The target is one hundred and fifty, stored in cell H1. We want Excel to tell us who reached it.
The IF function asks a question and gives one of two answers. It has three parts, separated by commas. First, the test. Second, the answer if the test is true. Third, the answer if the test is false.
3. Your first IF
Click C2 and type equals IF, open bracket, B2 greater than or equal to dollar H dollar 1, comma, Yes in quotes, comma, No in quotes, close bracket.
The test is B2 greater than or equal to the target. Anna sold one hundred and twenty, which is below one hundred and fifty, so the answer is No. We used dollar signs from the last lesson, so the target stays locked.
Now drag the fill handle down to C7.
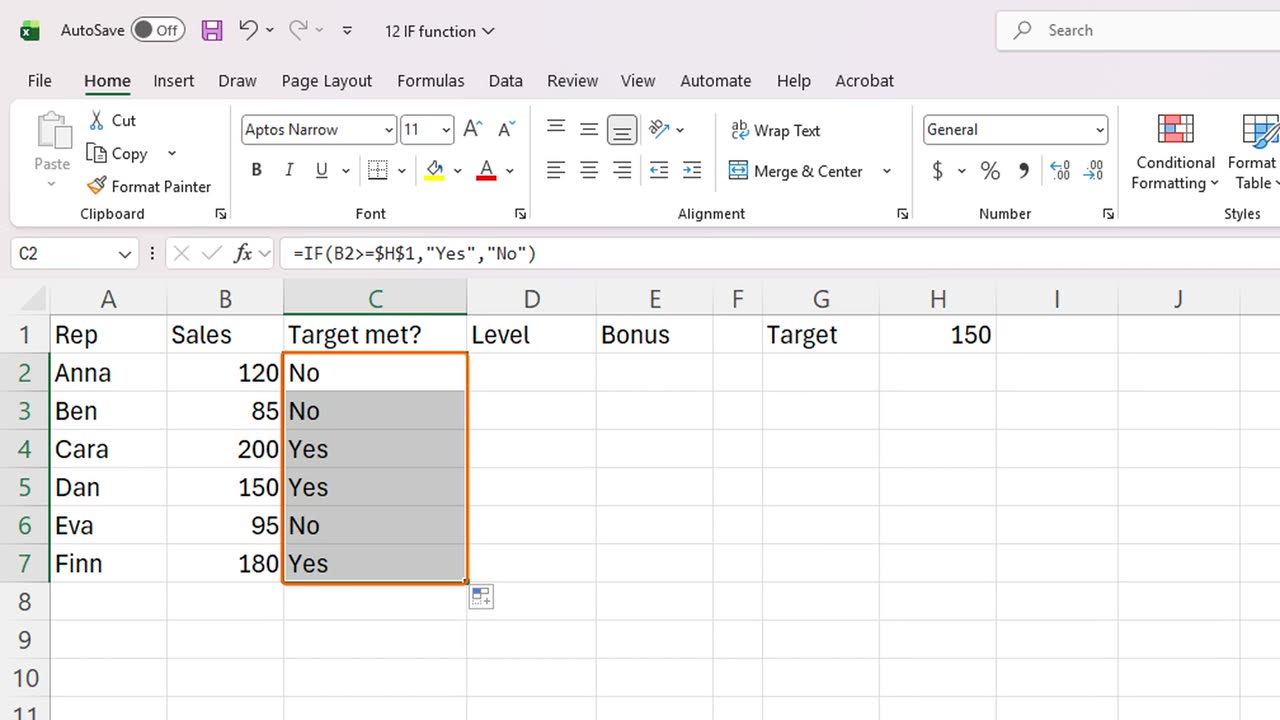
Cara, Dan and Finn reached the target, so they get a Yes. Everyone else gets a No. One formula, six decisions.
=IF(B2>=$H$1,"Yes","No")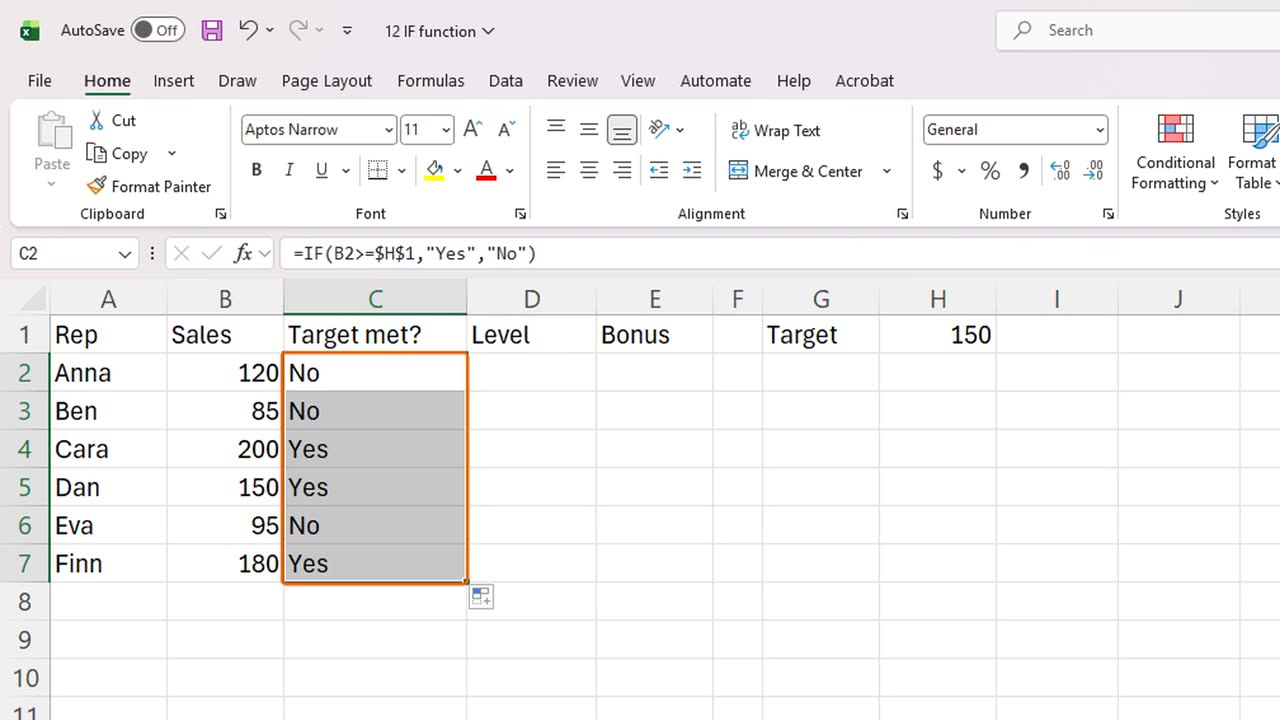
4. Comparison operators
The test can use six comparison operators. Equals, not equal, greater than, less than, greater than or equal, and less than or equal. Be careful with the order of the signs: it is greater than or equal, not equal or greater.
5. Numbers as answers
An IF can return numbers too. Let's calculate a bonus. People who reach the target get ten percent of their sales, and everyone else gets zero. Click E2 and type equals IF, B2 greater or equal dollar H dollar 1, comma, B2 star zero point one, comma, zero.
Notice that text answers need quotes, but numbers and calculations do not. Fill the formula down to E7.
Cara gets twenty, Dan fifteen and Finn eighteen. Everyone else gets zero.
=IF(B2>=$H$1,B2*0.1,0)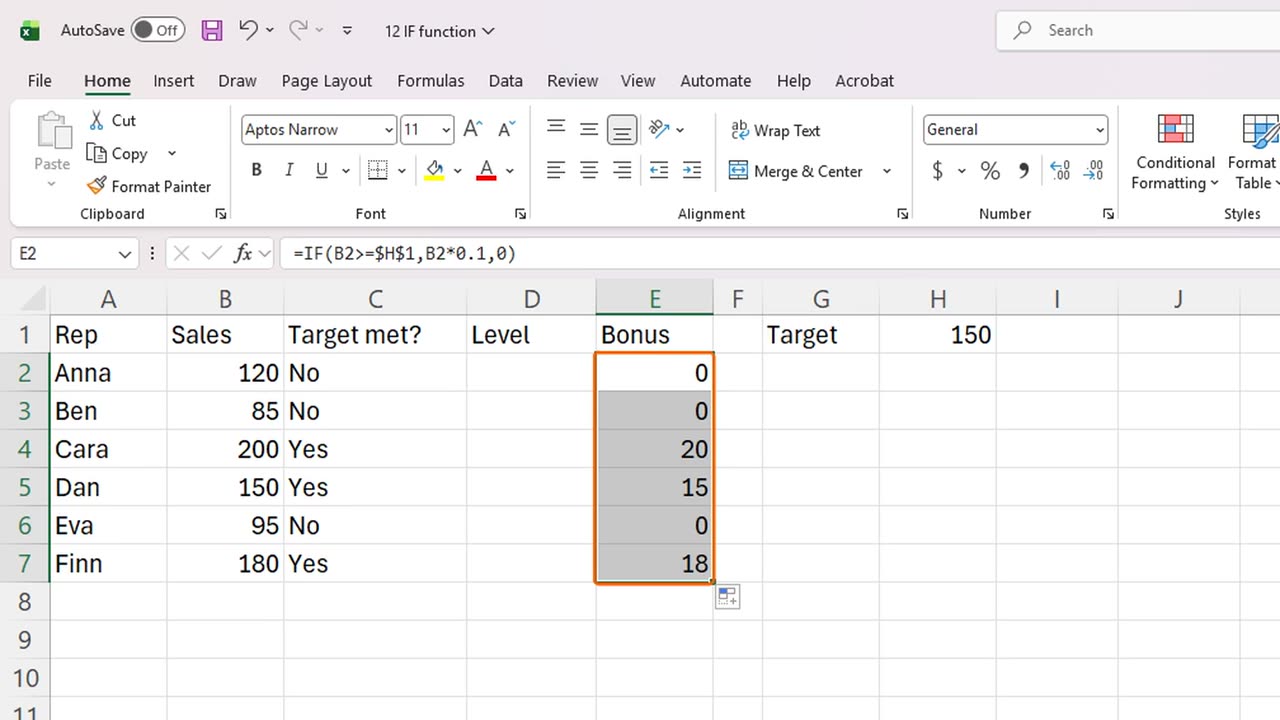
6. Nested IF
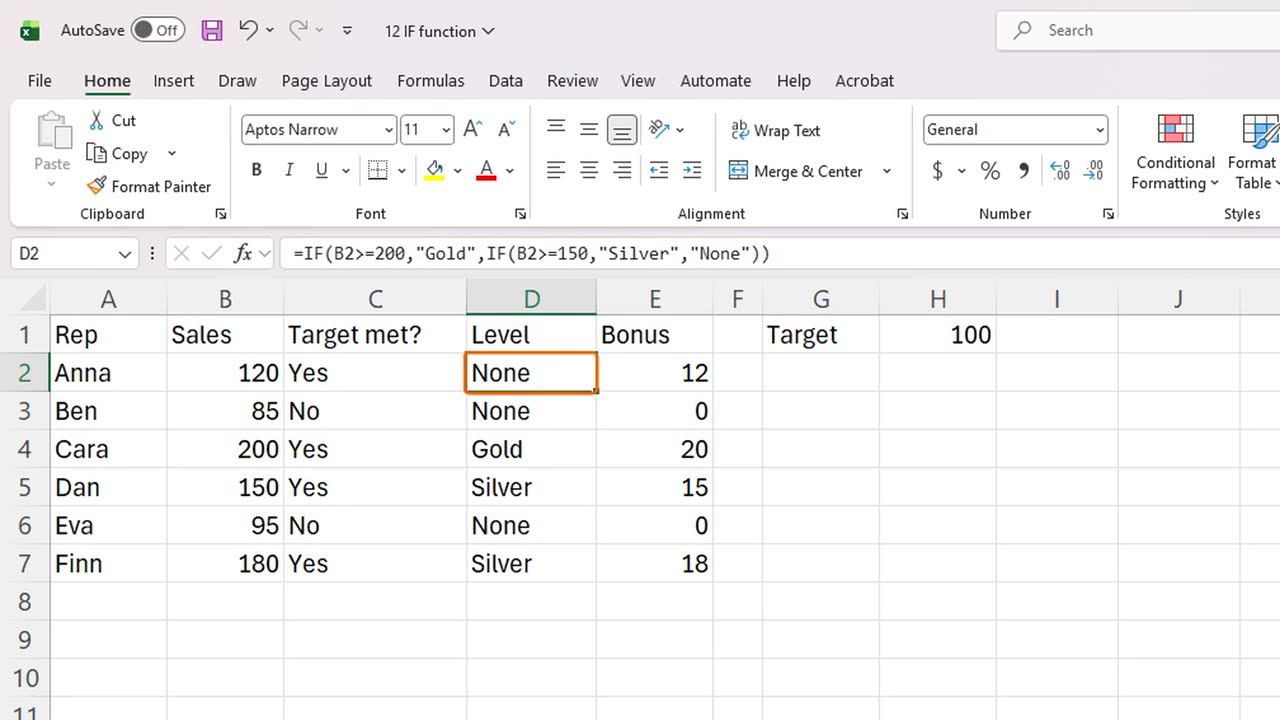
What if we need more than two outcomes? Gold for two hundred or more, Silver for one hundred and fifty or more, and None for the rest. For that, we put an IF inside another IF. This is called a nested IF.
Click D2 and type equals IF, B2 greater or equal 200, comma, Gold, comma, and then a second IF: B2 greater or equal 150, comma, Silver, comma, None. Close two brackets.
Excel checks the first test. If it is true, the answer is Gold, and it stops. If it is false, Excel moves on to the second IF. Fill the formula down.
Cara is Gold. Dan and Finn are Silver. The others get None. Always put the highest level first, because Excel stops at the first true test.
=IF(B2>=200,"Gold",IF(B2>=150,"Silver","None"))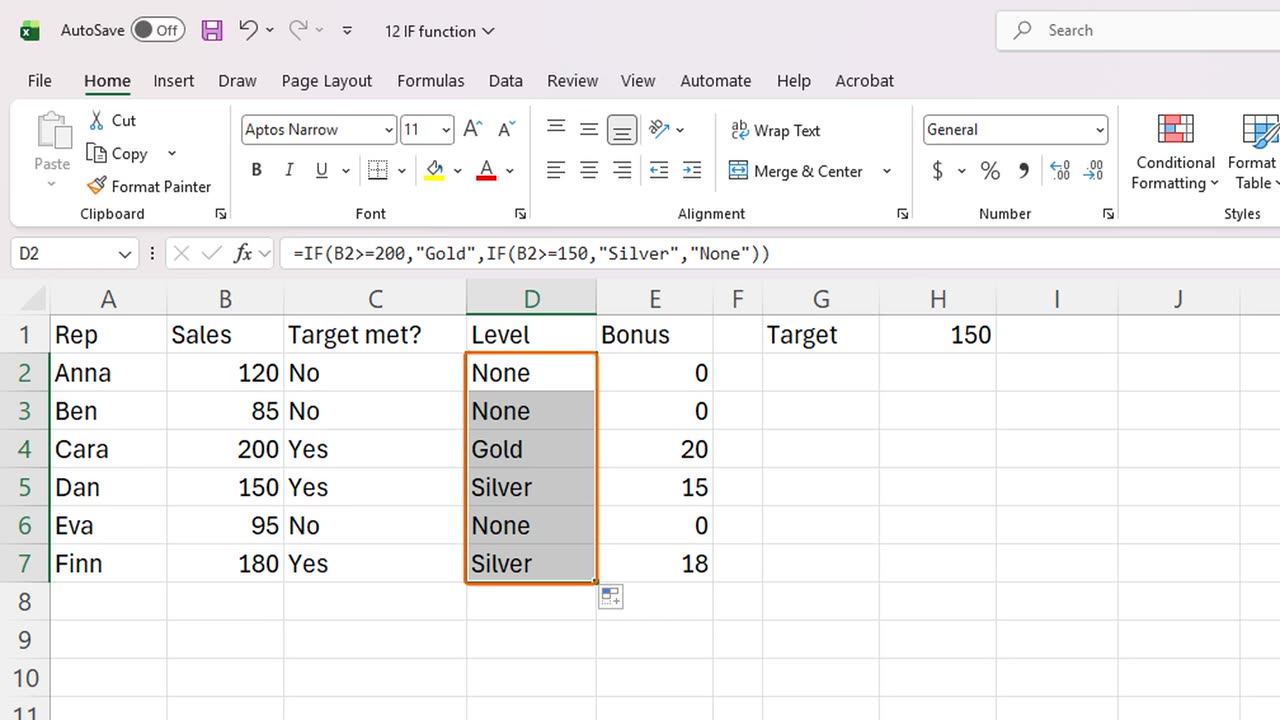
7. Rules in a cell
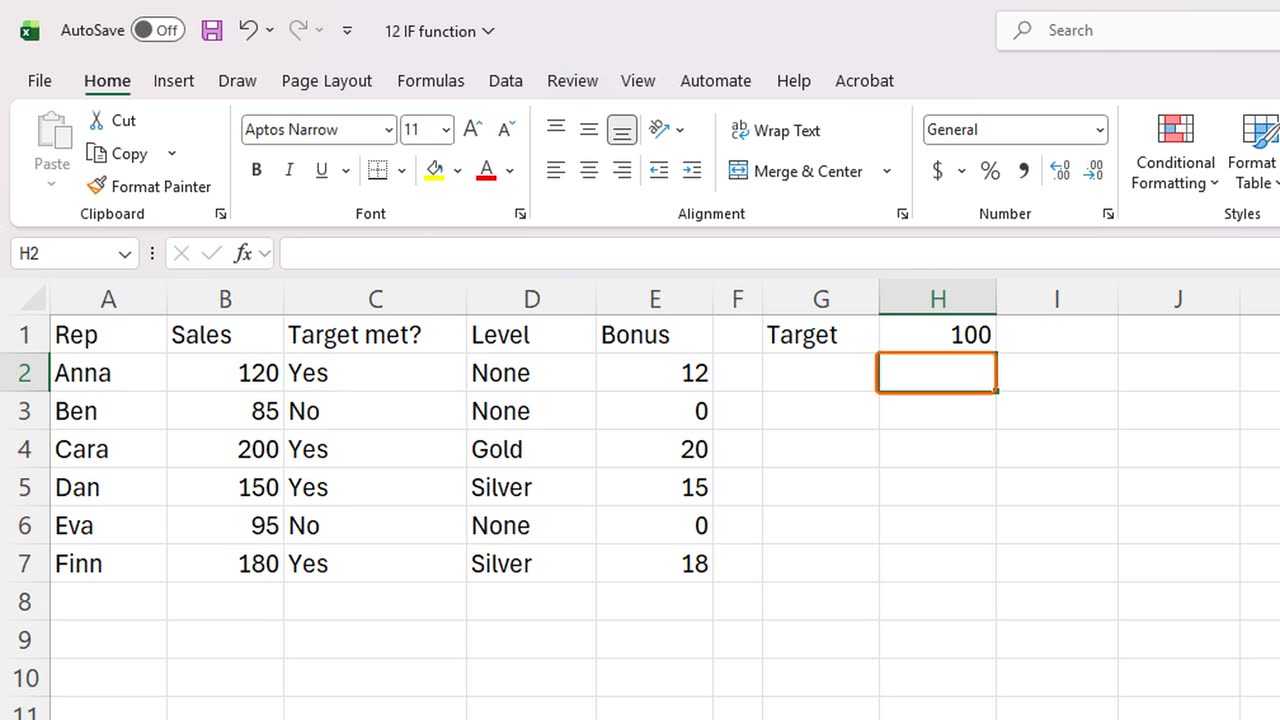
Now the magic of keeping the rule in a cell. Let's lower the target. Click H1 and type one hundred, then press Enter.
Anna now reaches the target, and her bonus changes from zero to twelve. Every formula that points to H1 updated at once. No formula needed editing.
8. Common mistakes
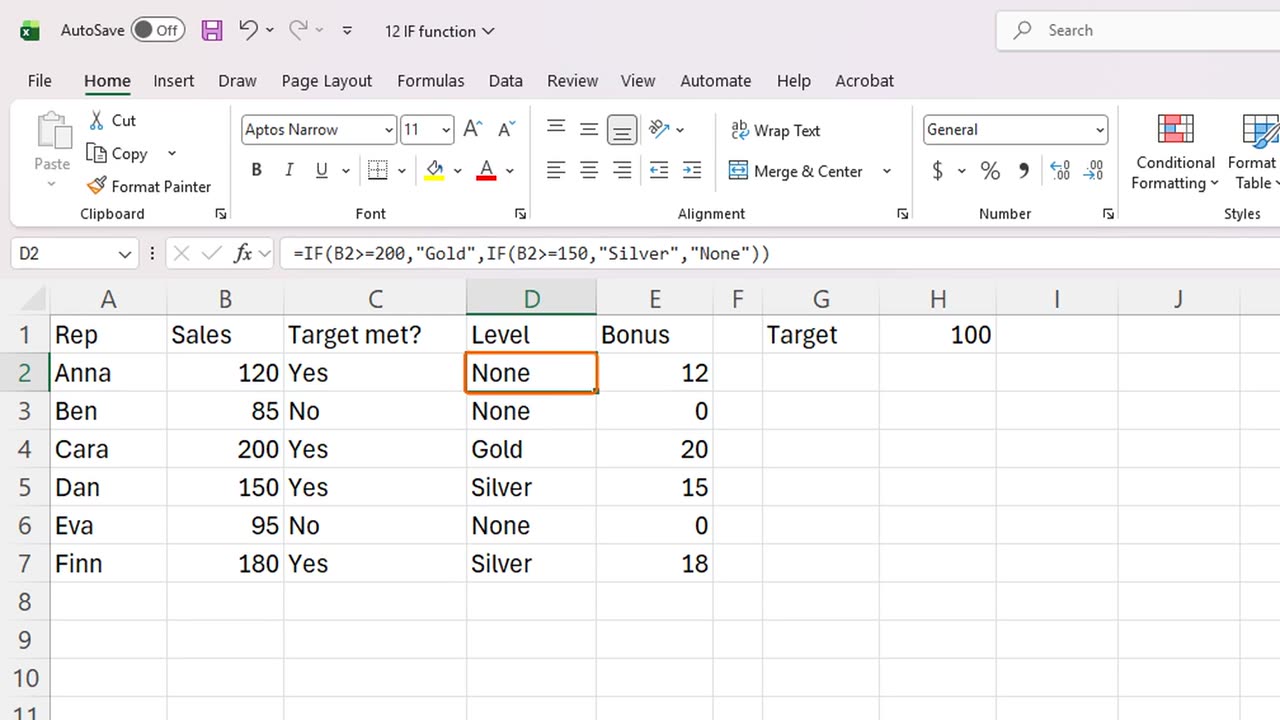
Here are three common mistakes. Forgetting the quotes around text, so Excel shows a name error. Mixing up the order of the three parts. And forgetting a closing bracket in a nested IF.
When a nested IF becomes hard to read, look at the formula bar. Excel colors each pair of brackets, which helps you see where each IF starts and ends.
9. Recap
Let's recap. IF has three parts: the test, the answer if true, and the answer if false. Text needs quotes. A nested IF handles more than two outcomes. And keep your rules in cells, so you can change them later.
Next time, you will learn the text functions: LEFT, RIGHT, MID, LEN, TRIM and CONCAT.
If there is something you want to learn next, write it in the comments. Your requests decide what we teach in the next tutorials. Thanks for watching, and see you in the next one.
← Previous tutorial: Relative vs Absolute References in Excel ($ Explained)
Next tutorial: Excel Text Functions: LEFT, RIGHT, MID, LEN, TRIM, CONCAT →