Save, Print and Share Excel Files (Beginner Tutorial)
Save and Save As, file types, print preview, page setup and sharing a workbook.
- Intro
- Save
- Page setup
- Page views
- Print preview
- Share
- Recap
Step by step
1. Intro
Welcome back. In this final lesson of the basics module, you will learn how to save your work, set up a page, print it, and share it.
2. Save
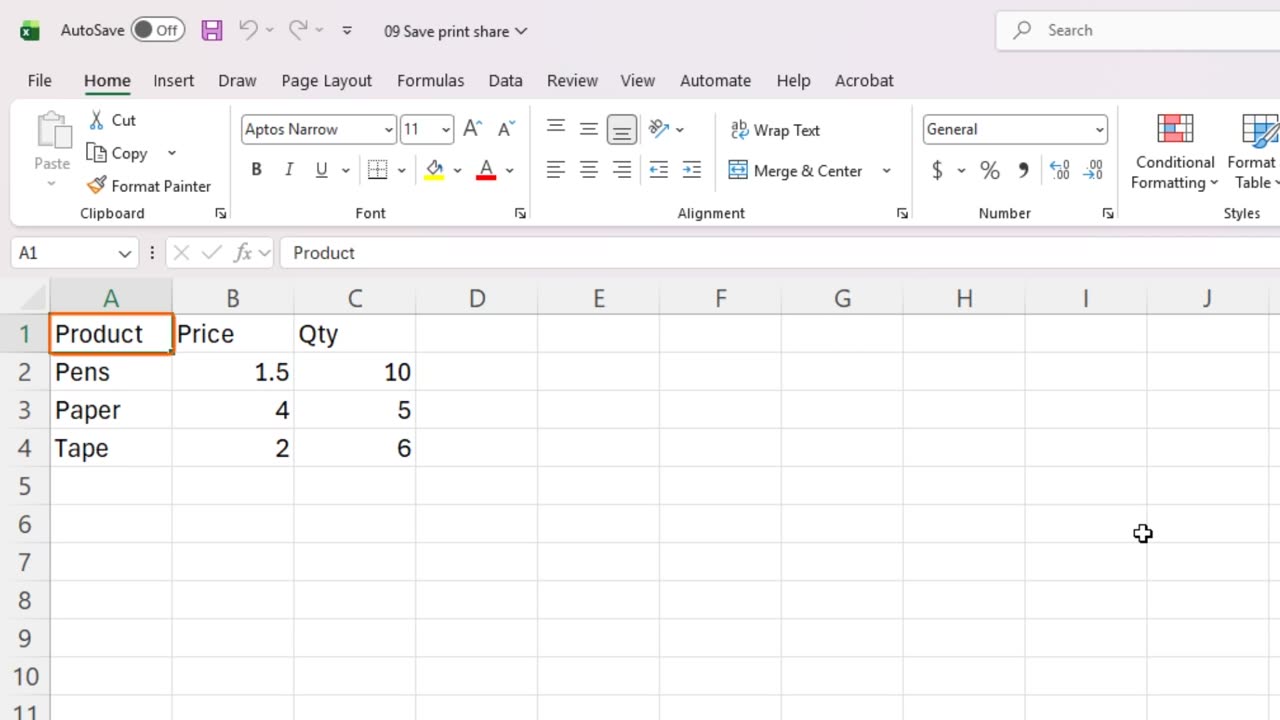
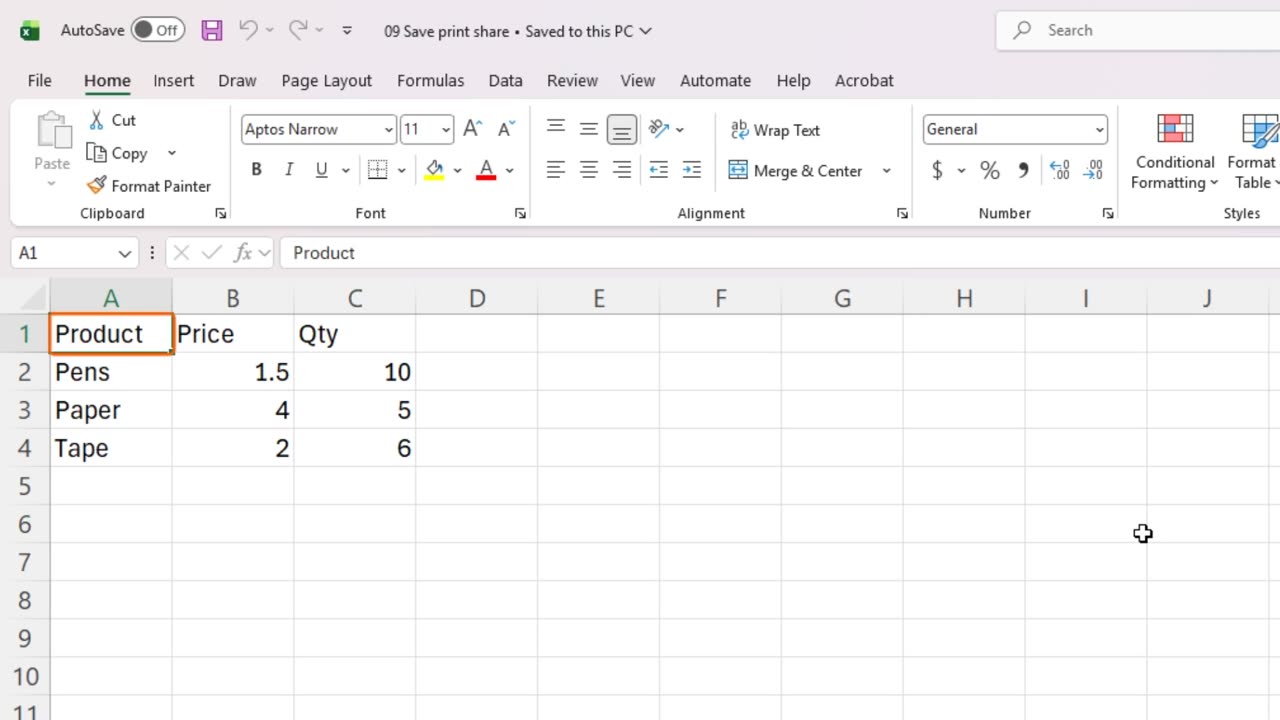
Let's start with the most important habit in Excel: saving. Press Control and S often, so you never lose your work.
Save updates the file you are working on. Save As creates a copy with a new name, a new place, or a new file type.
The common file types are the normal workbook, dot x l s x, a workbook with macros, dot x l s m, a plain text file called C S V, and P D F.
Use P D F when you want someone to see your sheet exactly as it is, without being able to change it easily.
A few habits for file names. Use clear names, add dates like twenty twenty-six, eleven, and avoid symbols such as slash, colon, and question mark.
If Excel closes unexpectedly, AutoRecover usually offers to restore your work the next time you open it. But do not rely on it. Save often.
3. Page setup
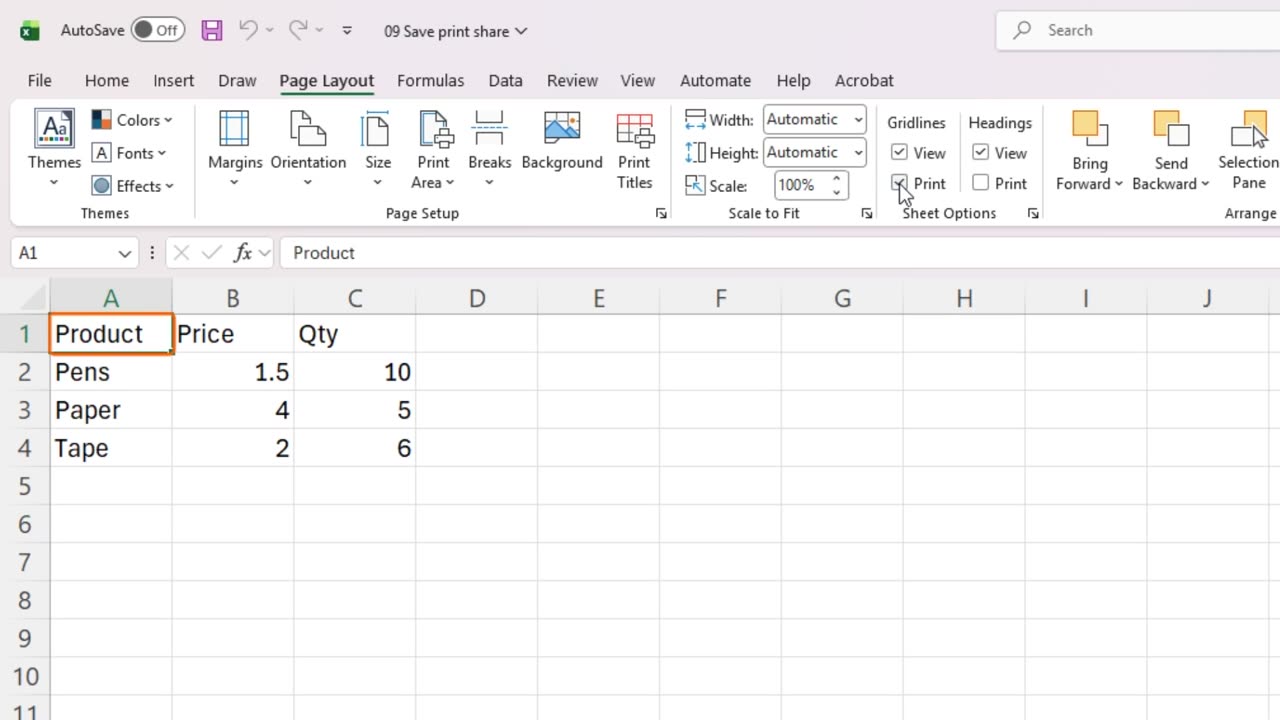
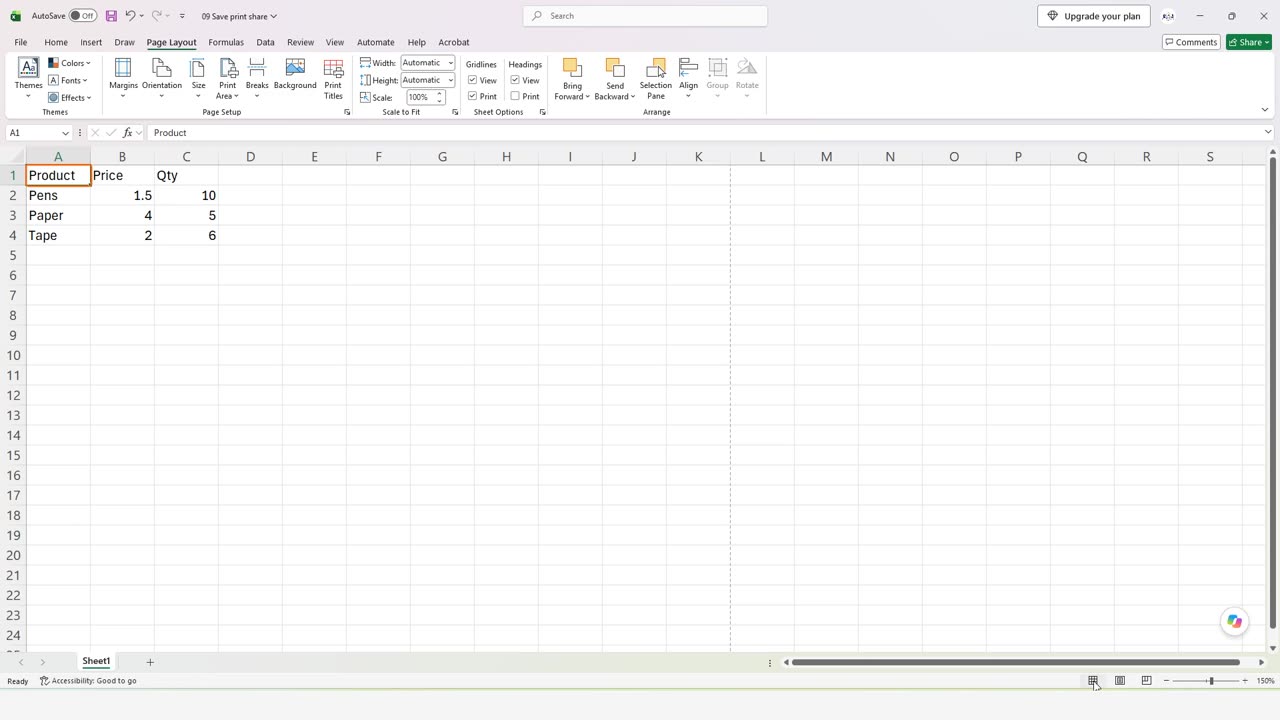
Now let's get ready to print. Open the Page Layout tab.
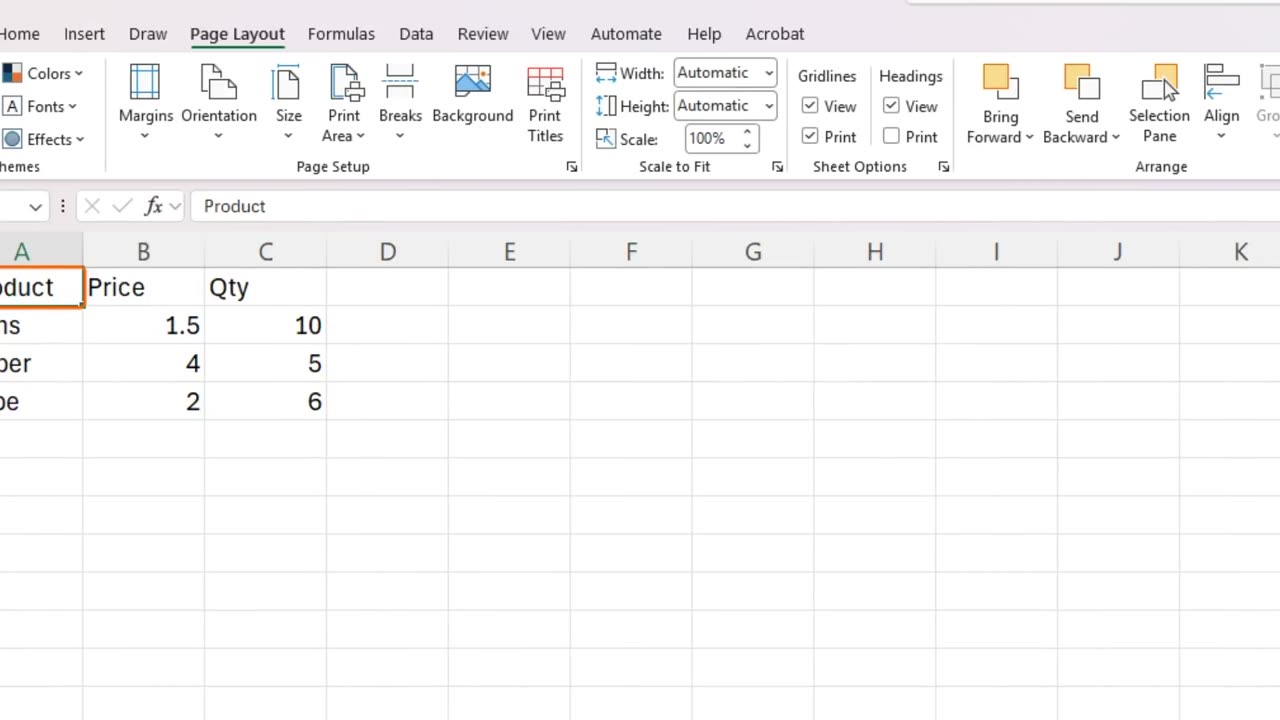
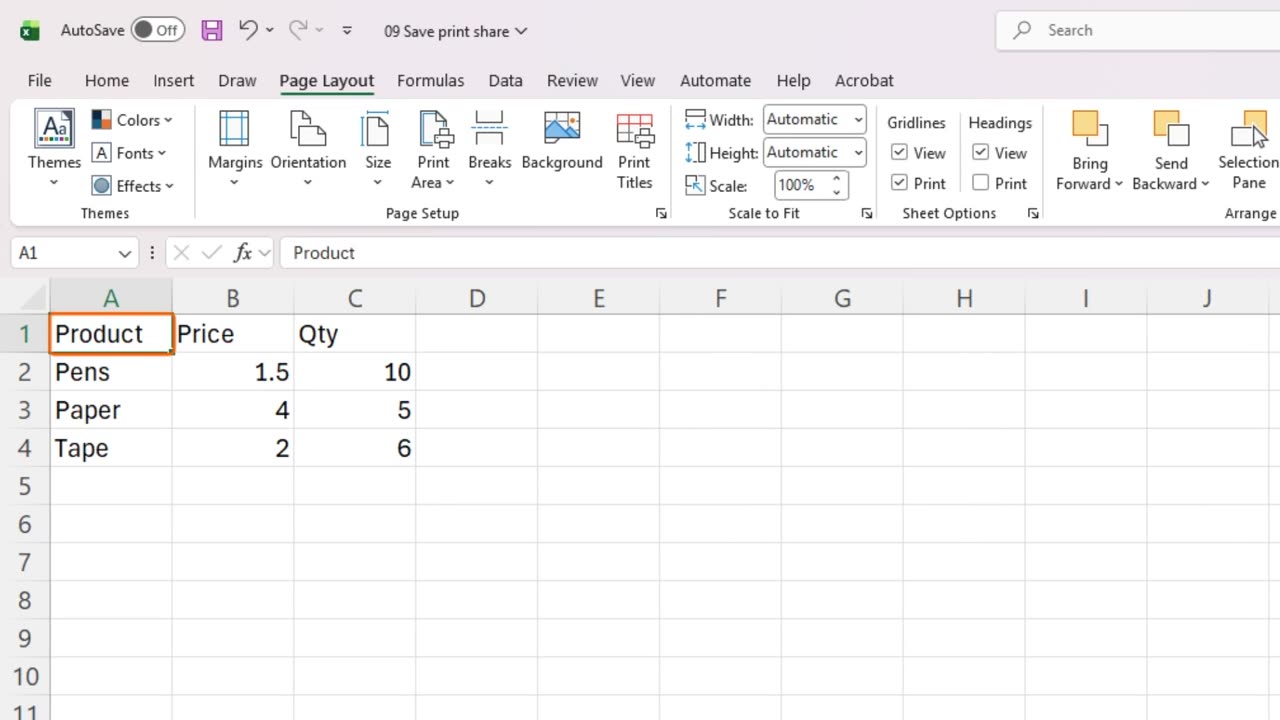
The Page Setup group has Margins, Orientation, Size, Print Area and Print Titles.
Click Margins and choose Narrow, to fit more on the page.
Orientation switches between portrait, which is tall, and landscape, which is wide. Wide tables usually look better in landscape.
Under Gridlines, tick Print if you want the faint cell lines on paper. Borders, which you learned last time, are usually nicer.
4. Page views
Excel can also show your sheet as pages. On the status bar, click the Page Layout button.
Now you see the page with its margins, and you can click the top to add a header or footer.
Page Break Preview shows blue lines where each printed page ends. Click it, next to Page Layout.
Click Normal to return to the everyday view.
5. Print preview
Now the print preview. Press Control and P.
On the right is the preview. It shows exactly how your page will look on paper.
On the left are the settings: how many copies, which printer, and which pages.
Here you can switch the orientation, pick the paper size, and change the margins.
The last setting is Scaling. Choose Fit Sheet on One Page, and Excel shrinks a big sheet until it fits, which is a lifesaver.
When everything looks right, click the big Print button. For now, we press Escape to go back.
6. Share
Finally, sharing. At the top right of the window is the Share button.
Right next to it is the Comments button. Comments let you leave notes for your team inside the workbook.
If your file is saved in OneDrive or SharePoint, it lets you invite people, and several people can edit the same workbook together.
To send a fixed copy instead, save it as a P D F and attach it to an email.
7. Recap
Let's recap. Press Control S often. Use Save As to change the name or type.
Prepare pages on the Page Layout tab, check them in the print preview with Control P, and use Fit Sheet on One Page for big tables.
Congratulations, you have finished the Excel Basics module. In the next module, you will learn functions like SUM and IF.
Thanks for watching, and see you in the next lesson.
← Previous tutorial: Customize the Excel Quick Access Toolbar and Ribbon
Next tutorial: SUM, AVERAGE, MIN, MAX and COUNT in Excel →