How to Enter and Edit Data in Excel (Beginner Tutorial)
Type in cells, move with Tab and Enter, edit with F2, understand text vs numbers vs dates, and cancel or undo.
- Intro
- Meet the cell
- Type in a cell
- Enter and Tab
- Keep going
- Typing tips
- Text, numbers and dates
- Edit a cell
- Cancel and undo
- Recap
Step by step
1. Intro
Welcome to Excel Basics. In this lesson, you will learn how to enter and edit data in cells.
You will type text, numbers and dates, move around with the keyboard, fix mistakes, and undo what you did.
2. Meet the cell
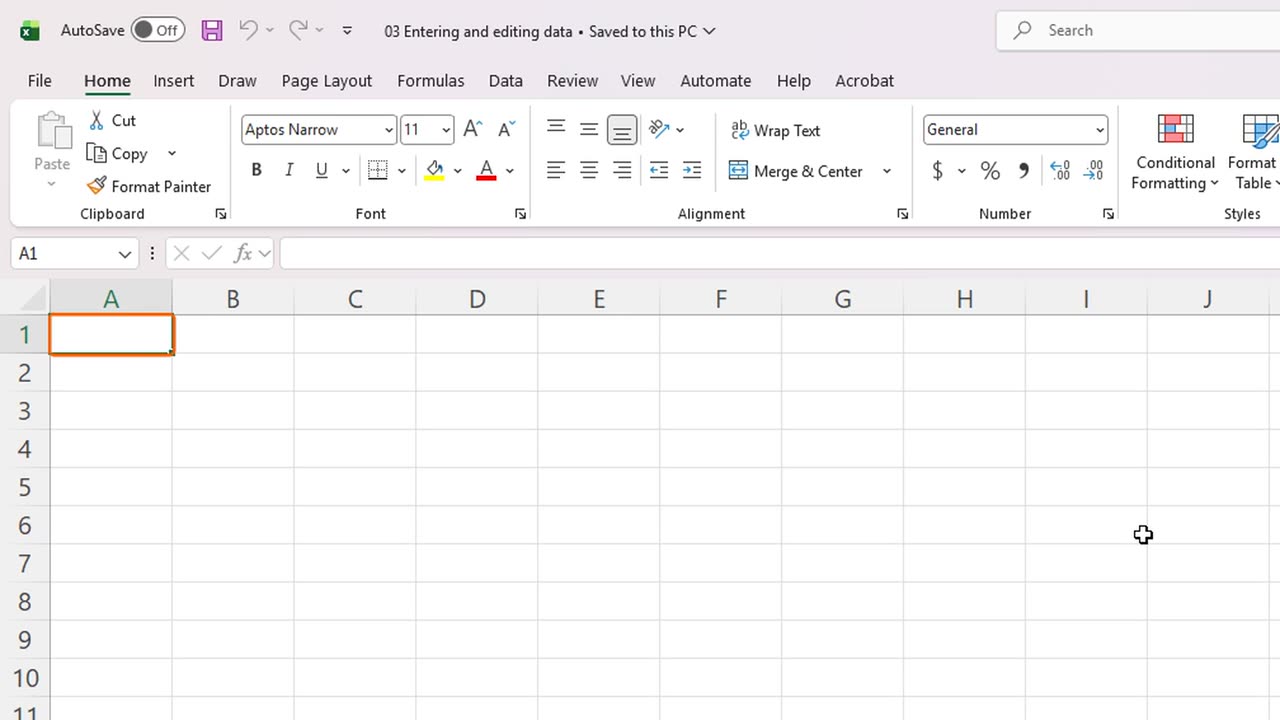
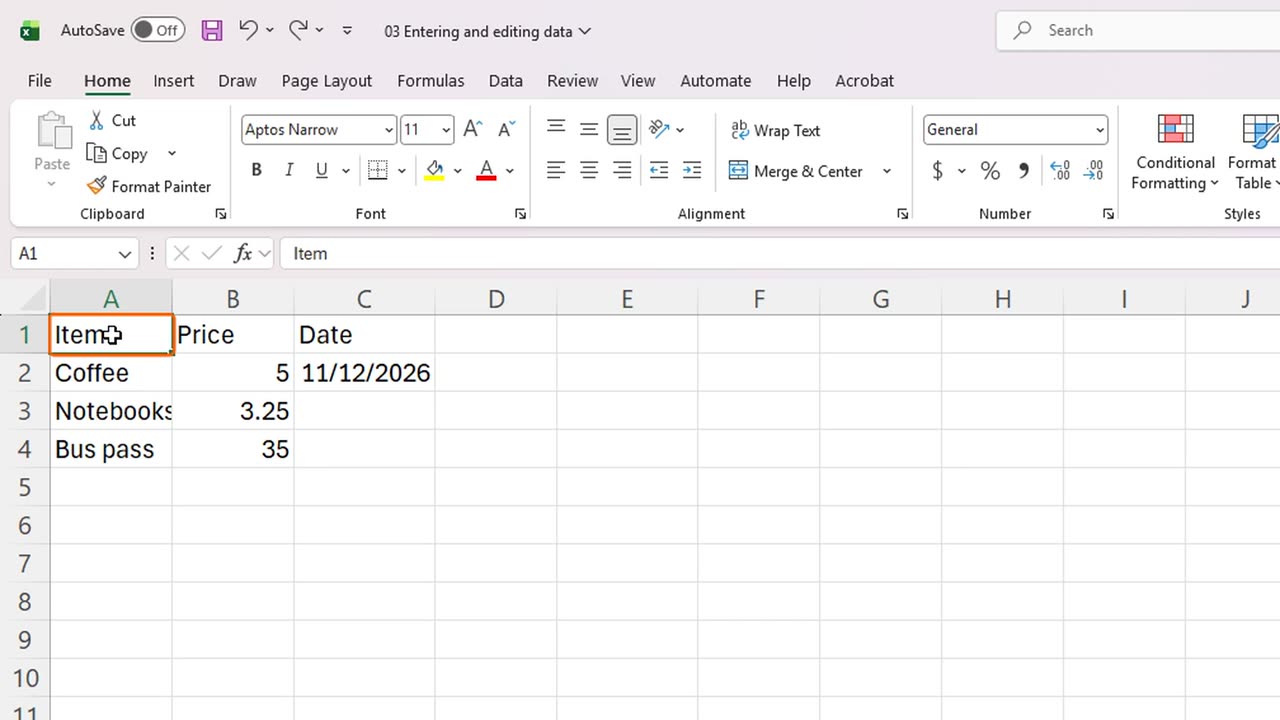
Every worksheet is a grid of cells, and every cell has an address. We will build a small expense list, starting in cell A1.
3. Type in a cell
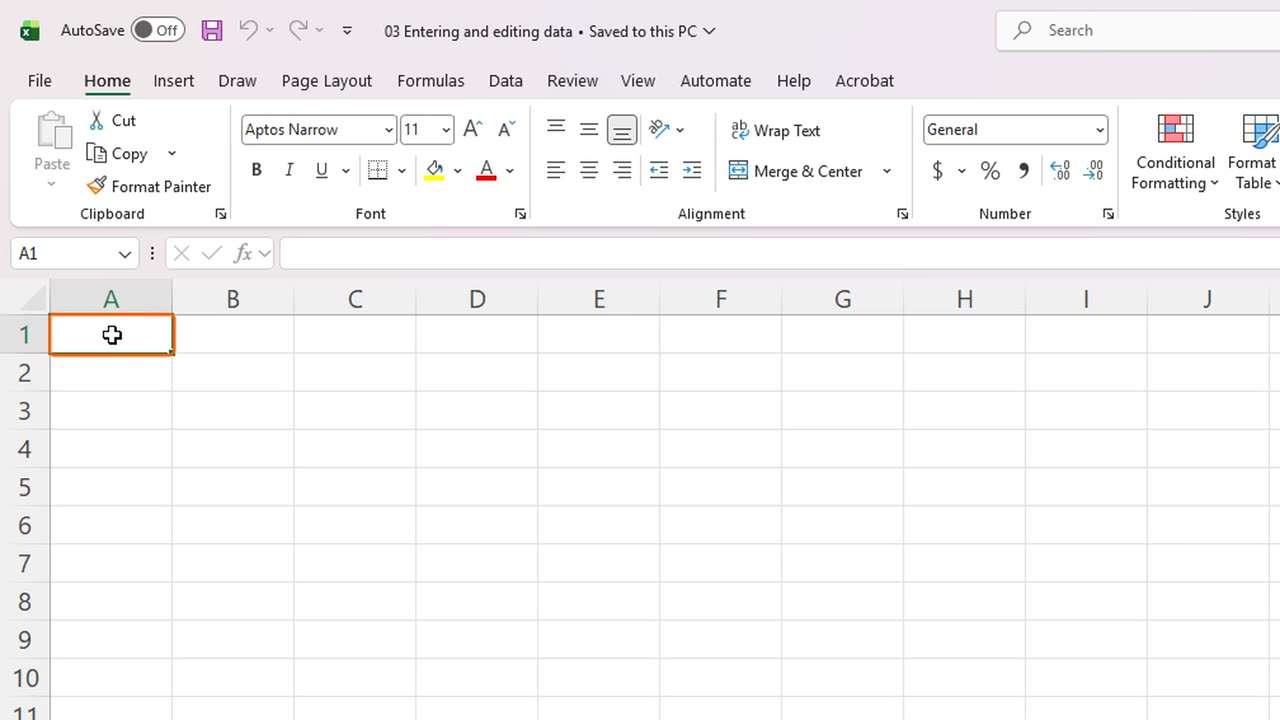
To enter data, select a cell and just start typing. There is no need to double-click first.
Let's type the word Item.
The text appears in the cell and in the formula bar at the same time.
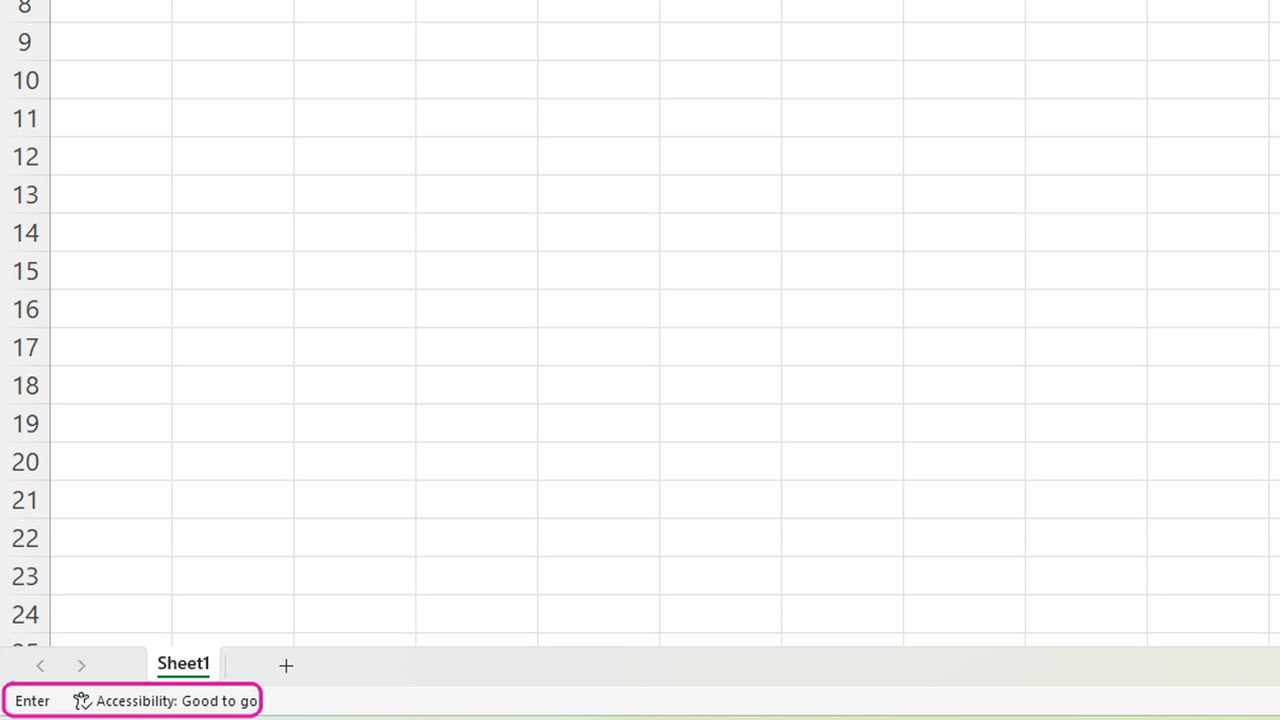
Look at the status bar at the bottom. It says Enter, which means Excel is waiting for you to finish the entry.
4. Enter and Tab
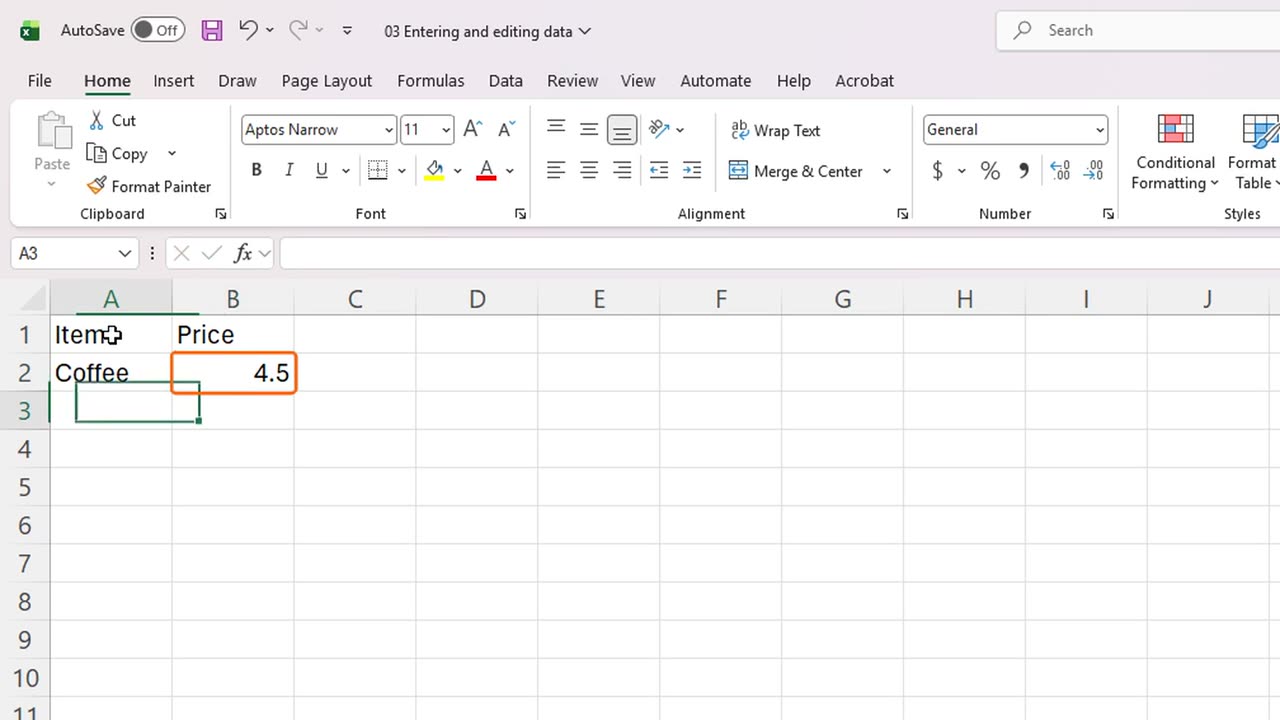
Press Tab to confirm the entry and move one cell to the right.
Type Price, then press Enter. Excel moves down, to the start of the next row.
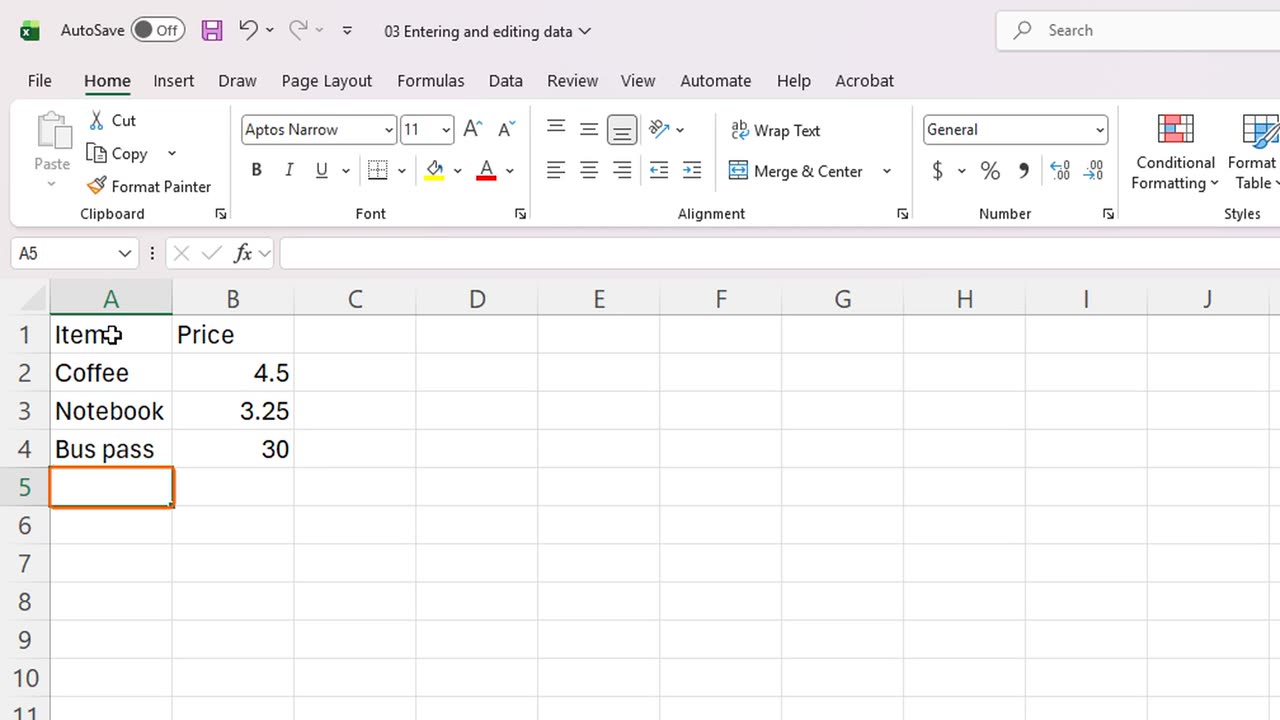
Now type Coffee, press Tab, type four point five, and press Enter.
5. Keep going
Continue with Notebook, Tab, three point two five, Enter.
And finally, Bus pass, Tab, thirty, Enter.
It quickly becomes a rhythm: type, Tab, type, Enter. You never need the mouse.
6. Typing tips
Excel also helps while you type. If you start a word that already exists in the column, it suggests the rest. Click A5, and type the letters C and O.
See the suggestion, Coffee? Press Enter to accept it, or keep typing to ignore it. We will press Escape and cancel.
Long text spills into the empty cells on its right. Click F1 and type a long sentence.
If the cell on the right is not empty, the text gets cut off. To clear a cell, select it and press Delete.
Numbers that start with zero, like zero zero seven, lose their zeros. Start with an apostrophe, and Excel keeps it as text.
Type twenty-five and the percent sign in E2, and Excel stores a real percentage.
Control and semicolon types today's date for you. Try it in E3.
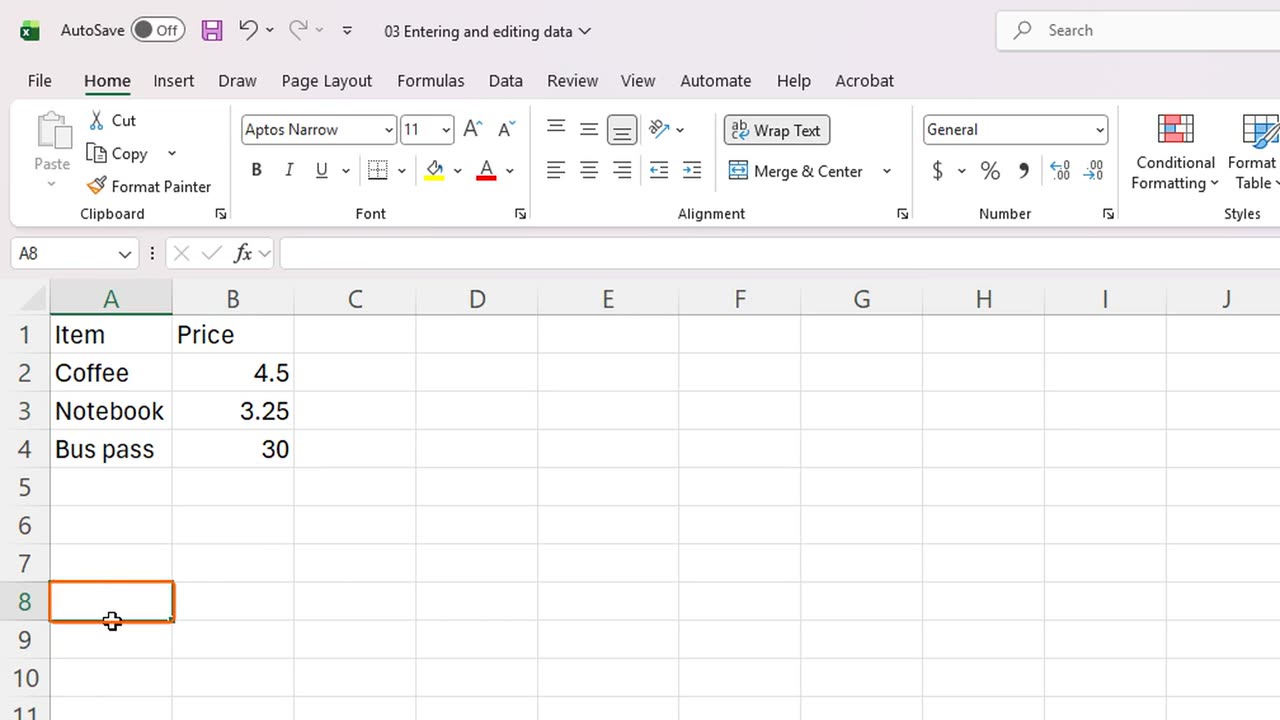
Alt and Enter start a new line inside the same cell. Click A8, type Line one, press Alt Enter, type Line two, and press Enter.
To type the same entry in many cells, select them, type, and press Control and Enter. Let's fill H1 to H3 with OK.
Let's clear these practice cells. Select them and press Delete. A tip: if you ever clear too much, Control Z brings it back.
Shortcut: Ctrl + ;
7. Text, numbers and dates
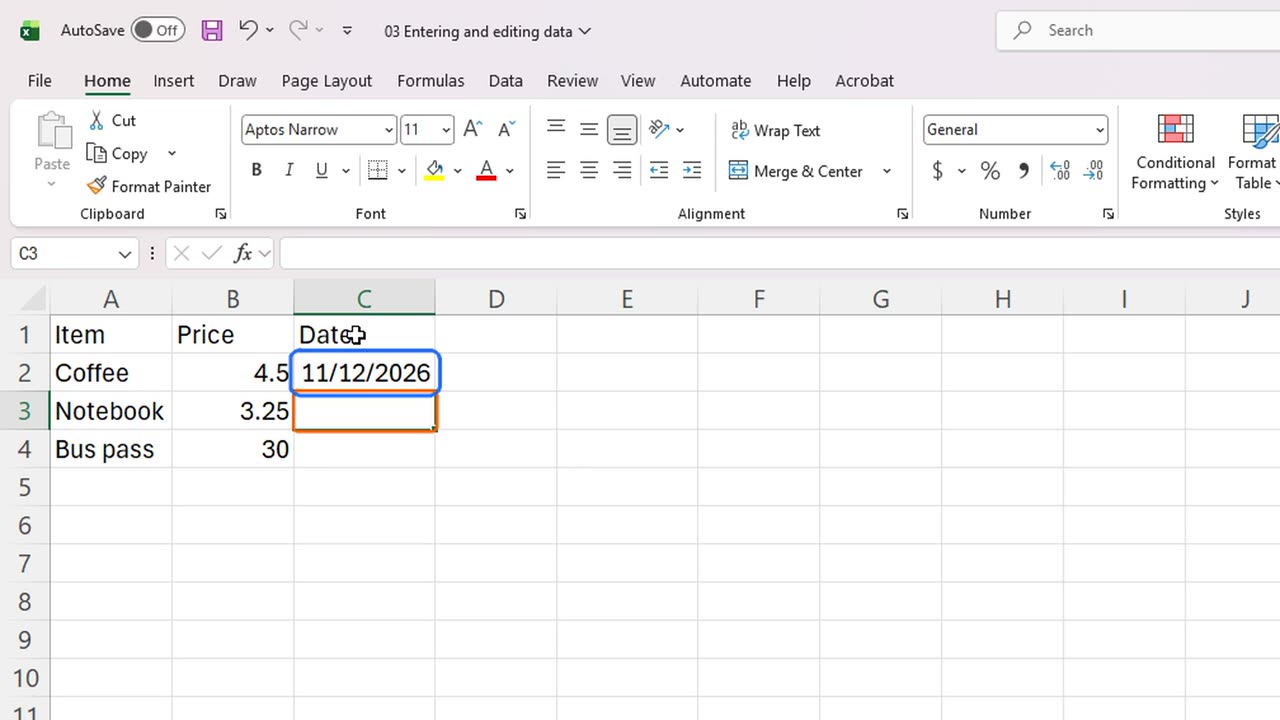
Notice that the text lines up on the left side of its cell, while the numbers line up on the right.
That is how Excel knows what kind of data you entered. Text stays left, and numbers go right.
Dates work too. Click C1 and type Date, press Enter, then type a date such as eleven, twelve, twenty twenty-six.
Excel recognized it as a date, so it lined up on the right, just like a number.
8. Edit a cell
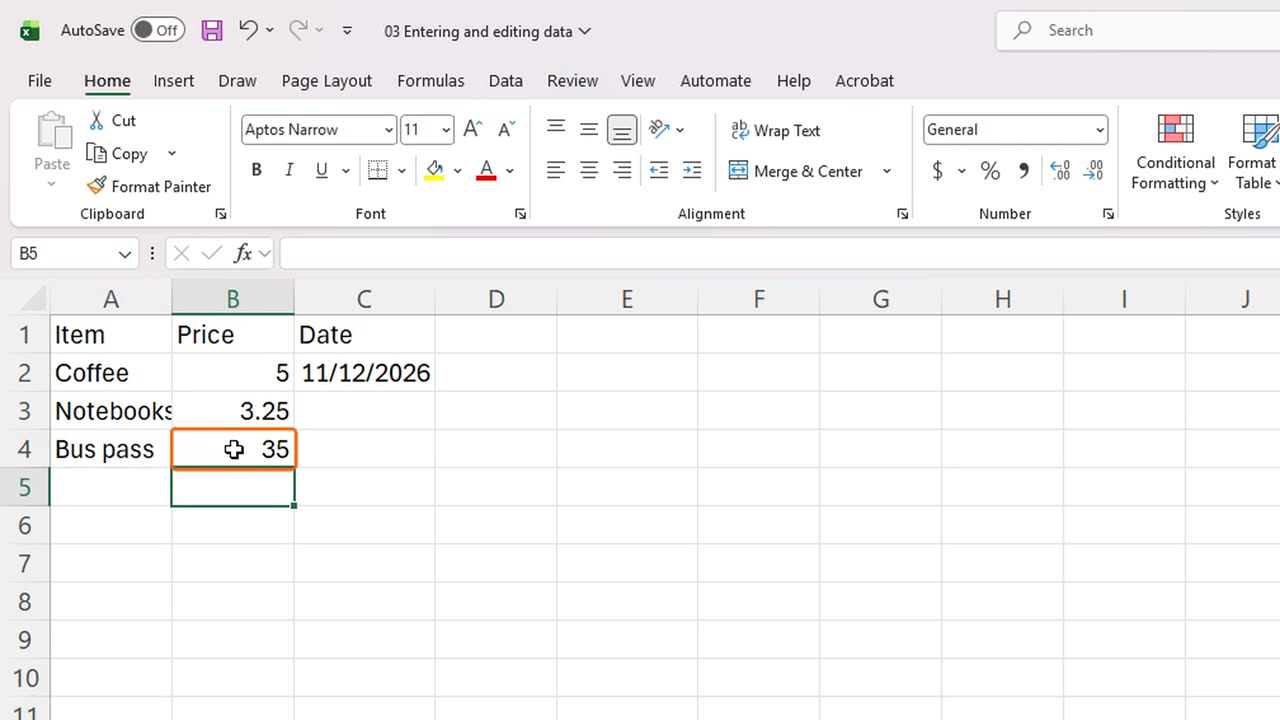
To fix a mistake, select the cell and type again. The new entry replaces everything that was in the cell.
Let's select B2 and type five. The old price is gone.
To change just part of an entry, select the cell and press F2. Now you can edit inside the cell.
Let's turn Notebook into Notebooks. Type the letter s, and press Enter.
Now select B4 and type thirty-five to replace the old bus pass price.
9. Cancel and undo
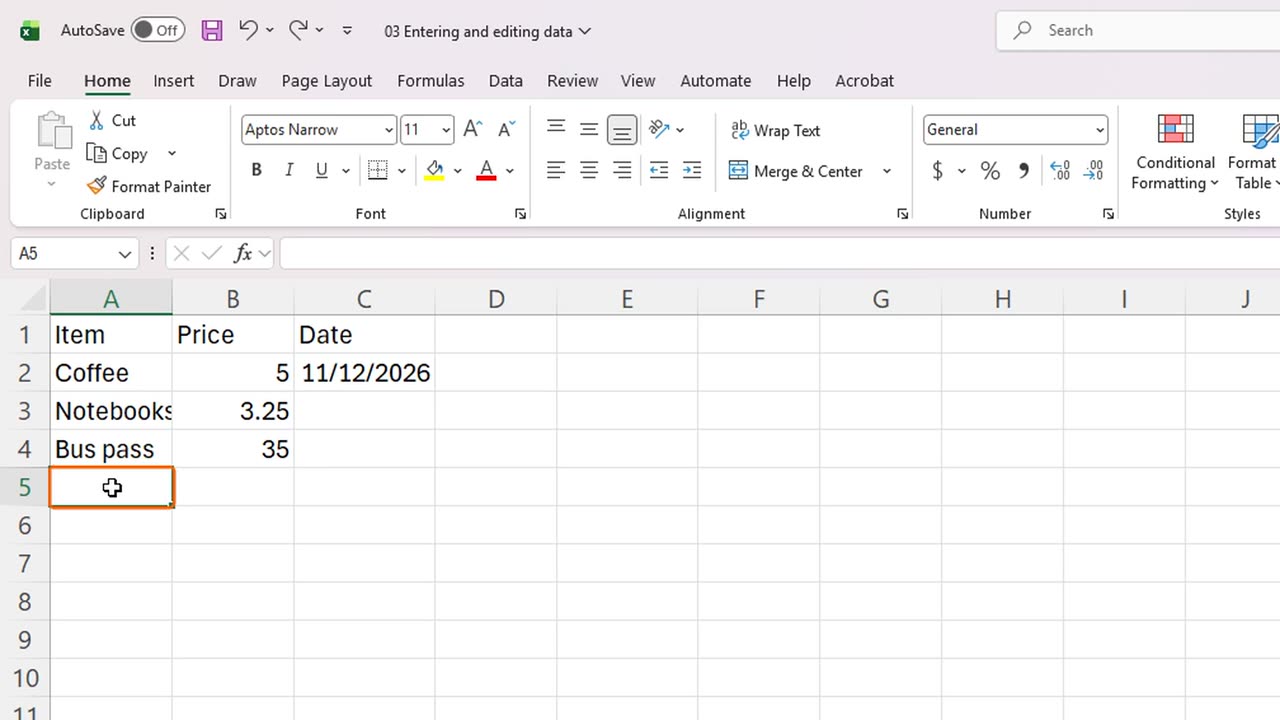
Changed your mind before confirming? Start typing something in an empty cell, like A5.
Press Escape, and the entry is cancelled. Nothing is saved.
Once you have confirmed an entry, you can still take it back. Type Taxi and press Enter.
Now press Control and Z. The entry disappears. That is Undo, and it can rescue you from almost any mistake.
10. Recap
Let's recap. Select a cell and type to enter data. Tab moves right, and Enter moves down.
Typing over a cell replaces it, F2 edits inside it, Escape cancels, and Control Z undoes.
Next time, you will learn to select, copy and fill data quickly.
Thanks for watching, and see you in the next lesson.
← Previous tutorial: Excel Workbooks, Worksheets and Cells Explained
Next tutorial: Select, Copy, Move and AutoFill in Excel (Fast Way) →